Chicken coops - 7 aspects of the self-construction of buildings on the site
Table of contents
-
1 Important nuances of building and descriptions
- 1.1 Aspect №1 - foundation
- 1.2 Aspect №2 - floor
- 1.3 Aspect №3 - wall
- 1.4 Aspect №4 - roof
- 1.5 Aspect №5 - windows and lighting
- 1.6 Aspect №6 - roost
- 1.7 Aspect №7 - nest
- 2 Output
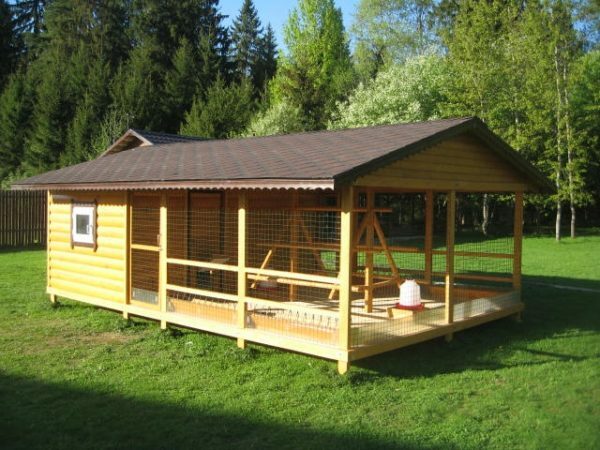
The coop is built based on a number of standards and requirements
Do you want to start laying hens, but have no idea how to properly equipped coops? I'll tell you about the 7 aspects that you need to know during the construction. Using the recommendations, you can easily make a chicken coop made of any material and create an ideal environment for poultry.
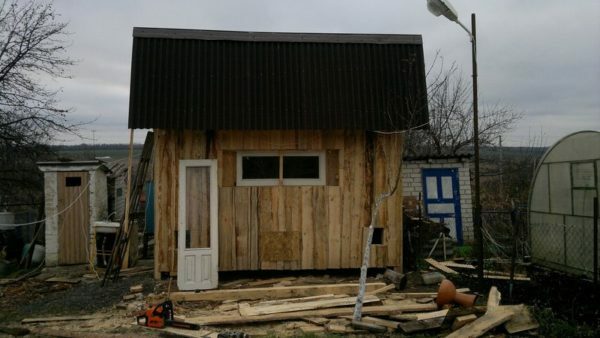
For the construction of different materials can be used, the main thing - to take into account all the requirements for the structure of the arrangement, appearance does not really matter
Important nuances of building and descriptions
We will analyze the seven components, given that you will be able to make a chicken coop, suitable for laying hens:
- Foundation;
- Floor;
- Walls;
- Roof;
- Windows and lighting;
- Perch;
- nests.
First, you need to make a draft of the future structure, where it is necessary to consider several factors:
- area. Per square meter of the house should have no more than three chickens, ideally, there should be two. The minimum area must be at least 3 square meters .;
- Plot size for walking. If you enclose the area, the one bird must have to have at least one square meter.
The minimum floor space for containing the chickens 10 - 3 square meters, and the walking area - more than 10 squares.
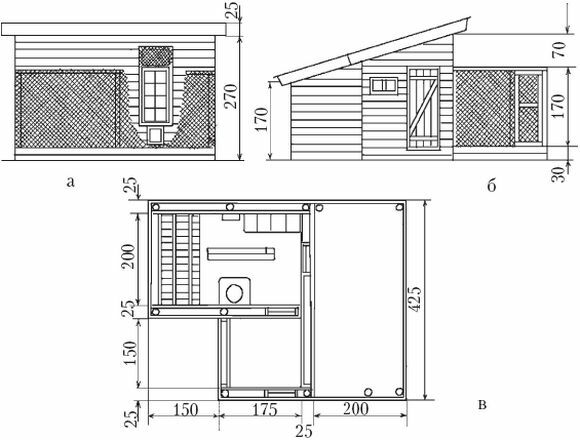
You can use ready-made projects, and you can make your own sketch, the main thing - to coop sizes were sufficient for the number of chickens that you are planning to start
Aspect №1 - foundation
Fundam to coop might be as follows:
| Illustration | Description |
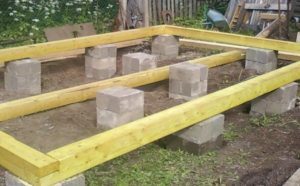 |
pier foundation. It can be of two types:
In the construction of the columnar foundation supports placed at a distance of 100-150 cm. |
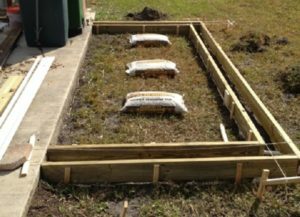 |
Strip foundation. A more robust embodiment of structures used for heavy materials - blocks, bricks, or timber. If the structure will have a lot of weight, the base must be recessed below the soil freezing. For structures with a small mass can be done melkozaglublenny foundation. |
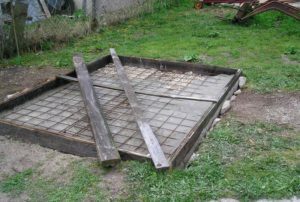 |
slab foundation. Very durable option, which is constructed as follows:
|
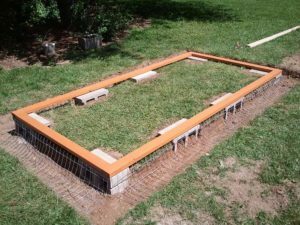 |
Option without foundation. If weight is a small chicken coop, you can not do capital base and do the concrete blocks, which are placed on the perimeter of the structure. To protect the space over the entire length of the walls in the ground to a depth of 30 cm, and laid-Ground mesh or metal sheet. |
Aspect №2 - floor
Henhouse floor can be done in different ways:
| Illustration | Description |
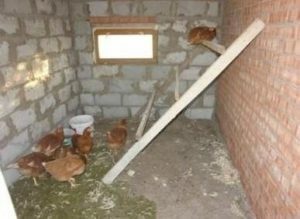 |
Clay floor. The easiest and cheapest option: simply compacted ground and was covered with straw or sawdust. I advise you to consider this kind of as a temporary base as chickens rake the ground, and will always have to level the floor. |
 |
Wooden floor. Device differs cheapness and simplicity. Suitable any edged board thickness of 20 mm or more. The main disadvantage - the fragility, the damp wood over time begins to rot, so the floor will have to be changed every 5-7 years. |
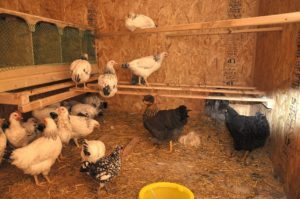 |
Gender of waterproof plywood. A modern solution that is good reliability. To use the flooring sheets are not less than 18 mm thick. |
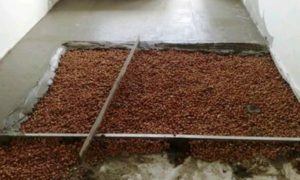 |
Concrete floor. The most robust and durable option. Poured layer thickness of 50 mm, it is easiest to align the surface of pre-exposed beacons. |
Any type of floor except the ground needs insulation. For these purposes, you can use low-cost materials - expanded clay, foam or polystyrene bulk.
Aspect №3 - wall
A chicken coop for laying hens with their hands may be constructed of the following materials:
| Illustration | Description |
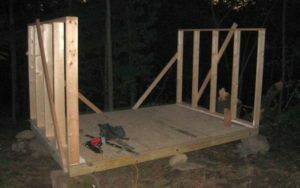 |
Shielding design. Is simple construction and high speed of work. Inside the frame is laid insulation and the outer surface of the water-resistant sheathed with OSB. |
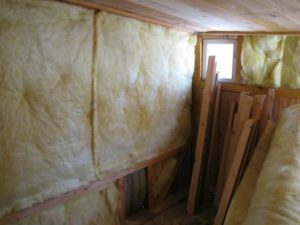 |
wooden structures. Resemble the above-described embodiment, but made of boards, and internally insulated with mineral wool or shingles, which plastered clay and straw mix. The price of this option is the lowest, but the insulation performance is poor. |
 |
A log or timber. Traditional options used by a couple of centuries ago. Then most importantly - qualitatively insulate the joints, you can use the and moss, for poultry this option is even better. |
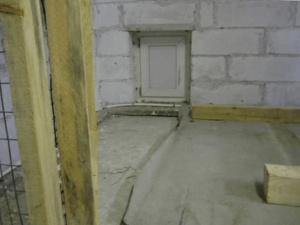 |
Gas silicate or aerated concrete blocks. A good option in terms of thermal insulation, build a chicken coop can be a couple of days. |
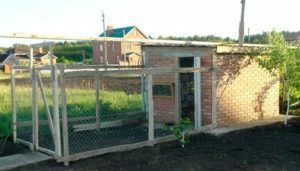 |
Brick. The most solid and durable, but also the most expensive option. A job best left to the mason, as to make the clutch is difficult without experience. |
In the construction of the walls Provide ventilation system - two openings top and bottom on the opposite walls, closing valves.
Aspect №4 - roof
When considering how to make a chicken coop with their hands, not to mention the roof. It is best to do the classic gable structure, it effectively removes sediments and increases the inner space of the room. You can select one of the following options:
| Illustration | Description |
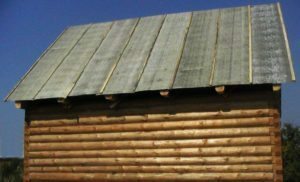 |
ruberoid. The simplest solution, which involves a continuous unit of flooring planks or sheets laying OSB web material. Ruberoid fixed long strips that are nailed at the joints. The service life of this coating - about five years. |
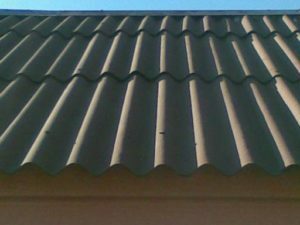 |
The roof of slate. Another budget option, which, unlike the previous has a long life - 20 years or more. The only negative - not very attractive appearance. |
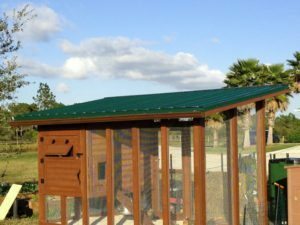 |
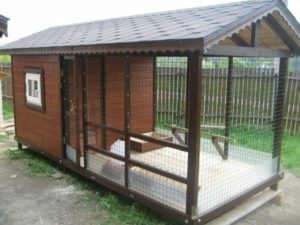
Profiled or metal. Modern solutions, which look good and last a long time. Their advantage is that you can order the correct size sheets, even if you have a lean-to roof as in the photo, and the length of the elements gets more. |
 |
shingles. An excellent solution that looks good, and the installation will not cause difficulties even for inexperienced artists. |
Aspect №5 - windows and lighting
An important part of the work, for the simple reason that hens for maximum egg production is necessary to ensure that the length of daylight hours at least 15 hours. Therefore, the construction of a hen house shall be subject to a few simple rules:
- area window. It should be at least 1/12 of the floor area. The larger the window - the better natural lighting;
- Location openings. Ideal positioning of the window on the south side, in the extreme case can be positioned openings and from the east;
- Material. More often than not put a frame made of wood, they are inexpensive and last a long time. But can be used if desired, and a variant of metal;
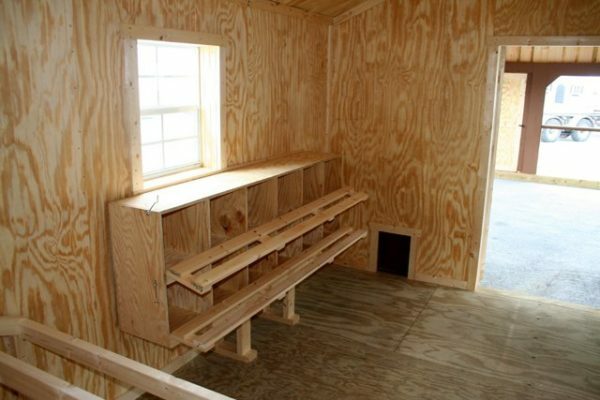
Wooden windows are perfect for chicken coops
- The design of the windows. They should be opened for ventilation in the summer and have a grid for protection against insects and small predators.
Hen house should be covered 16 hours a day, if the short daylight hours, using artificial lighting. Lamp power is selected such that per square meter accounted for not less than 5 watts.
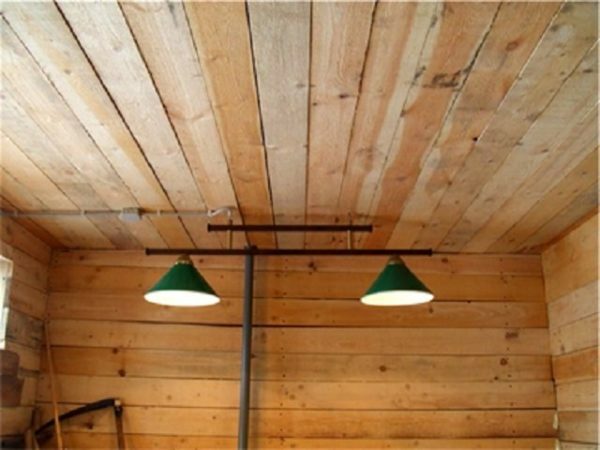
Lighting hen house - a very important aspect
Aspect №6 - roost
A very important part of the design, as the perch hen spends half his life. Equipping design need to remember the following:
| Illustration | Description |
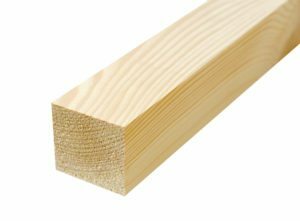 |
Use a wooden block. Optimal cross section of 50x50 mm. To the bird was conveniently located, the corners are rounded by a plane or other device. |
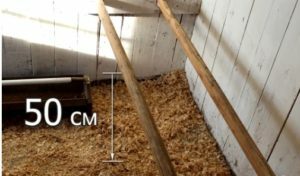 |
Roost is located at a height of 50 cm from the floor. This optimal location allows the bird to easily climb up and climb down. |
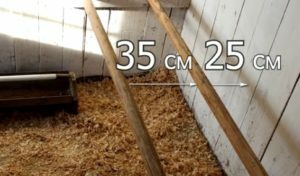 |
Important to observe the correct distance between the poles. If you will put two or more timber, then place them at a distance of 35 cm from each other. From the extreme element to the wall should be at least 25 cm. |
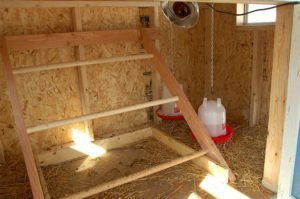 |
Possible construction corner perch. This saves space and allows you to easily climb up the chickens. With regard to size, the per hen should account for at least 25 cm perch. That is, if you make room on the 20 chickens, the total length of the bar should be at least 5 meters. |
Aspect №7 - nest
To carry the eggs the hens must be equipped with sockets. For this constructed boxes measuring 30x40 cm and depth 30 cm.
The material of manufacture may serve as an ordinary board and plywood or OSB. You can make single, double or even triple boxes.
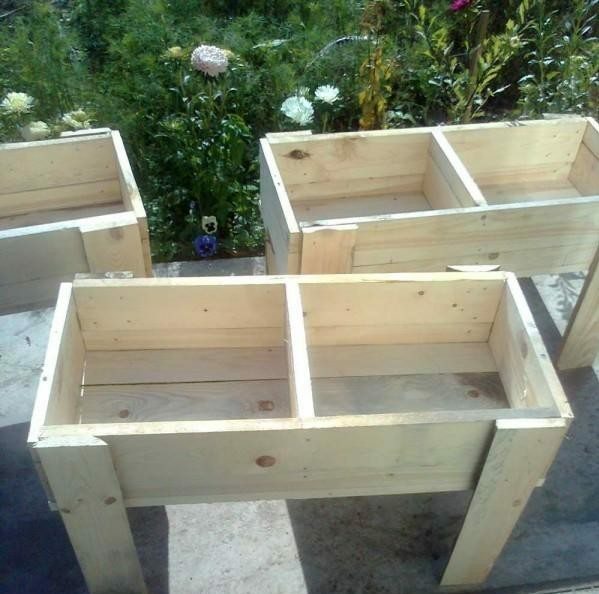
The boxes can be placed on the supports
When the location of the nests in two rows of the minimum height of the compartment must be at least 30 cm.
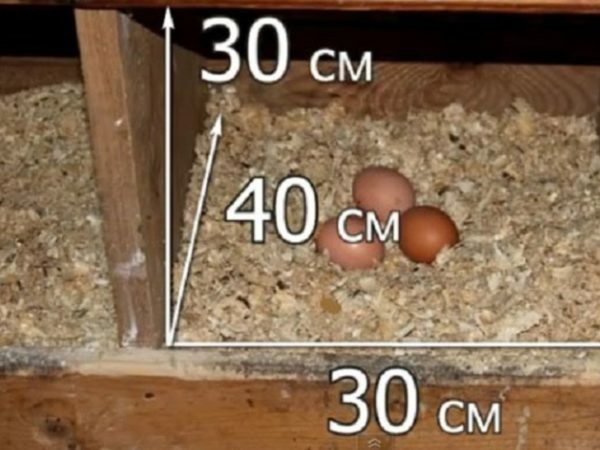
It is important to provide convenience hens location
As used sawdust litter or straw. Positioning slots needed in a darkened part of the chicken coop.
Output
You know, what requirements must comply with chicken coops. Using charts, select the optimum solution for each part of the structure. Video prompts additional information on the subject, if you do not understand something - ask in the comments.
