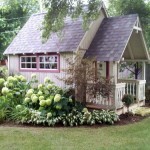
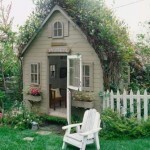
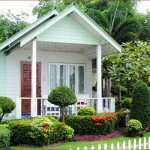
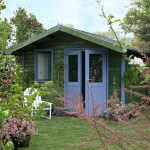
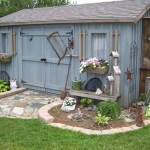
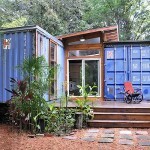
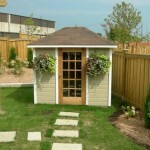
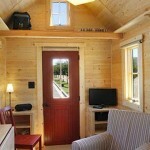
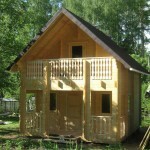
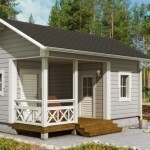
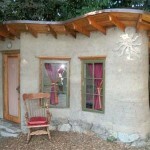
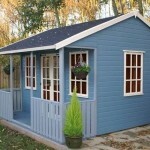
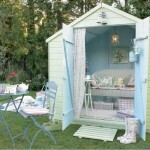
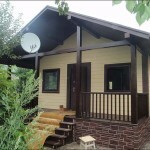
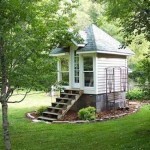
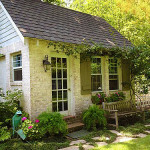
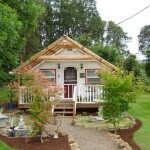
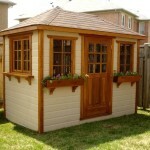
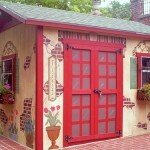
Design garden shed (45 photos). Used Tools. Construction of the foundation. Construction of floors, walls and roofs
Table of contents
- 1 Instruments
- 2 The construction of the foundation
-
3 Homemaking
- 3.1 Floor
- 3.2 Walls
- 3.3 Roof
- 4 Summing up
- 5 Photo Gallery
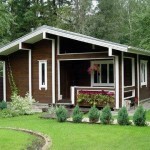
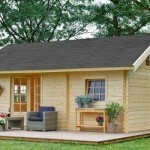
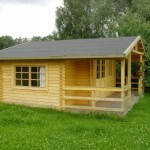
Intelligent design garden house - a guarantee that your country site will be a place where you can not only store inventory, but with the comfort of spending free time.
A well-designed and high-quality built garden house can become a decoration for your site, deliberate on the rules of landscape design. And if you will build it with his own hands, and that it is the subject of legitimate pride!
The advantages of self-erected set. This relatively low cost (design used quite cheap and very common materials), and ease of construction, and speed of construction.
As practice shows, if the finished project and pre-purchase the basic materials you can build a small house on their own in less than two weeks.
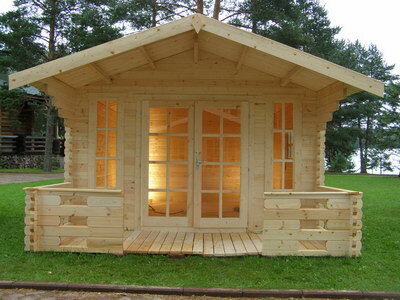
Design Option garden shed
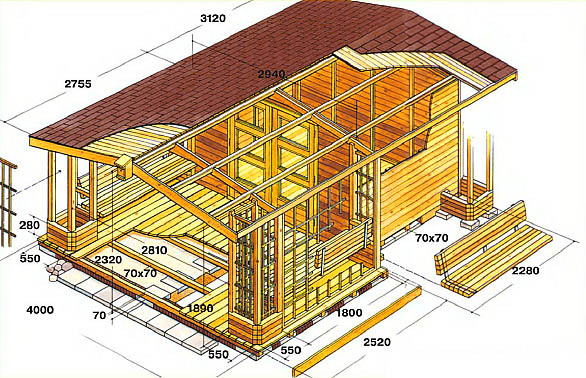
Most often used for the construction of the so-called frame structures. Their walls are frame previously steering profile board.
Such a wall to install and fasten with neighboring necessary already in the assembled state, and this greatly facilitates and speeds up the work.
Frame country house is built in a modular fashion, going from finished parts. Initially, we laid the foundation, and then manufacture and install elements of wall structures.
Finalizing the installation of the roof, installation of windows, doors and interior elements. Properly mounted house will perfectly fit into your design garden plot 6 acres.
In addition to this you can build a small shed on the facade or the clever design of small gardens, fenced shortie fence. Finishing and improvement of the house are limited only by your imagination!
Instruments
For self-construction of garden shed you may need:
- saws (hand);
- Drills accumulator;
- miter saw;
- carpenter's hammer;
- a cord;
- level;
- Ruler with angle bar.
The construction of the foundation
pier foundation
Once the project is ready, materials and tools purchased, you can proceed to the construction of a garden house. And we start the work from the very beginning - with the construction of the foundation.
Depending on how massive is your house, the foundation can be made as concrete and wood:
- As a concrete foundation can use concrete paving slabs, arranged flush with the ground or slightly above. If you are planning a massive structure, it is better to spend the time and money and create melkozaglublenny slab foundation.
- Another embodiment of such a foundation is a foundation of concrete blocks. The blocks are located in areas home construction support. Each block is deepened in the ground not less than 10-15 cm on a bed of gravel, sand or crushed brick.
Note! If the foundation is settling on an uneven surface, in any case, do not reduce the depth of penetration into the soil blocks. Better point in the bottom surface to establish two blocks interconnected with cement mortar or cement based adhesive.
In addition to the concrete foundation, it is also possible to equip the wooden pier foundation. In this case, the entire structure will rely on dug into the ground of the support beams on concrete pads.
To prolong the life of wooden pier foundation all the wooden parts treated with an antiseptic, and daubed it with bitumen.
Homemaking
Floor
So, the foundation is ready.
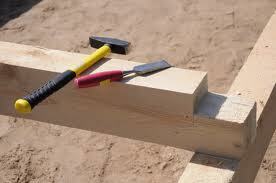
tying frame
The next step we should be equipping our house floor:
- Set strapping beams, which will be fixed frame and the flooring itself. Wooden beams, sawn according to the project (or taken from the final set of holiday home), process an antiseptic composition and give dry. Dried out beam set on the foundation, over which assemble wooden ribs and fastening the whole construction into a single box construction nails.
- Connected by an edge banding beams transverse bars, which will play the role of the floor frame. frame beams set in increments of no more than 50 cm is strictly perpendicular to the edges and fix the outside of the building nails.
- Coanda floor. You can lay a floor of solid decking or on the rough floor of the edging boards to lay flooring, laminate flooring or a deck board. Whatever it was, the choice of flooring for garden shed is still better to opt for natural materials.
Walls
After lathing floor installed on a foundation, and paved floor itself, go to next step - for walling.
Note! Wooden wall elements scaffolds like elements and piping floor must be treated with an antiseptic.
- Laid on a flat surface of a pre-cut boards, joined with tongue and groove. On top boards impose frame wall framework and driven flush.
- Ready frames of walls with a pre-left door and window openings in the floor harness set vertically and fastened with steel screw. fixing step is not more than 35-40 cm.
- Install all the wall elements and align them at right angles to each other. Fastening a wall between himself and is attached to the floorboards in those places, where the joists.
- We proceed to the installation of windows and doors. To save a single style in the garden house is better to use wooden windows with single or double glazing. Doors also make better use of wood.
- To the doors and windows fit into the overall design, experts recommend for finishing of window and door slopes to take the same boards that were used for wall covering.
-
Before installing window and door openings are processing jigsaw for final smoothing and deburring.
After the windows and doors installed on the outside slopes facing boards nailed to visually emphasize the openings in the walls.
Roof
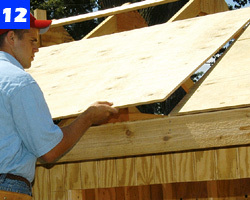
Installing roof
Once the walls are erected, it is up to the construction of the roof:
- The foundation of our house the roof is made of beams rafters 45h150 mm. To flat roof is easily dripping rainwater lags Cut down diagonally so that their thickness at the end was 90 mm.
Note! Adjustment lag to be performed using a circular saw. In this case, the cut line should be as flat and smooth, otherwise the roof will fall unevenly.
- We spread the rafters on top of the walls of our house with 60 cm increments. Note the installation step rafters on the upper edge of the wall and use the screwdriver to fix the rafters of the frame wall at an angle of 900.
-
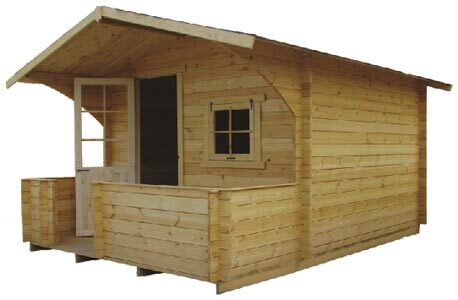
Ready garden house
On top of the rafters plank roof - panels of waterproof plywood and shingles. Shingles to the plywood panels are fastened with special roofing nails.
Note! Under roofing plywood directly to the rafters can put rolled roofing material. This will significantly increase the security level of your garden shed moisture.
- If the construction of the roof gable, from scraps of shingles required to do horse. He will protect the roof from flowing even in heavy rain.
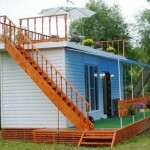
Your garden house is ready, you can now start its decoration, for example, to install a canopy with a lattice for climbing plants, break or set a garden on the roof of a pole with a weather vane.
As you can see, just a few days at the lowest cost to pay the builders work on your site will grow nice and cozy garden house, which has become an ornament of the garden design.
Besides, in the process you will gain very useful skills that you will be on the shoulder, and the design of the winter garden in the house, and arrangement of pavilions.
Summing up
We hope our article has been helpful to you. In order to more accurately understand the technological and practical issues on our website provides detailed photo and video instruction, in which you will find useful information on the question.
Photo Gallery
