Fresh air valve in the wall: 5 main advantages and methods of self-assembly
Table of contents
-
1 Description of ventilation devices for postural
- 1.1 Scope wall of air-supply valve
- 1.2 The main structural elements
- 1.3 Advantages: 5 arguments "for"
-
2 installation technology
- 2.1 Choosing valve
- 2.2 What you need for installation?
- 2.3 Prepare holes, mounting and installation of valves
- 3 conclusion
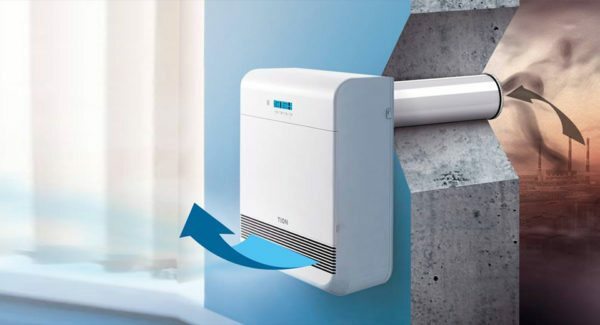
To ensure the apartment the fresh air and it further purification wall valves - one of the best solutions!
Glazing Improvement with plastic windows, as well as an outer wall insulation material polymers often leads to disruption of the natural ventilation. Bail in this situation may valve ventilation: it provides an air flow setting required to complete the circulation.
Valves vary widely, but the most effective is considered (rightly so, by the way!) Their wall variety. Based on its experience in the use of such devices, I tell you that this wall valve as it is to choose and how to install.
Description of ventilation devices for postural
Scope wall of air-supply valve
To begin, let's deal with the problem itself and the ways of its solution.
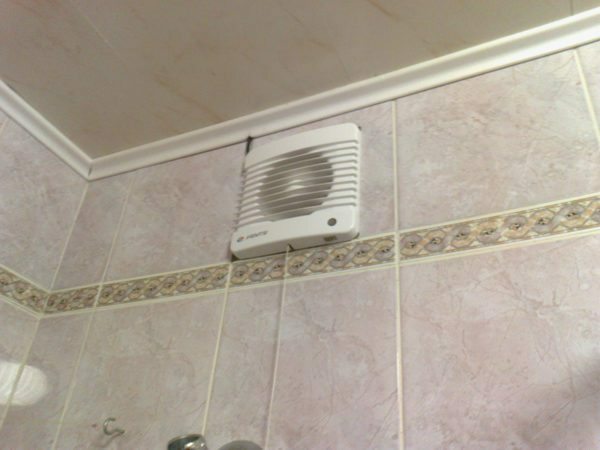
For proper ventilation is required well-functioning hood
To ensure that the indoor climate is required ventilation, which can be divided into two processes - supply and exhaust. Exhausting all more or less clear: in every apartment has air vents connecting rooms with common exhaust system at home. The status of these communications - the second question, but at least they are at least present.
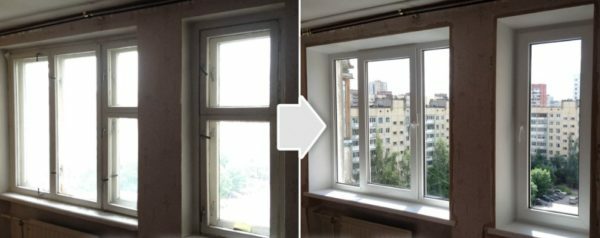
When replacing old with new woodwork sealed windows broken natural ventilation facilities
With the influx of more complicated: it can only provide ventilation. In the houses of old construction the fresh air flow has been realized, including, and due to the slots in window structures.
But plastic window - is not made of wood Joinery: they are almost hermetically sealed, and the air does not pass. As a result, the inflow is reduced to almost zero, and the intensity of the ventilation critically reduced.
An additional barrier to the inflow of external facade insulation becomes a vapor barrier material - foam or polystyrene.
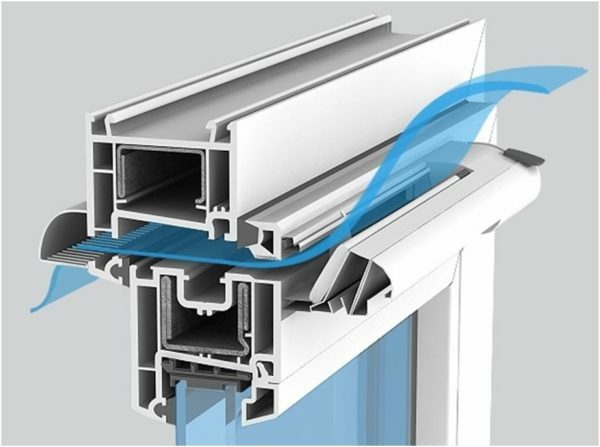
Window ventilator - an alternative to wall outlets
To provide fresh air into the room today use a variety of ventilation devices:
- Window flaps.
- Fresh air valves in the wall.
- Obschedomovye ventilation systems.
Bandwidth wall models surpass the window, because for a radical solution to the problem it is necessary to use them.
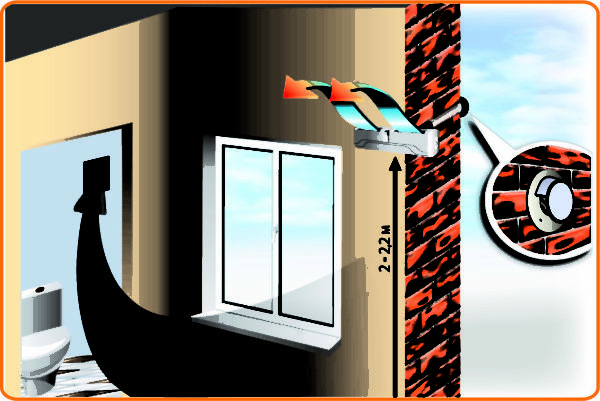
Air circulation from the wall of the valve before stretching
Operating supply wall element is quite simple:
- The valve is installed in the through hole in the outer wall. Wherein the intake device to be located outdoors or in a vented space behind the lining.
- Air enters inside through a simple filter system. Because of this prior to entering into the room air masses are cleared of the most dangerous pollutants.
- Stable flow through the valve promotes breathability. By increasing the inflow actively works natural extract, and air with a high content of carbon dioxide is removed intensively.
Setting the supply unit helps solve the problem of lack of air flow required for circulation. And from my point of view, the decision - one of the most effective and economical.
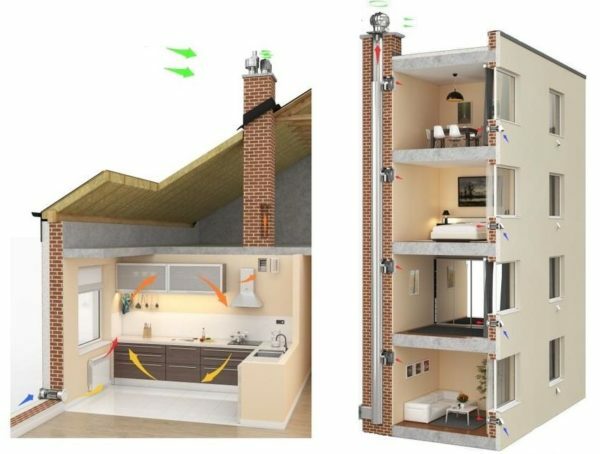
EXAMPLE air circulation and in particular an apartment building
The main structural elements
ventilation valve built into the wall, arranged quite easily. In fact, it is a pipe that connects the room to the street and equipped with additional devices for protection against dust, debris, heat, as well as for cleaning the outside air.
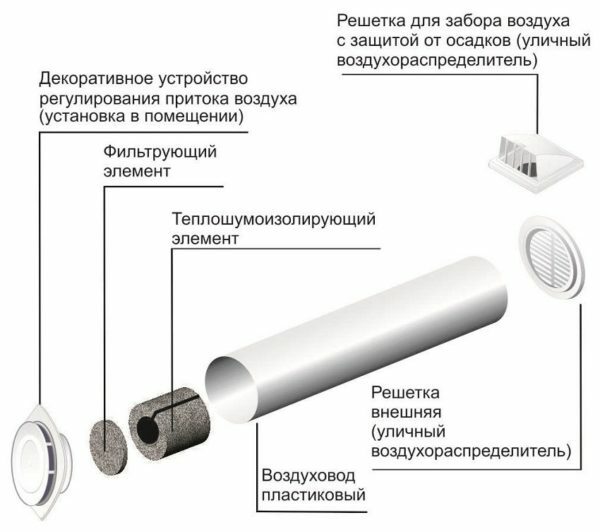
Diagram showing the basic elements of the design of the ventilator
The basic elements of the wall of the supply valve:
- housing unit - usually located in the room on the wall. It is a plastic structure of the cover and the air flow regulator. The controllers can operate on a different scheme, but the operating principle is always the same: the wider open hole inside the valve, the more air is supplied per unit time.
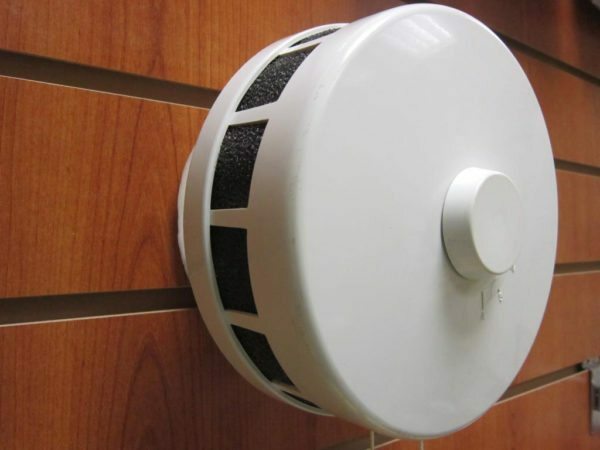
This part of the device is placed inside the room
- flap - the internal elements of the flow control system. Are attached to the controller ventilation when rotated open or close the lumen within the valve.
- The filter system - mounted inside the wall. As a rule, the supply valve is equipped with a simple sponge filter, which captures dust. Use of more efficient filters is also possible, but at the same time greatly reduced bandwidth.
Usually, when installing a porous structure effective filters accrue suction fan.
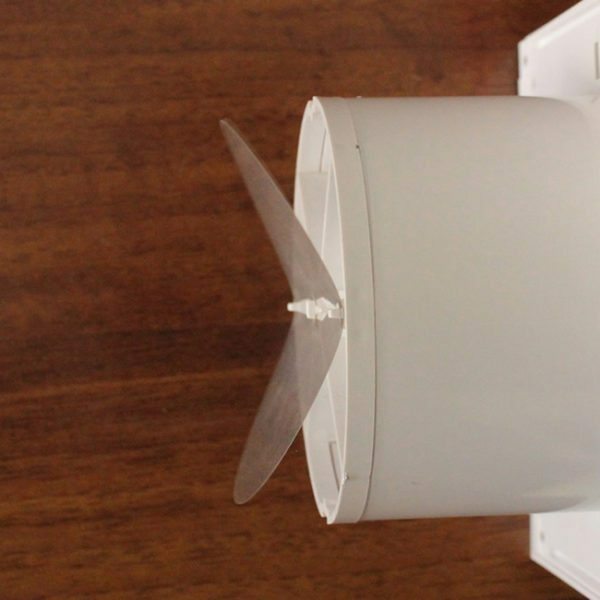
In the photo - a check valve that blocks the flow of air from the room to the outside. The presence of this element increases the effectiveness of the thermal insulation
- valve duct -. A hollow tube with a diameter of 100 to 200 mm in different models and lengths up to 1 m As a rule, with a supply pipe acquire in length and trimmed during installation on site - so it is possible to adjust the device at almost any thickness of the wall fencing.
- Thermal insulation inserts and housings - a system of porous tubes and rings, which is set in the hole for the valve assembly. Inserts made from polyurethane foam or polyethylene foam, provide protection against freezing and help to reduce heat losses in ventilation.
Furthermore, porous insert reduce noise: in a strong wind valve may buzz, and quite loud.
- The outer housing - part of the system, which is attached to the wall outside the building. Generally, the structure includes a ventilation grille with protection from raindrops (dozhdeotboynikom) peak and a mosquito net. The last element holds not only insects, but also poplar fluff and large debris.
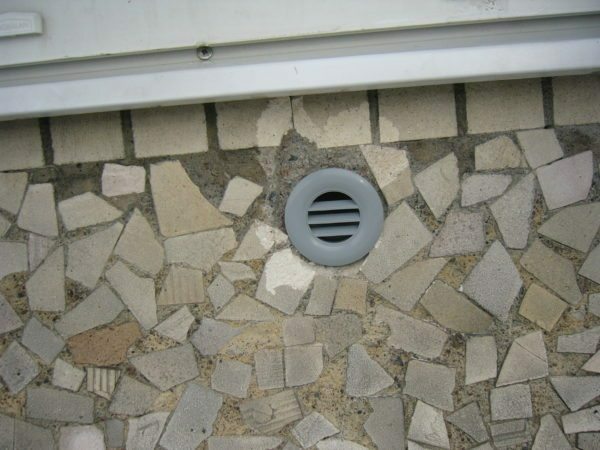
The outer part is equipped with a grille vents for protection from debris
Different models of the configuration of these elements may be different, and quite strongly. But on the whole scheme of the device, and, therefore, how it works, do not change.
Advantages: 5 arguments "for"
Fresh air ventilation valve, mounted on the wall, it gives us the following advantages:
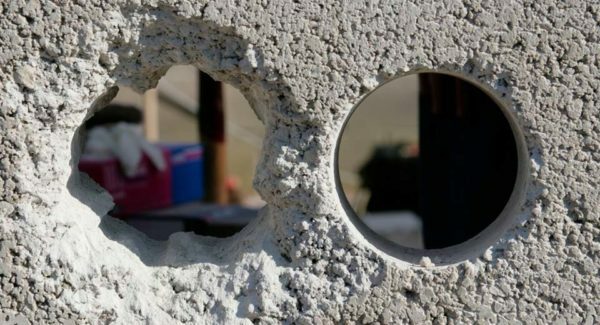
Due to the considerable diameter of the mounting hole bandwidth of such valves is very high
- Efficient supply of fresh air. Performance in these models is higher than that of the window, so that only one or two valves to the apartment, and the problem will be solved with the air exchange.
- optimization of microclimate. Air valve not only ensures the influx of oxygen. He also contributes to a more intense work stretching. This means that the room will be removed exhaust humid air that will help solve problems with mold and condensation.
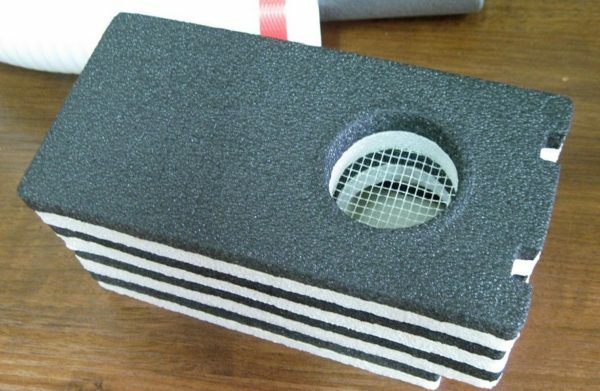
Filter and mosquito nets to help get rid of the main pollutants
- Purification of the inlet air. The presence of external grille and internal filter system allows you to remove from the stream almost all dirt. With conventional window ventilation - no comparison!
- Stand-alone operation. For the functioning of the system does not need electricity or other sources of energy - the device operates only by the difference in pressure. This wall valve sets itself apart from the majority of ventilation systems with forced air intake.
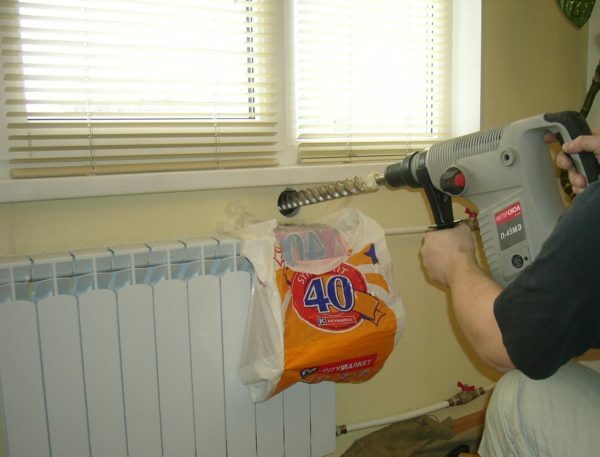
Design can be installed in a room that is already in operation - the destruction at the same time will be minimal
- The ability to install at any time. system installation technology involves drilling only one hole in the wall. To do this, not necessarily to dismantle the finish, because you can set the ventilator and after repair.
installation technology
Choosing valve
To find the device that will be used in an apartment, you need to pay attention to its functional parameters. For wall air handling units will be the main:
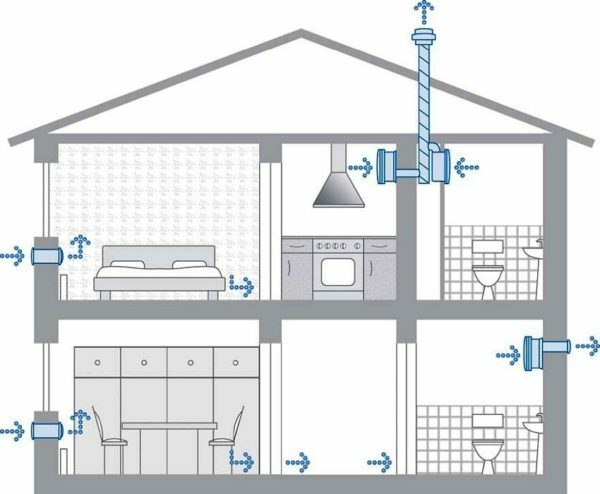
Housing will need at least two valves, and even more - it all depends on the size and configuration of the premises
- Performance. Different models of this ranges from 50 to 150 m3 / h. Acquire better design with a stock by volume, focusing on the area of the premises.
The ratio of air exchange for the living area is at least 3 m 3 / h per square meter of apartments. So that the second valve is usually necessary to buy more if the apartment three rooms or more.
- Ability to adjust airflow. Most models of the manual control is present, so that we ourselves can control the intensity of ventilation. But there is a fully automatic devices that drive the valve opens responsive to the humidity in the room.
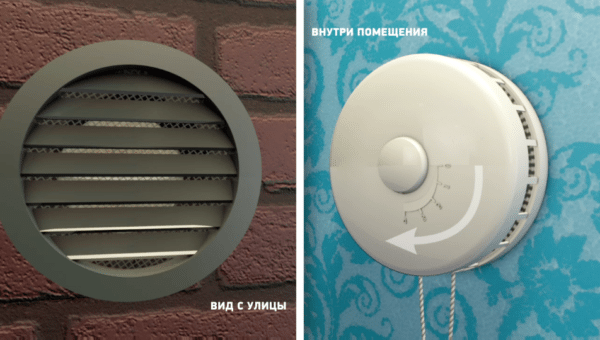
C can adjust the intensity of the air flow via the inside of the device
- Soundproofing. The presence of this option is highly desirable, especially when embedded in a thick wall.
- Thermal insulation. Basic insulation is at all devices, but if your house is located in the northern region, it is advisable to purchase a model with additional insulating cover.
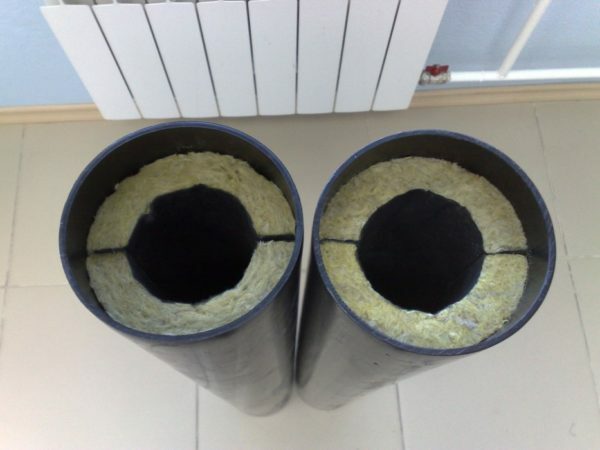
Sleeves with additional thermal insulation reduce the risk of freezing to almost zero
- Price. The simpler the model, so it is cheaper. That's why you can find a device for basic ventilation of 2-3.5 thousand. rubles. More recent models are from 5 to 12 thousand, but they are in addition to the air intake can also regulate its flow and provide effective cleaning.
What you need for installation?
When you install the supply valve on the wall, we will bear the costs, not only for the purchase of the ventilator. Installation using specialized equipment will cost about 3 to 5 thousand rubles depending on the region and the complexity of the work. If access to the equipment you have, you can save by installing the product yourself.
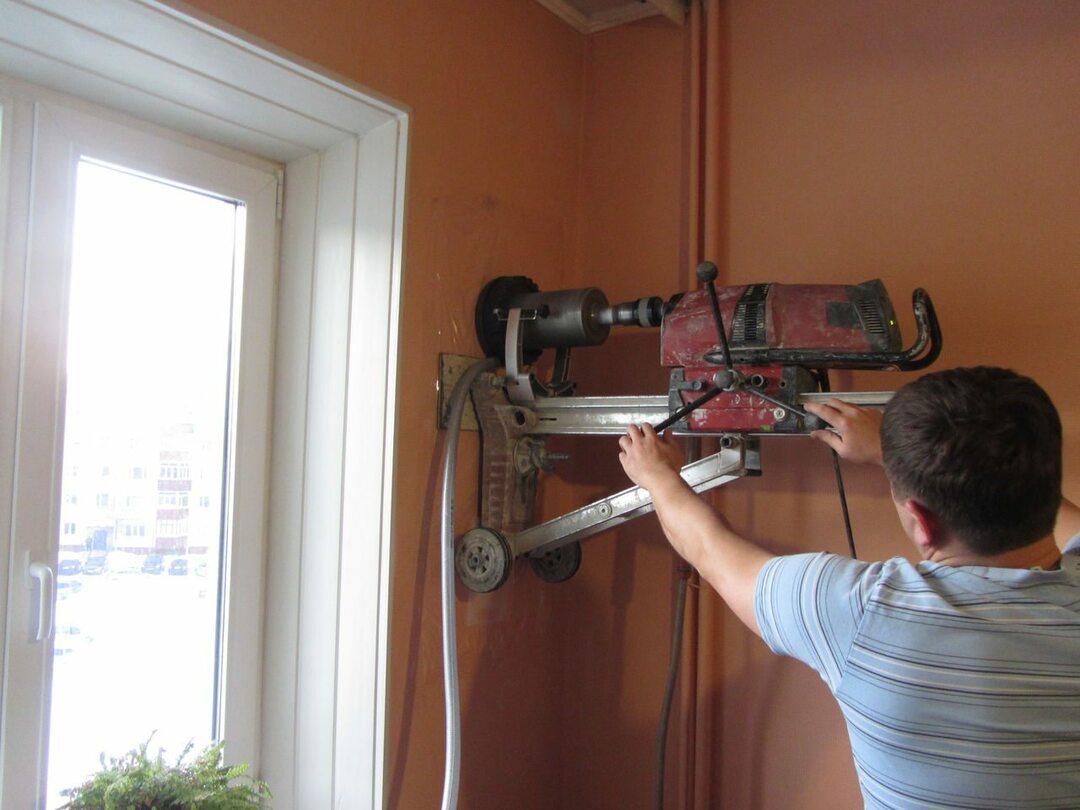
The hardest part of the work - to find a suitable machine for drilling holes
For the installation, we need:
- Puncher with a big power drill or a stationary wall.
- A drill rod with a crown whose diameter corresponds to the diameter of the insertion hole for the valve.
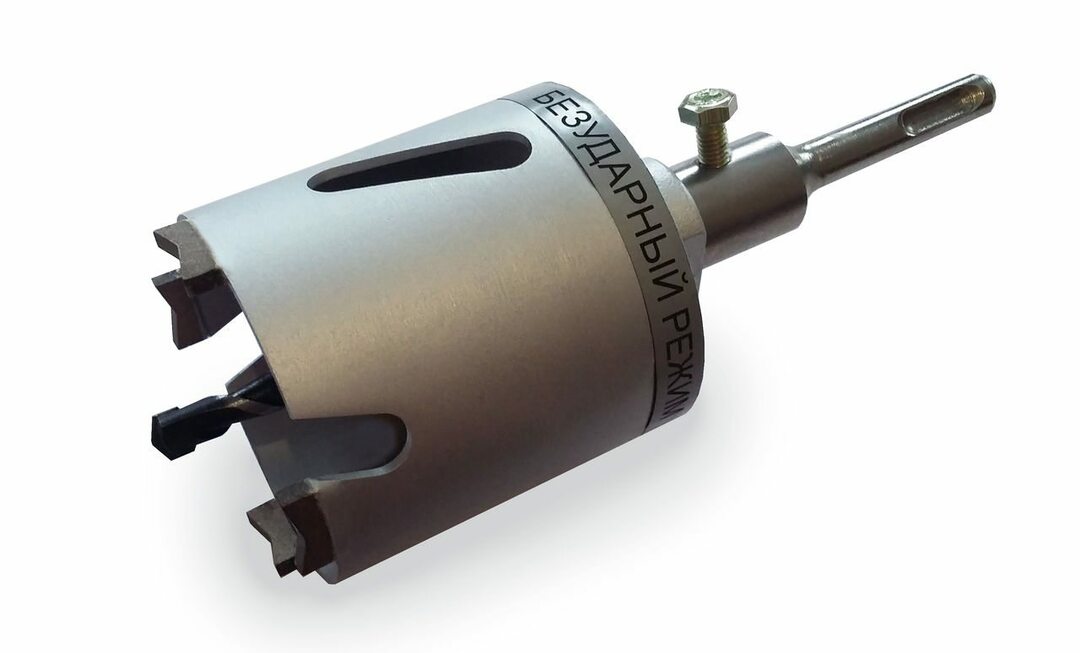
To the edge of the hole was smooth, to start drilling diamond drill bits are used
- Industrial vacuum cleaner (especially - if the installation is done in a clean area, that is where the repairs already done).
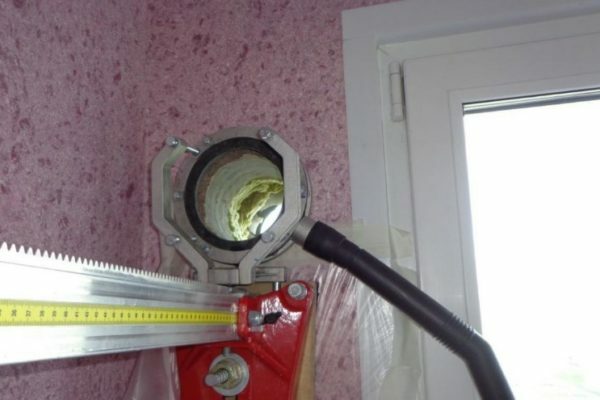
Using a vacuum cleaner gets rid of a lot of dust flying in the air
- Screwdriver.
- Crosshead screwdriver.
- Measuring instruments - the level, tape measure, plumb line.
- Knife for cutting the insulation.
You also need to consider that the valve assembly of the wall with his hands - the work of a noisy and dusty. Because protection is acquired:
- Points.
- Gloves.
- Mask or respirator dust filter.
- Construction headphones.
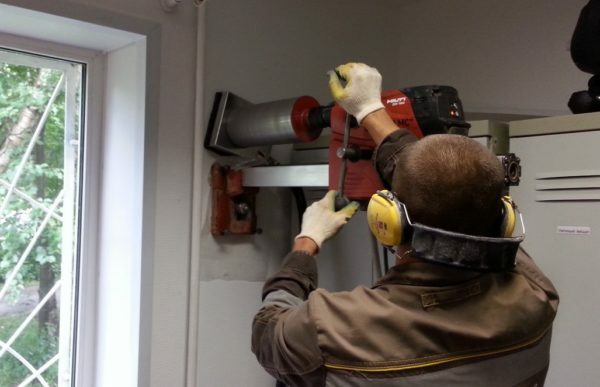
Headphones and a dust mask when drilling precisely will not prevent!
It is not superfluous to warn the neighbors - avoid!
Prepare holes, mounting and installation of valves
Instructions for installing the wall of the valve is simple enough - to mix something almost impossible. It is important to choose the place of installation (under a window sill over a radiator or heating side of the window) and to strictly implement the algorithm works.
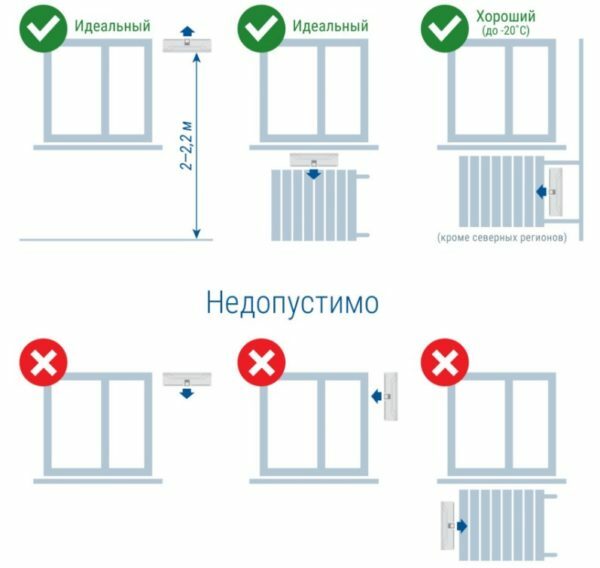
Correct and incorrect installation options ventilating devices
Mounted valve as follows:
| Illustration | installation stage |
 |
Removal of the outer skin. If the facade is decorated with mounted panels, the trim element against the valve seat to temporarily dismantle the installation. In the future it will be possible to replace the - air intake is carried out from a gap between a wall and the paneling. |
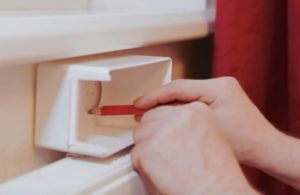 |
Marking. By putting a selected portion of the base of the valve and put on the wall layout, on which we will focus during drilling. |
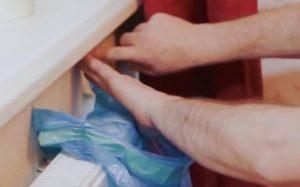 |
"Traps" garbage. Under the hole glue a plastic bag into which concrete will fall apart. Top or side anchoring industrial vacuum cleaner hose, which will trap the dust formed during drilling. |
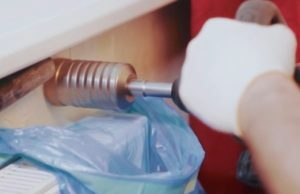 |
Start drilling. Using a diamond crown, starting hole is drilled depth of 70-100 mm. Remove from the hole broken off pieces of concrete. Inserted into the hole and chisel to knock out the center of a shallow notch, which will facilitate the positioning of the drill. And the starting hole, and the whole channel, it is desirable to do with a slight slope to the outside - so we have to protect themselves from wicking moisture. |
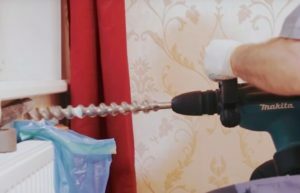 |
Drilling holes for installation. Using a drill for concrete, forming a hole for the vent valve sleeve. To reduce tool overheating periodically Moisturizing workspace. When drilling does not turn off the vacuum cleaner in order to avoid air entering the large amounts of dust. So as not to dislodge part of the outer wall, the last few centimeters pass at reduced speeds. To this end, the storm makes a note length. |
 |
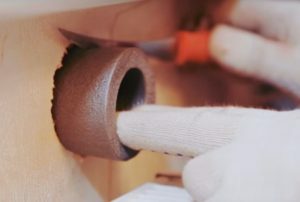
Cleaning openings. We put the vacuum cleaner into the drilled groove and remove all the dust out and shards of concrete. |
 |
Installing insulation. The casing of polyurethane or polyethylene foam inserted into the drilled hole. The excess material cut off flush with the wall. |
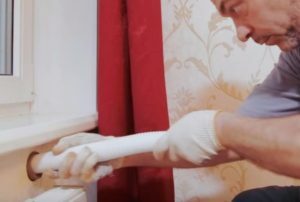 |
Installation of the liner. Duct vent tube inserted into the hole with the insulating casing. Promote duct screwed movements as long as it does not come from the outside wall. |
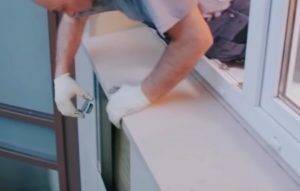 |
Installation of outdoor dome. Outside on the sleeve set the ventilation grill with cover and mosquito net. The structure must be located close to the wall. When installing external parts of ventilation above the second floor be sure to use the insurance! |
 |
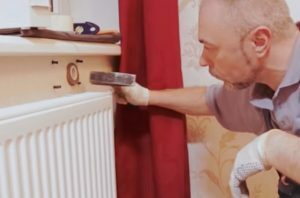
Partitioning Wizard. Is applied to the fixed sleeve valve body align its level and mark the site of attachment on the wall. |
 |
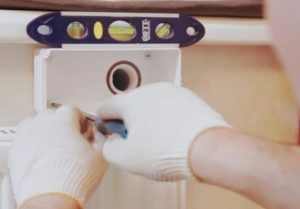
Installation of fasteners. By marking are drilling holes in the wall of at least 6 mm in diameter and 40 mm deep. The holes are hammering the plastic anchors. |
 |
Secure enclosure. We fix the housing to the wall by screwing screws into the wall plugs with wide hats. For greater reliability under every hat you can put a wide washer. |
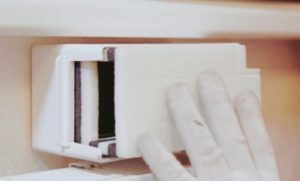 |
Installation of the main part of the device. The body and sleeve valve set to adjust the flow of air and dust filter. Close the lid structure. |
In this installation of the wall of the supply valve is completed. Check the operation of the system is very easy - just bring it to vent a burning candle. The air flow will decline or flame, or in general it will blow.
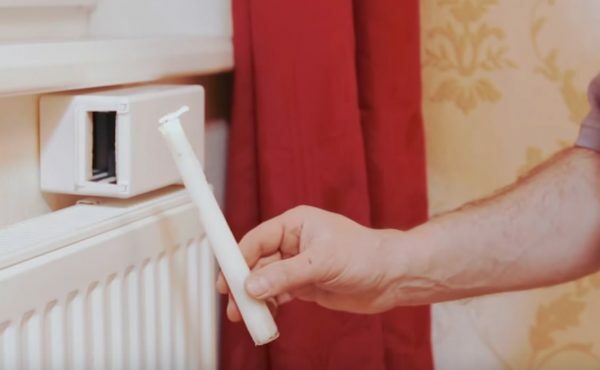
This is to check the efficiency of the wall vent
conclusion
Correctly installed vent in the wall, we can solve a number of problems with the indoor climate and normalize ventilation. But this task is very time-consuming, so before you take up its implementation, read the instructions carefully and watch the video in this article. If you have questions, you can ask in the comments.


