Foil heater for the bath - stepwise technology correct folding
Table of contents
-
1 The working process
- 1.1 Materials and tools
- 1.2 premises Warming
- 2 Output

Mineral wool with reflective layer - the best insulation for the baths, as it keeps the heat inside the room
Not sure which to choose a heater for the bath to get the best effect? I'll tell you about the best option, which is suitable for rooms with a high temperature. The material that I use is simple styling, this work can easily carry out even an inexperienced master.

For best effect, insulation joints are always glued special reflective tape
The working process
Warming baths and saunas technology consists of just two steps:
- Preparation of materials and tools;
- Laying a heat-insulating material.

It looks like the system circuit warming bath
Materials and tools
Let us examine how better insulation to warm bath, and what additional materials are needed:
| Illustration | Description of material |
|
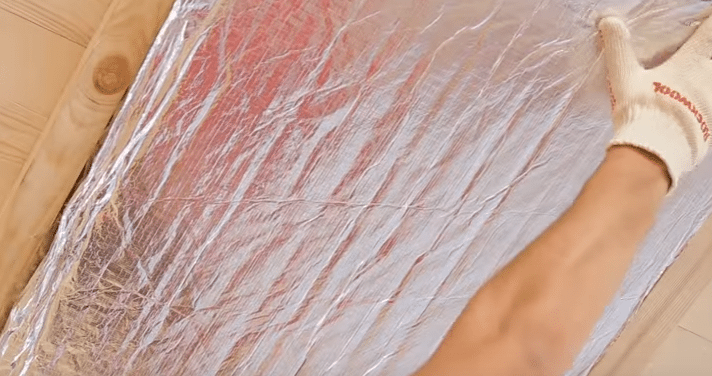
foil mineral wool. The material can be produced in slabs and rolls. What need a heater for the bath - you decide, but I advise boards. They are much tougher, and need not be further secured to the crate, which is very convenient. The thickness depends on the type of design. But the standard solution - 5 cm on the wall adjacent to the inner room, and 10 cm on the exterior walls. | |
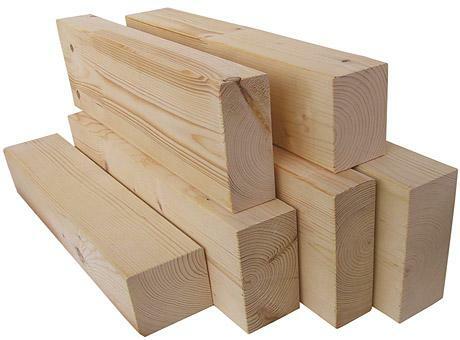 |
Bar for battens. Its height should be equal to the thickness of the insulation used and its width should not be more than 50 mm. That is, if you have a mineral wool thickness of 100 mm, it is necessary to use a bar 100x50 mm. The ideal material of the bar - a larch, but the fit and pine, its price is much lower. |
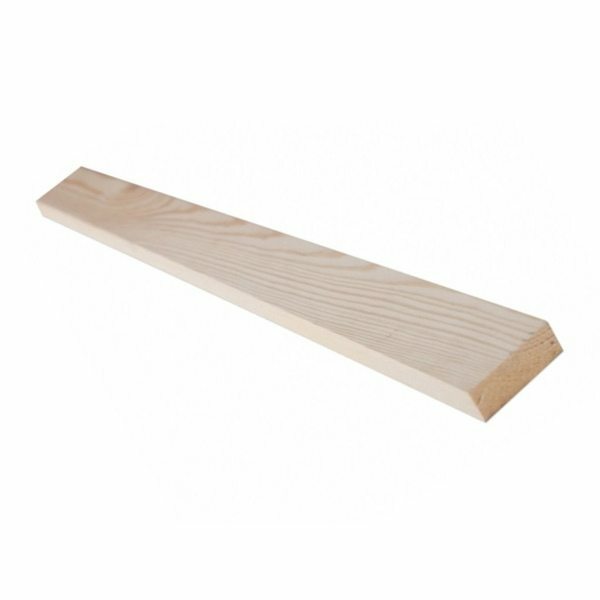 |
Bar 20x40 mm. It will be used for the construction of kontrobreshetki over insulation. These elements will be attached finishing. Furthermore, additional lathing creates a ventilation gap, through which the heat is reflected better and faster moisture away from the surface. |
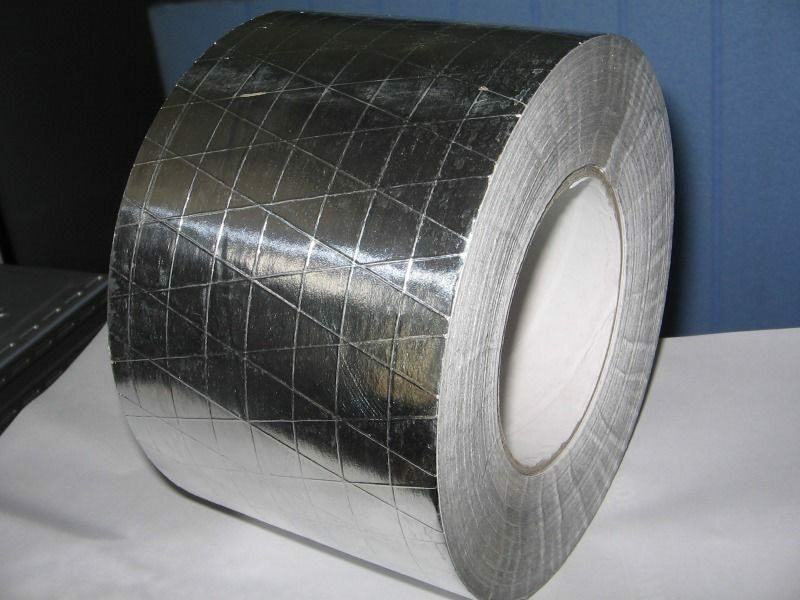 |
reflective tape. Used for bonding joints and creating a continuous reflective surface. In our case the ideal reinforced embodiment 100 mm wide and more. If you have a conventional foil tape 50 mm, then it will have to be glued in two rows, which is not very convenient. |
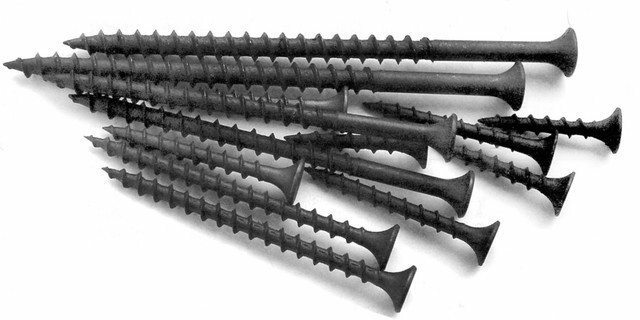 |
fasteners. Used wood screws, whose length should be greater than the thickness of the bar at 30-40 mm. If you have a brick or gas-silicate Wall, then fixing the main frame need dowel quick installation. |
When considering how to select a heater for the baths, not to mention the option of a conventional mineral wool and a special reflective material Penofol. It is mounted on top of the insulation and creates a reflecting layer. This method of work more time-consuming, and I advise you to use if you do not manage to find foil mineral wool.

If on top of a heater attached Penofol, it is best to fix the staple gun
Polymer insulation (polystyrene, extruded polystyrene, etc.) used in the steam room or sauna can not. But I would recommend to all premises isolate mineral wool, it is more eco-friendly and safe material.
Tool for the job:
- Special knife. Heaters for baths need to be cut very carefully and accurately. Therefore purchase knife for mineral wool, through which can quickly and accurately cut material of any thickness. The same building knife makes cutting of normal quality, and the length of the blade is only enough for options up to 50 mm;

Knife for mineral wool provides the perfect quality of the material cutting to within a few millimeters
- Measuring tape and pencil. Additionally, you can stock up on the level or long flat rail. These elements may be useful when cutting mineral wool as a guide, so much easier to make a clean cut along the entire length;
- Stepladder. Insulate the ceiling, standing on the floor, it is impossible. Therefore, advance purchase required height ladder or use a table to provide access to the surface of the ceiling;

Stairs necessary in order to enable you to reach any part of the surface on the ceiling and walls
- Work gloves. For some types of insulation further need goggles and a respirator.
Use stone wool, it is safe and does not require the use of protective equipment at work. Enough conventional textile gloves.
premises Warming
Let us examine the workflow. It is the same for all grounds, there is only one caveat - if you log structure, the pre-lay mezhventsovogo insulation, do not need to rely only on mineral wool.
Instructions for the work with his own hands:
| Illustration | Description stage |
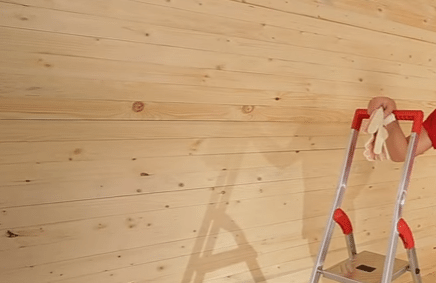 |
preparing the base. The walls and ceiling must be dry and clean. If there are irregularities, they should be eliminated. In this case, the surface lined with pine boards. |
 |
constructed crate. The construction going on the ceiling and on the walls. The bar must correspond to the thickness of the insulation used. In this case, the ceiling and one wall fastened elements 40x50 mm, and on the other three walls of 50x100 mm. |
 |
Step frame arrangement - 590 mm. This distance will not fix the plates and place them vraspor. Because of this put a heater in the bath can be twice as fast. |
 |
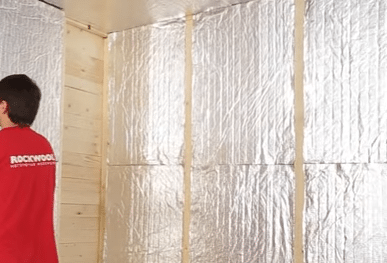
insulated ceiling. Because heat always goes up, it should start working from the ceiling bath. Sheets gently inserted into the crate in order. Initially fueled one side, then the other. Do everything carefully, so as not to damage the mineral wool and achieve the best effect of warming. |
 |
When installing pay attention to the seams between the sheets. The tighter they are, the less heat will be lost. Dock begins with the connection, and then tuck the sheets around the perimeter, so the easiest way to tightly and accurately connect the elements. |
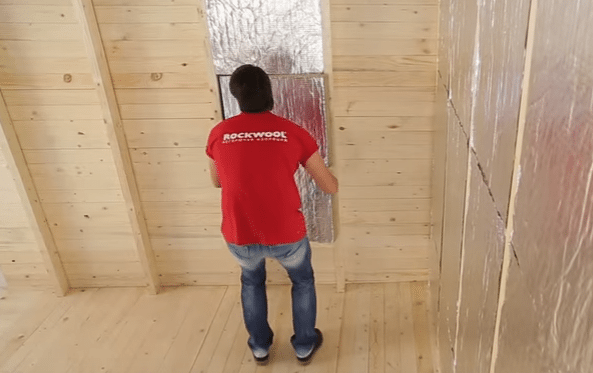 |
Insulated walls around the perimeter. Wall insulation bath is no different from the ceiling. This part of the work is even easier because the work easier and better to keep the elements in the design. |
 |
After placing all integral pieces can begin to narrow areas. To do this, you need to accurately measure the distance. Remember that when a heater layout need to add 10 mm to the element firmly located in the crate and well kept without additional fixation. |
 |
The material is cut to size. To this end the sheets are marked with a pencil or felt-tip and cut with a knife. Skilled craftsmen are working without a guide, but you'd better put it in order not to spoil the heater. |
 |
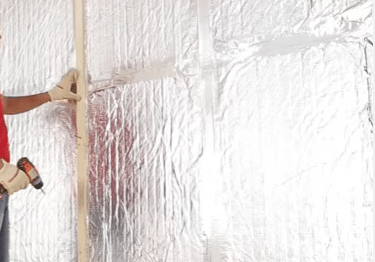
All joints are glued with tape foiled. Everything is simple:
|
 |
So it should look like the finished work results. The photo shows all the connections and joints are carefully sealed with and on the surface there is no open area. Pay special attention to the junction of the ceiling and walls. Better to stick there are two layers of tape, to ensure maximum reliability. |
 |
Cut bar on kontrobreshetku. It is located along the main frame. Attached elements will be through the foil strip, which is also important, because you will not damage the insulation in the course of work. |
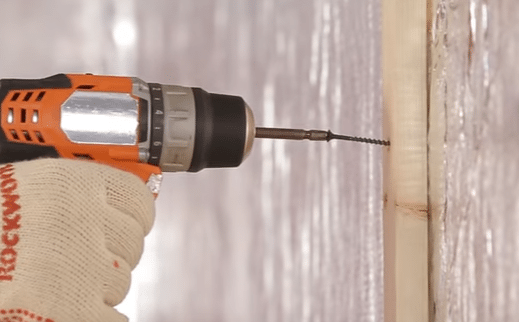 |
The bar is attached to the surface. Work is performed with the use of screws for wood, which are arranged in increments of 35-40 cm. not connect elements back to back, the deformation leave a gap of 5 mm. In the room there will be significant changes in temperature and humidity, and construction will inevitably play. |
 |
After kontrobreshetki installation can sheathe the walls and ceiling. It is important to use materials from hardwood. Installation is carried out in the same way as an ordinary crate. |
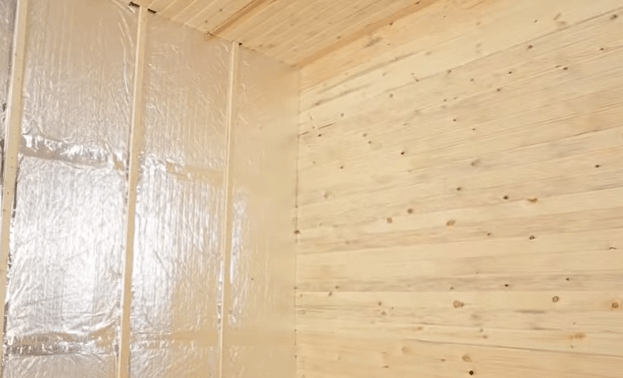 |
Here is the finished surface. Thanks to the foil layer under the bunk is not necessary to lay a vapor barrier, which simplifies workflow. |

If the lining is mounted vertically, it is necessary to have horizontal kontrobreshetku
Output
Foil insulation for the bath - the most effective and easy-to-implement solutions. Videos in this article will help you understand the subject even better if you have questions - ask in the comments.