Water supply in the country: 3 phase of the autonomous source equipment
Table of contents
-
1 Step 1. power equipment
- 1.1 well digging
- 1.2 drilling of wells
-
2 Step 2. Installation of pump equipment
- 2.1 for well
- 2.2 for well
- 3 Step 3. Laying and connecting pipes
- 4 conclusion
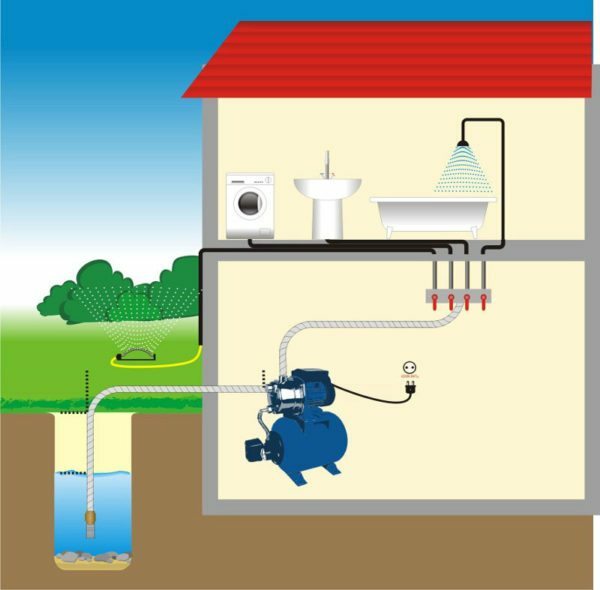
To the water in the country did not have to carry buckets from a well, you need to work on the creation of an effective system
Efficient water supply in the country - one of the conditions on which our comfort depends directly. If the centralized water supply in a holiday village not, then we will have to design and equip the autonomous system. This task is time-consuming, but it is quite feasible - especially if you follow these guidelines.
Step 1. power equipment
well digging
To water appeared in the country - with their own hands will have first to equip its source. And in the absence of running water, we have two options for this: a well or borehole.
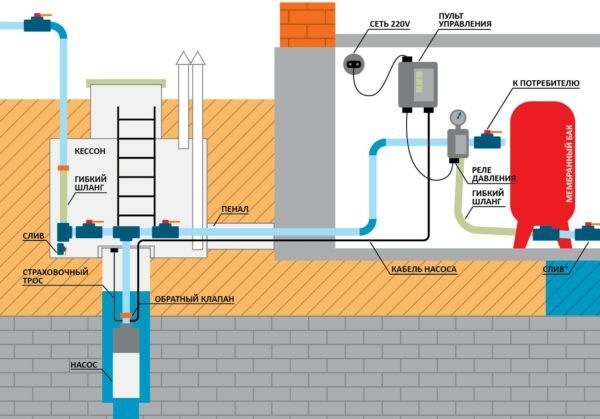
Autonomous water system - the only way out at places without centralized water supply
If the aquifer is underlain by relatively shallow (6-10 meters), it will be easier to dig a well. it is of reliability and performance are likely to give way to the well, but the money we will spend on the device at times less.
Determine the water level is easiest for wells in neighboring areas. If this is not possible, it would require exploratory drilling to find the aquifer.
water source equip as follows:
| Illustration | stage work |
 |
Digging a pit. In the selected place suburban area dig a pit depth of about 1.5-2 m. The diameter of the hole must be larger than the diameter of the concrete manhole rings - so we will get access to their outer surface. |
 |
Installation of manhole rings. Concrete collars for well drop into the pit and align. This should be done either by crane or by a solid wooden rails, with several strong helpers. |
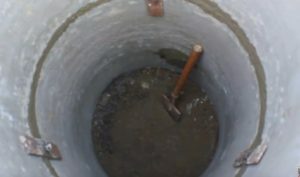 |
Sealing joints. Joints of concrete rings close up with cement mortar to protect against leaks. Sealing perform both inside and outside. Additional rings can be strengthened with metal inserts in the form of letter "H". |
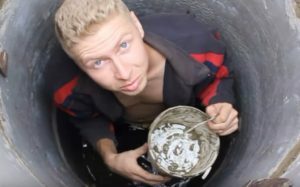 |
Cleaning the aquifer. Gradually deepen the well, undermining the ring bottom and upsetting them. Upon reaching the aquifer choose about 0.7-1 m moist soil, so that we formed a water supply. At the bottom layer of gravel fall asleep, which will act as a coarse filter, trapping the silt and clay particles. |
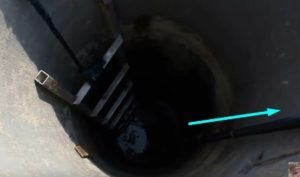 |
Pumping wells. Using a cheap submersible pump, washed with water source. To do this pumps water with sand in the forced mode, while not achieve its maximum purification. |
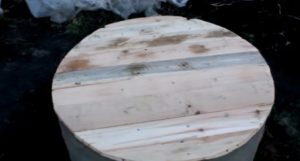 |
Making the upper part. The sand that is evacuated at the bottom of the well, mix it with clay and use for filling the gap between the edge of the hole and concrete rings. Along the perimeter of making clay or concrete blind area. The top ring closing lid. Over time, his place will do a caisson or a house for pumping equipment. |
drilling of wells
More efficient water supply in the country can be built on the base of the well. Typically, the drilling of water wells trust the professionals, but in this case the price of the system will be very high. So if water jar lies at 15-20 m, you can try to cope with their own hands.
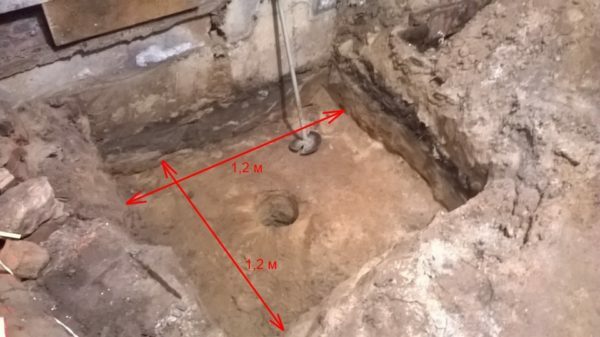
Photo pit with optimal size
The algorithm works is quite simple:
- Digging a pit. Whether well or well in our plans - you should start with digging a shallow (1.5 m) hole manually. In the case of drilling tools make it easier for us to positioning.
- Drilling. Using a screw or hammer drill, we deepen our pit, gradually going deeper. Remove the excavated material from the place of work.
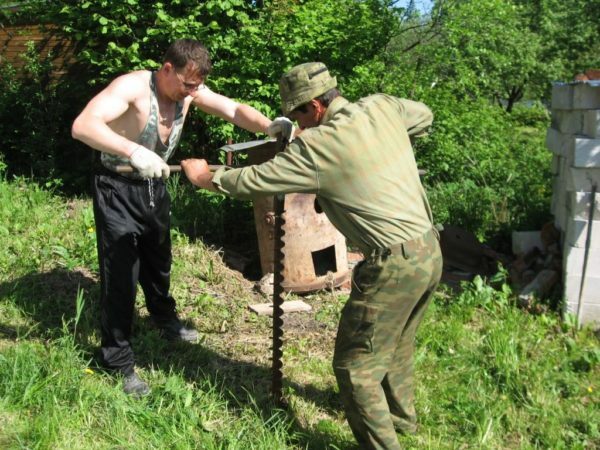
The most convenient tool to drill - auger
- Obsada. The insert hole drilled metal or plastic tubes. Place seam pipes are connected by welding, providing maximum tightness.
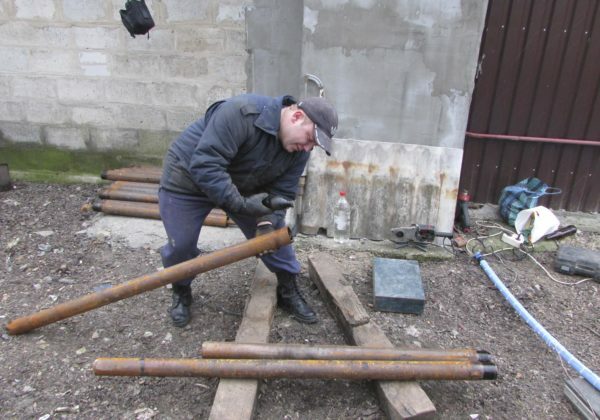
Obsadu source for making steel tube
- filter equipment. After passing through the aquifer to the lower part obsady establish grid filter. It will be used for water purification.
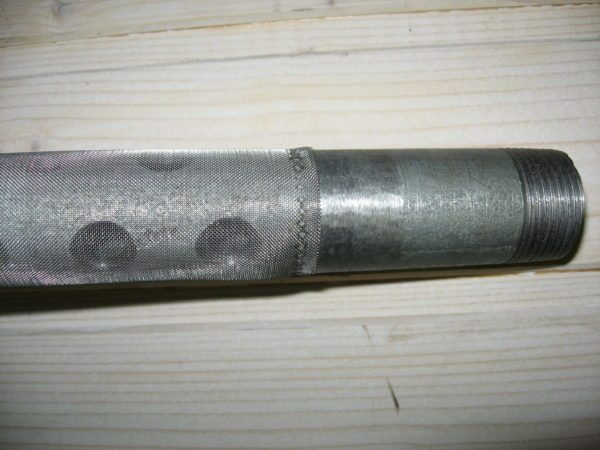
Filter mesh stainless steel
- Pumping wells. As in the case of a well, omit the casing submersible pump for supplying water and to pump water until no longer go sand.
water supply system on the basis of wells require mandatory equipment tip - special sealed nozzle, closing the casing. But well head are typically mounted downstream of the pump installation.
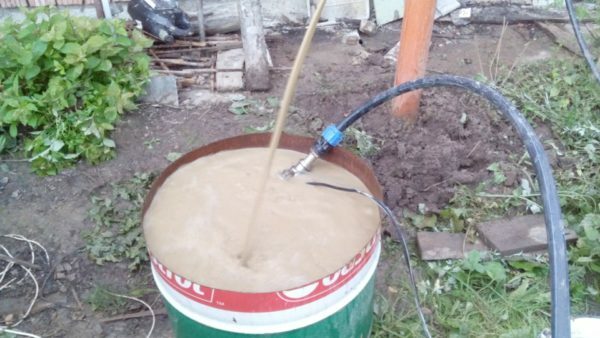
When bleeding is necessary to remove any contaminated water and a maximum sand
Step 2. Installation of pump equipment
for well
Water typically operates to give either the base of the submersible pump, or on the basis of the surface pumping station. Option submersible equipment is easier to implement because it will focus on it.
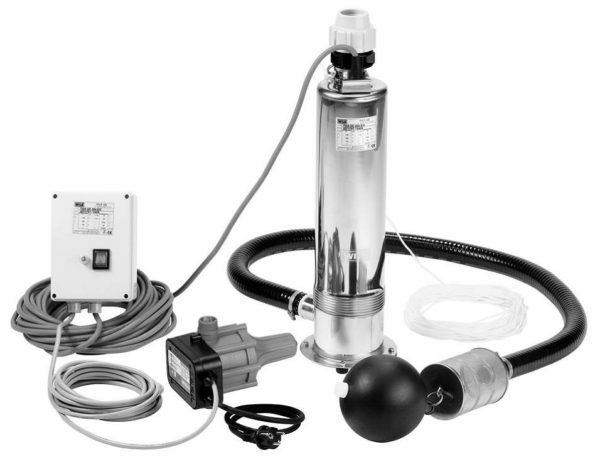
Submersible pump for well
Sump pump mounted quite simply:
- Assembling. To attach the unit to the water supply hose, cable and power cable. Place the cable connection carefully isolate the heat-shrinkable tubing.
- Immersion pump. Omit the pump on a rope into the well so that the water intake holes are roughly in the middle of the aquifer.
- Fixing the cable. To compensate rope vibration in the upper part fastened via an elastic suspension (bundles or cords with rubber core).
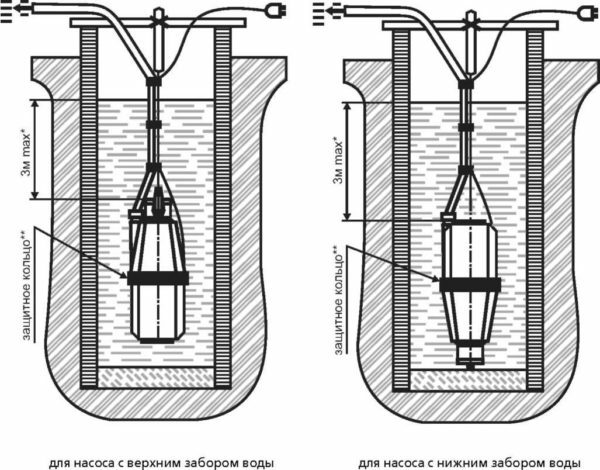
Installation diagrams submersible pump in the well
for well
Slightly differently mounted submersible pump for wells:
- Assembling the pump. As in the previous case, fasten the hose, wire and cable to the pump. For maximum reliability connect all three elements clips in increments of no more than 2.5 m.
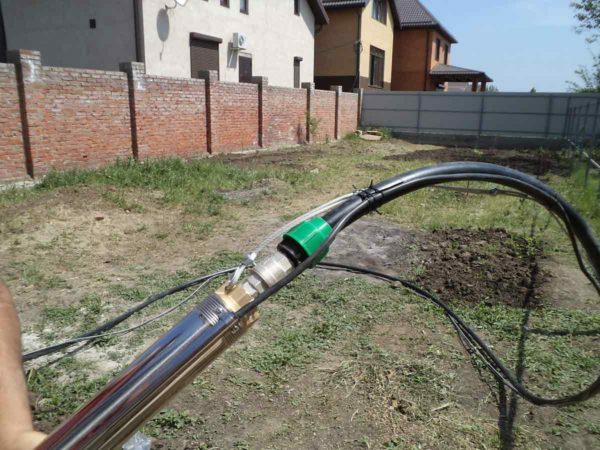
Fixing torso, hose and cable to the pump is performed with a mandatory fixing clamps
- Immersion device. Omit the pump on the cable with the casing so that water extraction was carried out on 2/3 of the depth of the aquifer.
Elastic suspension applied only to shallow - up to 20 m - wells.
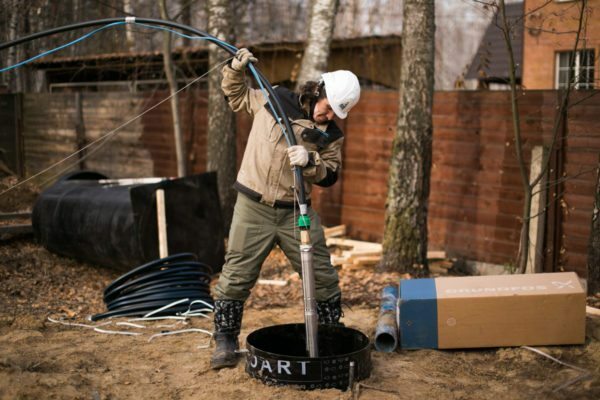
Omit the pump in the casing on the cable, together with a hose for lifting water
- Installation tip. Top set headroom through the hole in which the missing hose and power cable. The cable is attached to the eyebolt in the cap tip. Tighten the fixing screws, which press the gasket and provide sealing of the well.
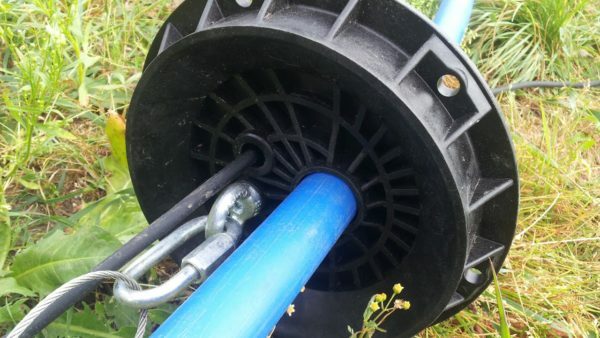
The lower part of the well head to mount the rope to the eyebolt and passed through the hole with a hose cable
Also for lifting water can set the surface pumping station is more convenient to use. Unfortunately, such systems are more expensive, and for their installation necessarily require equipment insulated pit - caisson.
Step 3. Laying and connecting pipes
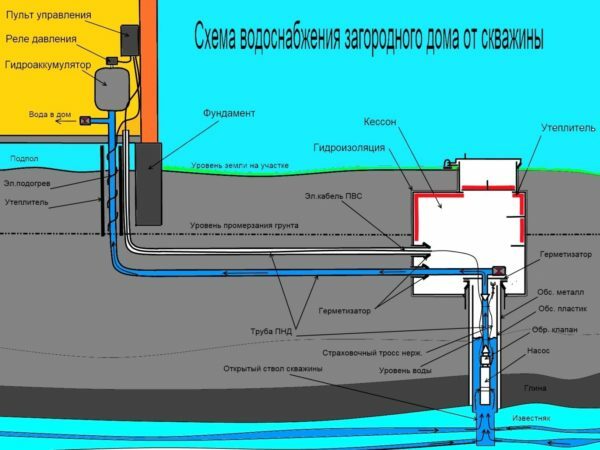
Scheme aqueduct cottage showing a connection portion with the pumping pipework
Our system to function properly, we need to bring water from the source to the lodges and other consumption points. Pipework generally consists of three elements:
- Feed pipe. It we laid in a trench depth of which is higher than the level of soil freezing. The pipe should be laid with a slight slope away from the well / well to the house on a flat sandy base and then fall asleep soil compaction.
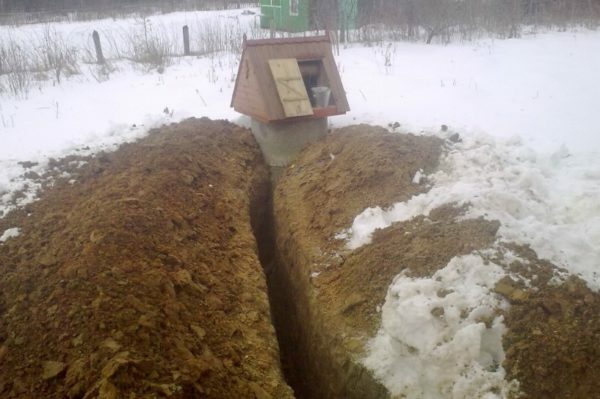
The deeper the trench for laying a pipe from the well, the more effective protection against freezing
If you can not dig so deep trench, the pipe from the pump it is necessary to insulate. If this is not done, in the winter the water in it freezes, and the ice plug will cause a rush.
- Entering into the house. In the basement or foundation makes a hole in which to insert a metal sleeve. We start through the sleeve pipe to the house, and the place is sure to connect compacted and teploizoliruem.
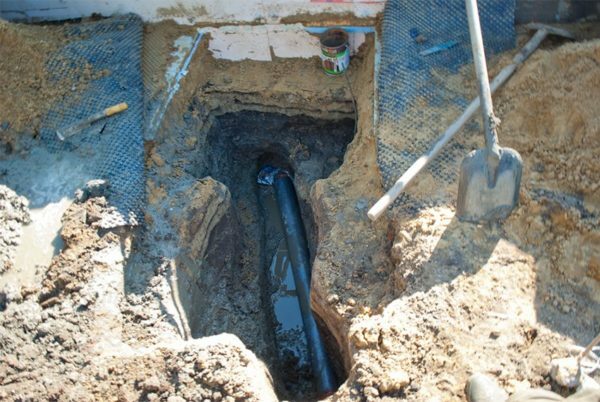
The tube is inserted into the house through an opening in the base, with obligatory hydro and thermal insulation
- Wiring inside the house. Since the country does not usually require a complex system, it is possible to limit the surface sheet. Polyethylene plastic pipes or on brackets and fasten or connect special fittings, or by welding. Connect the pipe to the shut-off valve in the kitchen faucets, bathroom, toilet and so on. D.
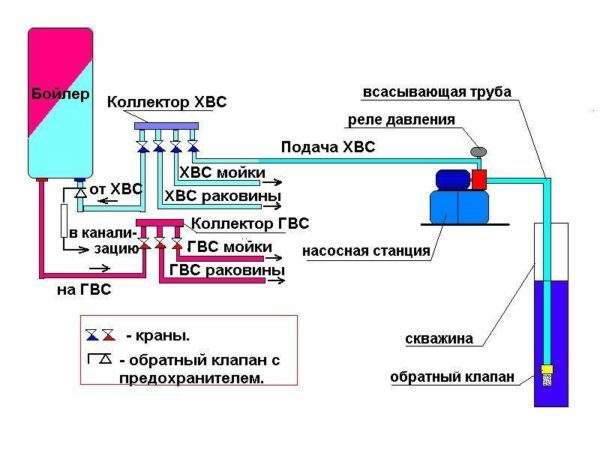
Scheme intrahouse wiring pipe with the pump station
If you plan to supply the house with hot water, a separate branch of the pipeline are paving to connect the boiler.
conclusion
Arrange independent water supply cottages difficult and expensive, but if you have the knack - is quite real. Tips and video in this article to help learn the basic aspects of the problem will be. If any questions about the subtleties and nuances - you can ask them in the comments!


