3d-do the floors in 3 stages - get perfectly smooth and beautiful coat
Table of contents
-
1 Which represents the three-dimensional field
- 1.1 The structure of a floor covering
- 1.2 The main advantages
-
2 fill technology
- 2.1 Materials and tools
- 2.2 Step 1. pre-equalization
- 2.3 Step 2. Application of basic layers of the floor
- 2.4 Step 3. Decorating floor covering
- 3 conclusion

The three-dimensional pattern on the floor is able to literally transform a room
I bet - if you have at least seen 3D leveling floors, then at least for a moment, "and if I do not do the same?". Indeed, the appearance of such coatings competitors, perhaps not - your desire is understandable.
Well, if there was such a desire and become strong enough - it is necessary to find out whether it is possible to fill a floor itself, and if so - what will it take? This detail and tell.
Which represents the three-dimensional field
The structure of a floor covering
To begin, let's deal with the material itself. Poured floors 3D - a multi-layer coatings, which are applied on the substrate in liquid form and is gradually polymerized. A three-dimensional effect is achieved by varying the transparency of layers: a colored base with a decor layer is placed clearcoat which gives the whole floor visual depth.

Diagram showing the structure of a floor covering
3D floor generally of such a structure:

An ideal base for filling - flat screed
- Bearing surface. This is typically used as a cement, flooded over the overlap. Screed carefully aligned in order to obtain a smooth surface for decoration.
- The base layer. Polymer composition, which is poured on top of the screed, leveled and smoothened. It provides traction inlet complex with the supporting surface.
- The decorative layer. Colored polymer which fits over the base floor sufficiently thin layer. It can be a monotonous and interspersed with decorative - Glitter, fibers, etc...

In monophonic coating may be applied to any decor
- actually decor. On the polymer surface or pasted vinyl picture with three-dimensional effect, or transferred to another image or stacked small decorative objects (sand, pebbles, coins and t. d.). It is they who are responsible for the aesthetics of the floor.

Decoration of small pebbles is less common, but it looks good too
From decor cost depends directly. When ordering specialists square meter one-color cover will cost about 2.5 thousand. rubles, decoration glitter - about 3 thousand, and three-dimensional version of the ornamental or photorealistic images -. 5000 or more. Now you understand why you should learn how to fill in coverage with their own hands?

Example of the coins as a decor
- The protective layer. The decor layer is covered by a polyurethane transparent or tinted lacquer. Nail after the polymerization, not only forms a perfectly smooth surface, but also provides the most effective protection of lower layers from moisture and mechanical damage.

A layer of polyurethane varnish protects the image and high gloss surface
Depending on the composition of the self-leveling floors are divided into epoxy, polyurethane and epoxy-urethane. Last kind I like best because it combines high flexibility with a good margin of safety and durability. Furthermore, such a floor surface can be obtained less slippery.
The main advantages
Briefly list the poles of self-leveling floors:

The possibilities for decorating a really huge
- Attractive appearance. Here, perhaps, all is obvious - a three-dimensional self-leveling floor just done to maximize decorate the surface while maintaining performance. Even a one-color coat looks stylish and neat, but when we turn to the segment patterns and printing ...
- Strength and durability. This parameter depends on which formulations are used to fill the base and cover layers. In most cases, the coating is made of polyurethane varnish, which is not afraid of water and household chemicals, almost used up, and for 5-10 years of active operation mode in apartment or small office does not cloudy.

High strength allows to fill these floors not only in residential but also in commercial premises
Almost absolute humidity make leveling polyurethane coating ideal for pouring into the bathroom, bathroom or other wet room. Due to the absence of seams floor wins even in tiles, so that leaks can not be afraid.
- Easy to clean. Perfectly smooth surface does not accumulate dust, with it very easy to remove virtually all contaminants including fat (especially true for the kitchen). Polymerized floor withstands washing with almost any household cleaning products - but usually such harsh measures are simply not required.

Smooth surface, like in this photo, it is easy to clean from any contamination
- Relatively simple installation. Yes, there are subtleties and nuances, but at a minimum skill almost anyone can master the technique of pouring floors. The only advice - training costs on low-cost plain surfaces in small rooms.
The result is a fairly universal coverage, the shortcomings of which can be attributed perhaps that the thermal conductivity and high cost. However, the second negative can be partially compensated by performing a fill independently.
fill technology
Materials and tools
For a device of three-dimensional self-leveling flooring, we will need these materials:
| Illustration | Material |
 |
Two-component self-leveling floor. |
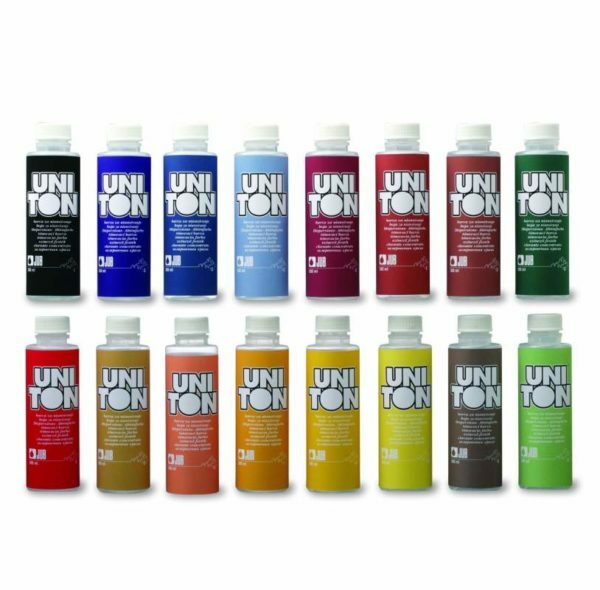 |
Kohler for self-leveling floor. |
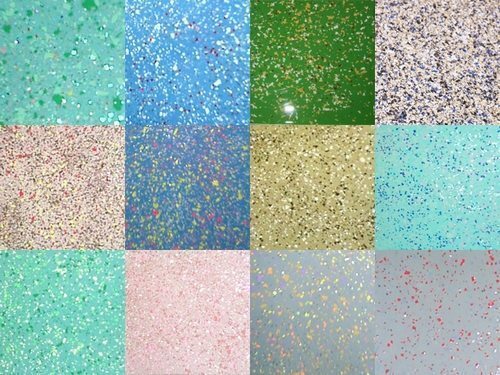 |
Decor:
|
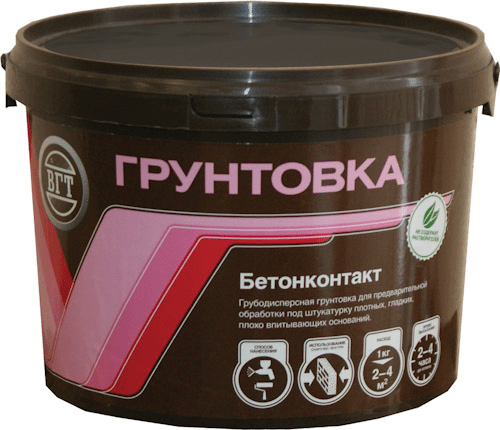 |
A primer for the base:
|
 |
Mix screed. |
 |
Abrasive mesh sanding. |
Set of tools:

Minimum list of tools for working with polymer castable
- Containers for fluids and liquid formulations.
- Drill with paddle-mixer.
- Spatulas and rolls for applying solutions.
- Kraskostupy for movement on the uncured solution.
- Rule for leveling screed.
- Needle roller and polyurethane solution.
- Building dryer sticking image.
- Graters or grinders for surfacing.
- Rags for polishing the floor.
It should also be borne in mind that when the floor should be protected from dust and hair, because it is desirable to work in special suits and hats.

It is desirable to work in a special suit - so the hair and lint will not get into solution
Not superfluous will exhaust ventilation and respirators: many two-component composition are highly toxic.
Step 1. pre-equalization
Instructions for casting three-dimensional floor can be divided into three stages. Work begins with the preparation of the base.
Leveling floor screed perform as follows:
| Illustration | stage work |
 |
Preparation overlap. With base remove the old tie, then perform the repair of cracks and joints of the floor to the wall. On the dust-free surface is covered with penetrating primer. |
 |
Mixing of the solution. Using a drill with a nozzle-mix, knead leveling mortar. We select the texture so that the composition flowed easily. |
 |
Fill screed. After drying the primer pour leveling mortar overlap. The amount of the solution is selected taking into account the nature of the base: it should be enough to remove all irregularities. |
 |
Leveling screed. Rule on a long handle evenly distribute the solution throughout the room. After leveling screed surface treat the needle roller to remove entrapped air and increase density of the solution. |
 |
Grinding surface. After drying screeds (time depends on the composition) carefully rub clean surface. Ideally, it is desirable to treat the floor sander, and then de-dusted. |
Step 2. Application of basic layers of the floor
When the flat surface is ready, you can start pouring the floor.
Base layers fill as follows:
| Illustration | stage work |
 |
Preparation of primer and foundation. And primer are mixed and the base layer by a single scheme. The container with the basic composition pour hardener, after which the resulting solution was thoroughly mixed. To use it you need immediately after preparation as a polymerization process is pretty fast. |
 |
Floor Primer. With a roller to the surface of the screed: epoxy primer. Material must be laid with a thin layer, without gaps and sagging. |
 |
Drying primer. The primer was dried for 24 hours at constant temperature. It is desirable to protect the surface against drafts and moisture. |
 |
Application framework. On top of the primed screed pour epoxy resin mixed with hardener. Using a wide spatula, spread the material as much as possible over the entire area of the premises. |
 |
Grinding epoxy layer. Using grater with fine abrasive (finishing mesh), process the polymerized epoxy surface. In the process of grinding remove the slightest irregularity. |
 |
dedusting base. With a vacuum cleaner remove fine epoxy dust formed during grinding. Several times wipe the floor with a damp cloth, then rinse it dried. |
Step 3. Decorating floor covering
The final stage - the decorating. Here we have to apply the color layer, paste the image and protect its finish.
We perform works on dressing like this:
| Illustration | stage work |
 |
Preparation of the decorative layer. Epoxy or polyurethane two-component miscible with Coloranting component. Carefully distribute the color of the solution to obtain a homogeneous color. |
 |
The application of the decorative layer. The prepared composition is poured and evenly distributed by means of toothed rollers and spatulas. Dried deposited layer, taking care that the surface is not exposed to dust and debris. |
 |
Preparing decor. The printed decorative vinyl film or other image decompose on the floor and leave it for some time for the temperature of deformation and straightening the folds. |
 |
Bonding decor. Pasting the image on the surface of the floor using the adhesive layer. To improve the quality of gluing vinyl film can be carefully heat the building dryer and a little stretch - so the image is not formed folds. |
 |
Elimination of defects. Remove imperfections - folds, creases, air bubbles, etc... The fine details of the ornament glue separately removing the protective layer and performing trimming a sharp blade when necessary. |
 |
Lacquering surface. Above the pasted image pour component polyurethane composition which protects the decor from moisture and mechanical loads. |
 |
Alignment topcoat. Gently flatten with a spatula polyurethane and needle rollers. We expose flooded floor loads to complete polymerization of the protective layer. |
After polymerization, the final coating we get a beautiful and at the same time almost half the eternal!

Something like this would look like a finished coating in the interior
conclusion
3D self-leveling floors are expensive - but we can be nice save, Fill yourself. How to do it, you know, and in order to understand the nuances and details worth exploring video in this article. In addition, in the comments below, you can get an answer to any question relating to this type of flooring.


