Installing drywall (42 images): types, manufacturers, cost and installation technology
Table of contents
-
1 Installation of the new partition
- 1.1 Kinds
- 1.2 manufacturers
- 1.3 cost of
-
2 mount technology
- 2.1 Materials and tools
- 2.2 Mounting
- 3 Summing up
- 4 Photo Gallery
Often, many of us in the repair has to build new interior walls. Someone makes them brick, someone collects plywood. But why spend money on such expensive materials and do the dirty work, if the installation of drywall partitions with their hands much more practical?
The point of this is quite simple and dust free - when working with drywall is the minimum of waste and debris, As far as the assembly of structures, then there really is no big deal, just enough to comply with the technology installation.

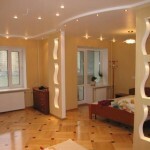
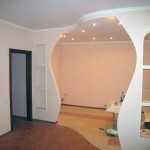
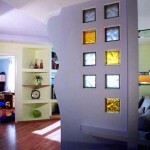
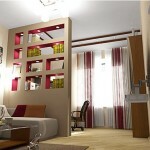
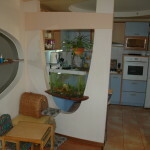
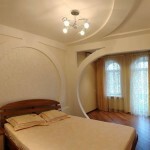
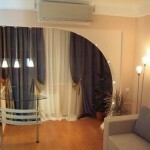
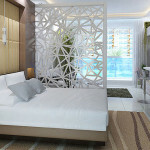
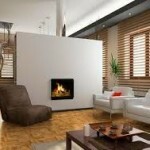
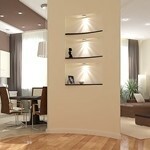
The original partition plasterboard
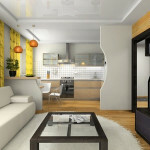
Installation of the new partition
Kinds

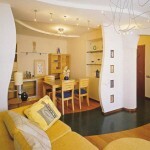
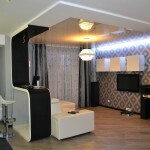
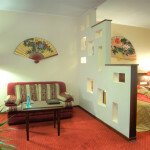
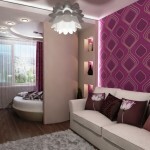
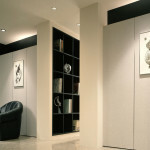
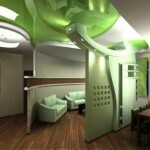
Properly installed partition of the GCR
To date, the construction of the known three types of structures:
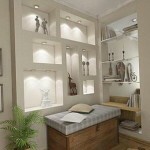
- Simple - it represents one layer of plasterboard and a simple frame.
- Strong - metal frame, closed double layer of plasterboard on each side.
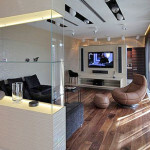
- The most powerful designs are a combination of metal frame and reinforced double layer drywall trim on each side.
Attention!
By selecting the type of drywall, as well as its quality depends largely on the ease of installation and durability.
manufacturers

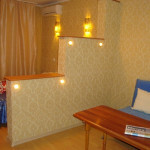
GCR «Knauf» with different types of edges
The most famous producers of plasterboard in Russia only two:
- Gyproc - Finnish GCR (more expensive and higher quality material).
- Knauf - domestic drywall, which is produced in the Moscow region is almost not inferior in quality to the Finnish competitor, but it is a more affordable solution for our citizens.
Despite the fact that the domestic drywall popular and in demand, experts and professional builders recommend working with the Finnish material. In general, the installation of plasterboard walls and its quality depends largely on the operating conditions and the quality of the installation.
cost of
On average, the price of construction of the GCR varies within 550-650 rubles. per m². This amount includes the cost profile for drywall partitions (carcass), screws and other fittings, sheets of plasterboard. Also, the price includes an insulating filler, which is mounted in the frame skeleton.
Attention!
The amount may be more, it all depends on the material you choose and buy.
mount technology

metal frame
installing drywall technology has its own characteristics:
- Mount the frame only after the preparation of all communications. Swipe pipe mount and connect the necessary wiring device (distribution boards, sockets, switches).
- When installing double reinforced frame needed between profiles paste special soundproof sealing tape.
- Pay attention to the fact that the height of the vertical profile (stand) must be less than the height of the ceiling of 10-15 mm.
- GCR is mounted first on one side and after all the other manipulations outlined below.
- Power cable should be placed perpendicular to the uprights.
- Warming and insulation are made only after you have completed all the work on installation of power supply.

required tools
Materials and tools
To install plasterboard partitions was quick and without any problems, you need a reliable tool:
- drill or screwdriver (sold complete with nozzles, bits for screws);
- Construction knife (for cutting GCR);
- punch;
- plummet for marking;
- building level;
- marker or soft pencil;
- plugs;
- screws;
- hammer;
- roulette;
- Metal scissors;
- A special reinforcing tape;
- Drywall sheets;
- polystyrene (active material is used as sound and heat insulation).
Mounting

Transparent mounting scheme
So, here we are getting close to the subject - how to set the partition of the drywall. To begin with, that all work is done in areas where the air temperature is not less than 10? C.
Now consider the stepwise assembly diagram:
- Like any other type of installation, installation of plasterboard partitions begins with the markup. A mark made on the floor, walls and ceiling. Marking must clearly indicate the location of the future of doorways and pillars.

Marks on the floor and wall

Marks on the ceiling
- After you mount the frame, it is necessary to stick the front part of the profile stripWhich will serve as sound insulation. The adhesive sealant can be used as an alternative.
- As mentioned earlier, under the framework of drywall you can install a number of ways.
As shown, the majority prefer to collect the partition of the metal frame. The main reason - the lower the price of the metal profile:
- Framework for collecting partitions made of 2 types of profiles PN50 and PS50 (And the guide rack profile). The guides are mounted to the floor and the ceiling using dowels. Rack profiles are installed perpendicular to the rails.

The rack profile in the guide profile,
- The maximum spacing between the plugs must not exceed a distance of 1 m.
- Rack profiles are attached to the upper and lower guideForming an integral structure.
- Step between the posts - no more than 60 cm (The closer to one another stand, the stronger the structure). If you want to strengthen the frame, you can put a few pillars of the bridge, fixing them to the frame horizontally.
- If you plan to install drywall door opening should be strengthened by means of additional mounting profile.

Metal frame with a door opening
So, after we have collected metal frame, you can safely proceed to the installation of the FCL:
- First we need to relate the size of the sheets with high partition. If something does not fit, use a knife and cut the construction unwanted items. (cm. also the article How to calculate the thickness of drywall)

Sheathing GCR framework
Note!
Cut the edges it is mandatory to handle with sandpaper or a plane.
- You can use a special reinforcing tape, although the item can not be considered a must for strengthening the construction angles.

reinforcing tape
- Place a sheet of plasterboard to the frame and firmly press. Then, armed with a screwdriver, begin to scroll it around the perimeter. Do not spare screws - the maximum step is not more than 25-30 cm between them.
- When tightening the cap screws must be included in the material is 1 mm.
- Do not forget the gap between the floor and the sheet of plasterboard (sufficiently 1-1.5 cm).
- Now we proceed to the installation of electroaccessories (sockets, switches). For mounting use special boxes, which will greatly facilitate you further support (in the case of a fault - replace) electroaccessories.
- remaining trim profiles can be used when attaching the insulating materials.
Summing up
That's all! Now that you know how to install a plasterboard wall. In order to more accurately understand the technological and practical issues on our website provides detailed photo and video instruction, in which you'll find the information you need without problems on this issue. Good luck!
Photo Gallery