Build miniature windmills: incremental algorithm
Table of contents
- 1 A little history
-
2 Production mill
- 2.1 preparation of drawings
- 2.2 Production base
- 2.3 Manufacturing of the carcass middle and upper parts of the structure
- 2.4 Manufacturing blades and the horizontal moving part
- 2.5 decoration
- 3 Output
Windmills - some of the most common decorative elements suburban landscaping. I'm ready to tell you how you can make yourself beautiful windmill, even a novice, and step by step instructions visually confirm my words.
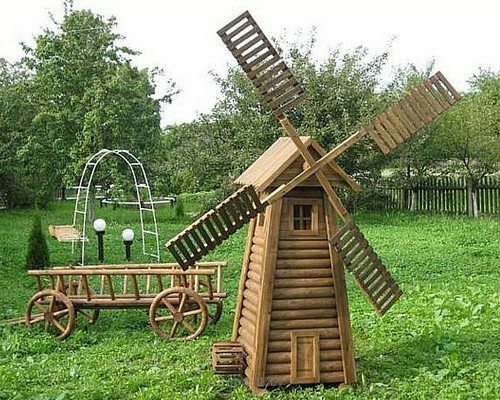
Windmills - a great way to decorate a holiday landscape
A little history
This windmill is an aerodynamic mechanism that converts wind energy. Due to this energy, it performs mechanical work - grinding grain.
Mentions wind structures dates back to ancient times. Therefore, we can assume that the long-term wind and water mills were the only machines that are used by mankind.
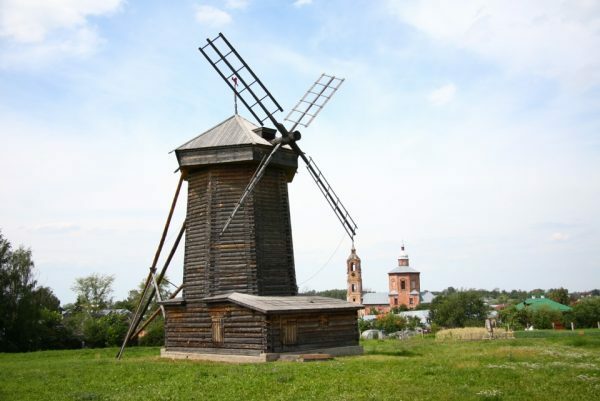
Traditional mill with horizontal axis
Historians believe that the ancient mills were common in Babylon. This is evidenced by the king Hammurabi Code, which dates back to around 1750 BC.
Documented evidence of the use of wind machines for grinding grains dates back to the first century AD, and it belongs to the Greek inventor Hero of Alexandria. It is also known that in the ninth century Persian mills existed, as mentioned in their communications Muslim geographers.
Persian mills were different from our usual European structures with a vertical axis of rotation and perpendicularly mounted blades. They had blades on the rotor, and on one side closed shell. Without this shell wind pressure on all of the blades would be the same.
Vertical axis of rotation and had a Chinese mill. It differs from the Persian rotate freely sail, while, as in the Persian mills sail was rigidly fixed to the axis.
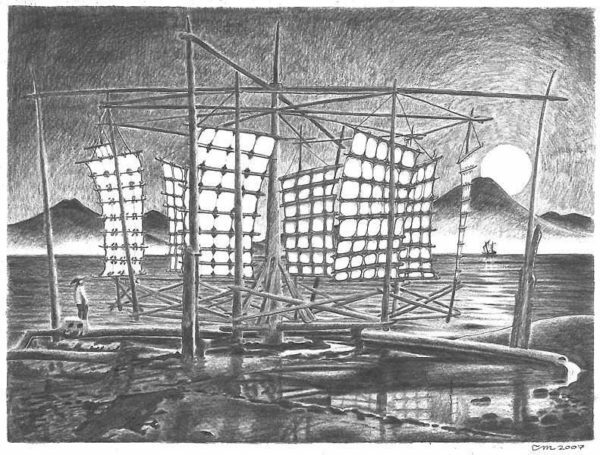
Illustration of Chinese windmill
Thus, for a typical design Asia with vertical rotation of the rotor arrangement. But windmill with horizontal axis is customary in Europe.
Particularly widespread in the classical mill got windy plains regions. In addition, they were built on the Mediterranean coast.
In our country, in general they have been distributed prior to the start of the XX century, but already in the XIX century, with the advent of the steam engine, the number began to decline. True, all the way from these mills are not abandoned to this day.
But for us, truckers, windmills - it's just a nice element of landscape design, which, moreover, symbolizes wealth and prosperity in the family.
Production mill
Now consider how to make the mill with his own hands. This procedure can be divided into several stages:
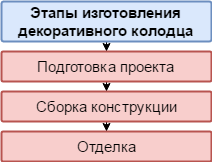
manufacturing phase
As you can see, one of the stages of work - production of mobile vertical elements. Next, we look at how to make the design to the roof and the rotation axis of the wind direction.
If desired, it can be made so that the whole building was turned into the wind on the basis of a weather vane. But if you want to simplify the product contrary - make it immobile.
preparation of drawings
Since the mill in our case - a decorative element of any strict rules for its design does not exist. The main thing - to decide for yourself which one you want to see the design and what it will be the size.
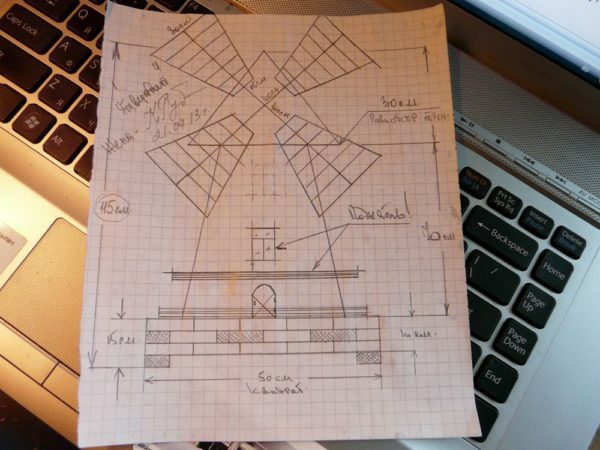
Sketch decorative mill can be done even by hand
To simplify the task, you can use ready-made drawings, and only correct if necessary. Wherein optionally accurately plot design to scale. The main thing to portray its main elements and specify the dimensions, which further simplifies the work.
Production base
The draft of the windmill, which I propose to you, there is a base with legs in the form of tables. It is made as follows:
| illustrations | Description of action |
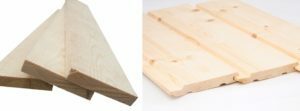 |
materials:
|
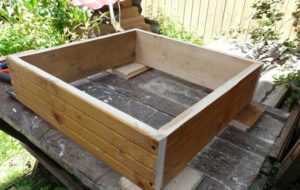 |
Manufacturing base (skirt):
In the process of building the foundation, to the base diagonal are identical. |
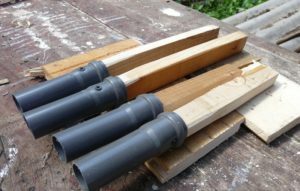 |
Manufacturing of legs:
If you know how to work with metal, can be used as legs metal corners or shaped tubes. |
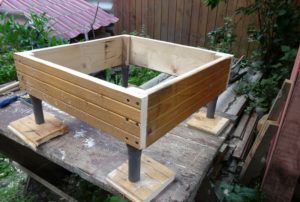 |
Mounting legs. Secure the legs on the skirt by means of bolts or screws. |
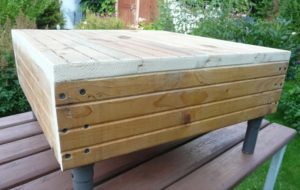 |
the base paneling. Obsheyte upper part of the base boards, plywood or other material. |
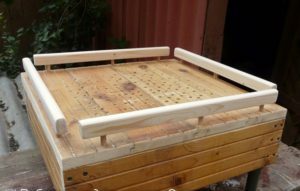 |
Install handrails:
|
Manufacturing of the carcass middle and upper parts of the structure
So, the foundation we have done. Next windmill with your hands is as follows:
| illustrations | Description |
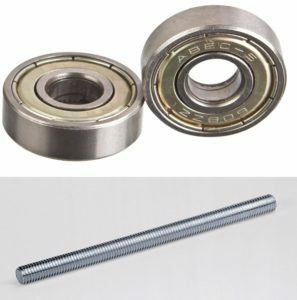 |
materials:
|
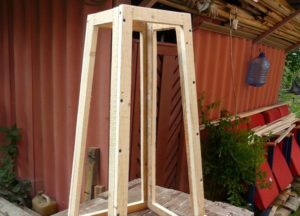 |
Manufacturing of the carcass middle part:
|
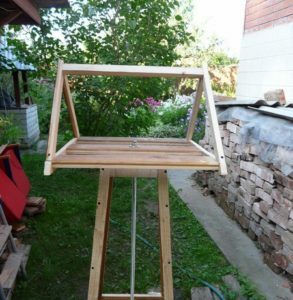 |
Production of roof frame. Rus windmills usually had a gable roof. In our case, it should be turning, so execute it as follows:
|
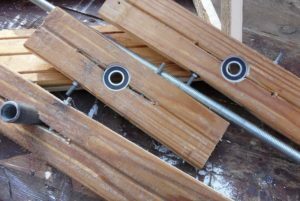 |
Installation of bearings in the board. To our wind mill was a turning roof needs to be fixed on the bearing axis. To do this, you must first secure the bearings in the boards:
Similarly, the need to insert the bearing in the board, which will capture the axis at the bottom of the frame. |
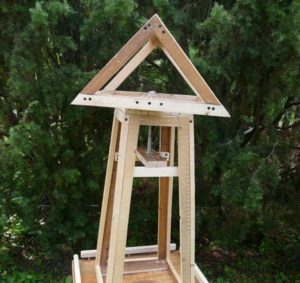 |
Roof Mounting:
Now the roof is free to rotate around its axis. |
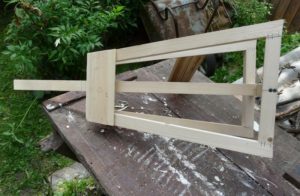 |
Production of the shank. To our wooden mill, or rather its roof, turned like a weathercock to meet the wind, it is necessary to make the shank as follows:
Once shank can sheathe any sheeting. |
Manufacturing blades and the horizontal moving part
Now you need to make a horizontal sliding piece and blades:
| illustrations | Description |
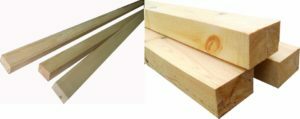 |
Materials. At this stage, we need the same materials as in the manufacture of roof. |
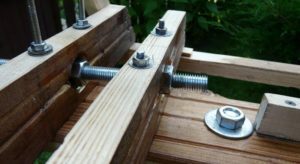 |
Mounting a horizontal moving part:
|
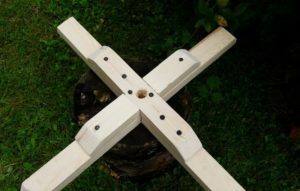 |
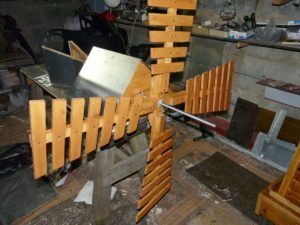
Making cross. At the heart of the blades used cross. It's easy to make the four bars. In the center of the cross make a hole for the axle. |
 |
Production of blades:
|
At this most difficult part of the work completed.
decoration
Now was the final stage - finishing. It depends on it will look like decorative windmill. The essence of this work lies in the skin lining the frame.
In this case, you can decorate windows design, doors, and other elements that will tell you a fantasy. Steering the mill can be colored and lacquering.
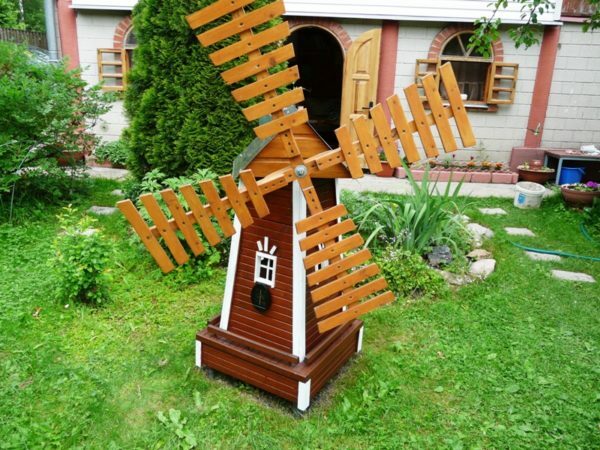
Garnish with the product can be decorative windows and other elements
Often windmills painted in folk style. If you want to design looked in the traditional Russian style, it is best to sheathe the block-house, rather than lining. Mill, decorated with carvings is especially beautiful.
Inside the mill can be built diodes and light sensor. As a result, with the onset of darkness in the mill windows will light the light. Sensor price an average of about 300 rubles.
Here, actually, and all the information on how to make a windmill with his hands.
Output
Now you know how to make decorative windmills with their hands. Additionally, check out the video in this article. If some points you do not understand - ask questions in the comments, and I'm happy to answer.


