Plumbing in a private home: a step by step description of the installation process
Table of contents
-
1 Description workflow
- 1.1 Calculations, design and purchase of materials
- 1.2 system installation in the house
- 2 Output
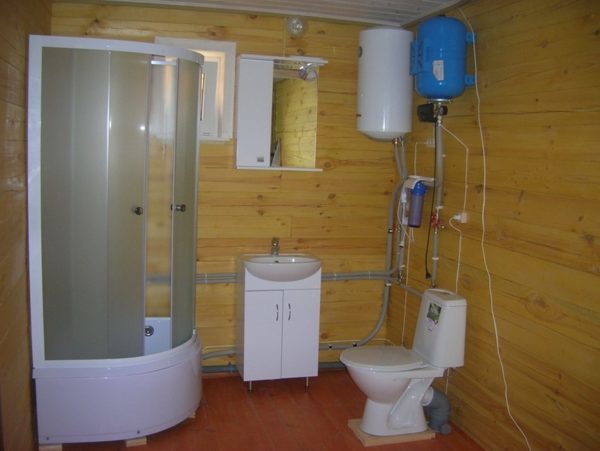
Uninterrupted water supply - a prerequisite for any modern home
Today we will discuss how to equip plumbing in a private home. I have a lot of experience in this business, I am willing to tell you how to make the project, choose the materials and install the system quickly and accurately without assistance. With this knowledge practically any master up to the task!
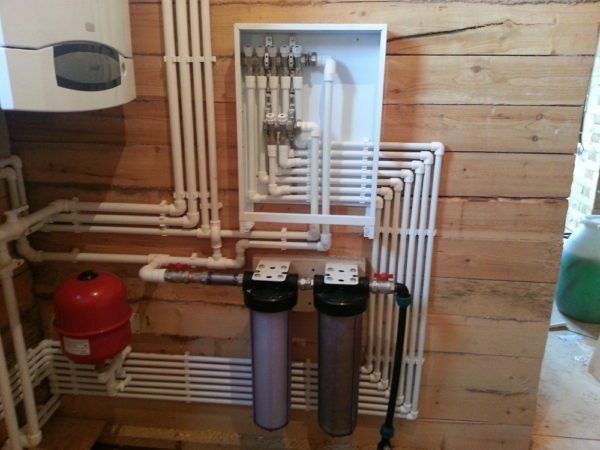
In the basement of the brick house is the number of water pipes perceived quietly and privately - is bewildering.
Description workflow
We share the work into 3 parts:
- The calculations and the purchase of materials;
- Laying the outer parts of the system;
- Lining the inside of the system.
Calculations, design and purchase of materials
Water can be supplied in three ways:
- Water abstraction from wells. Most often, this option is found in the countryside. In this case, the house is placed a pumping station, which pumps water into the house. Driving such system showing all the components shown below;
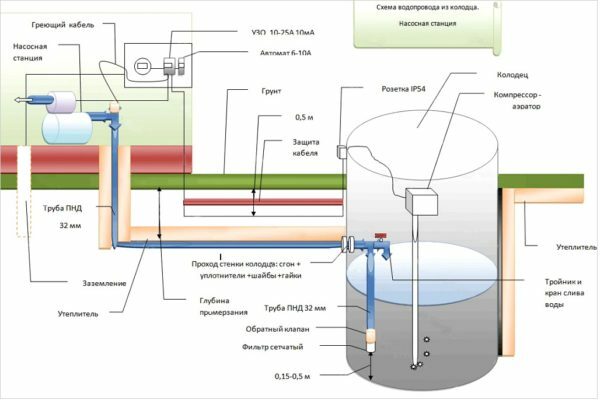
Technical parameters of the scheme chosen for houses in rural areas
- Water intake of the well. The pump is pumping water directly from the water source, so the house is no extraneous noise, and the system consists of simple parts, which are in every store plumbing;
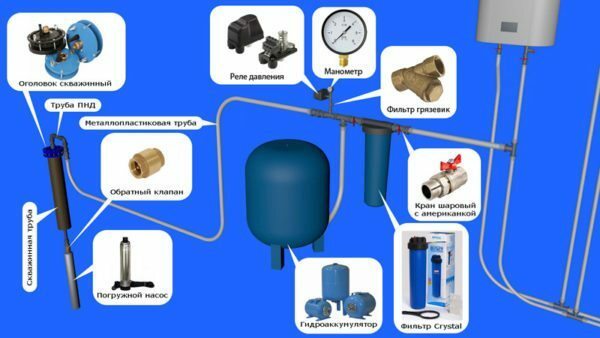
plumbing diagram of the well to the house is simple, despite the abundance of parts and components
- Connection to the central water supply. This is the preferred option, but there is not running water in every locality, especially when it comes to rural areas. If you're lucky, and you can connect to the central system, then your circuit will look something like the image below.
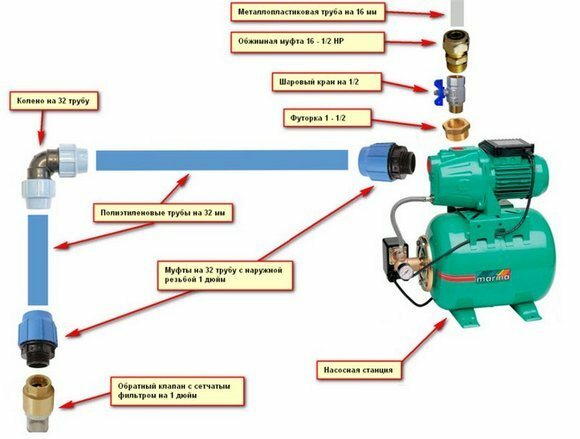
Here is the minimum set of equipment for connection to a central water supply
Now analyze peculiarities of making schemes of water supply of private houses with their own hands. There is no universal version, you have to determine in advance where the water users will be placed and, on this basis, draw up a rough sketch.
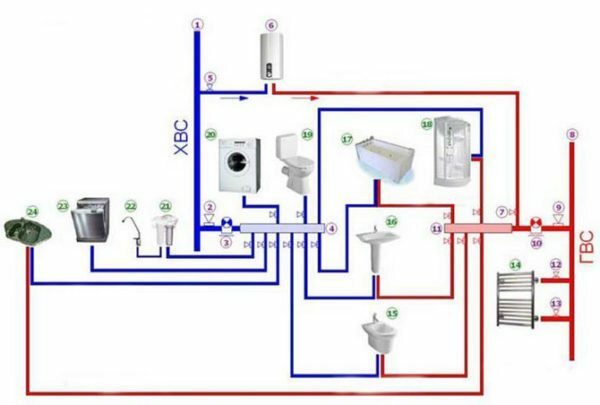
Option, which is implemented in my house, suitable for most single-storey private houses
Necessary materials:
| Illustration | Description |
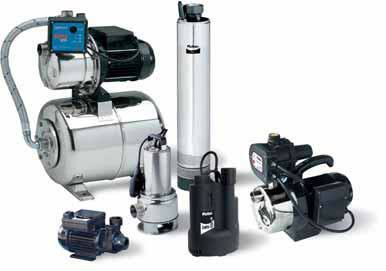 |
Pump. Required if water intake is carried out of the well or wells. Its configuration is system dependent and is selected separately in each case. |
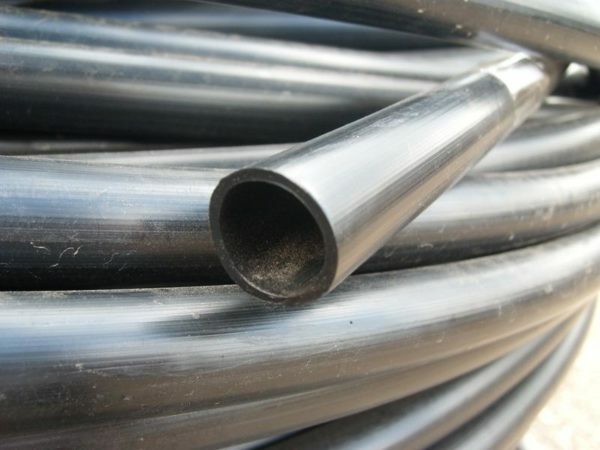 |
HDPE pipe (low density polyethylene). Used for the construction of the outer part of the communication.
|
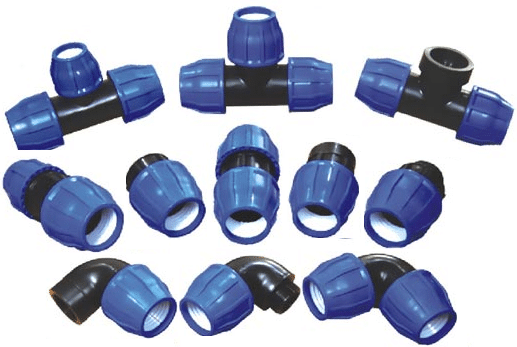 |
HDPE for pipe fittings. The exact number and configuration of the components are defined by the project. As an example, using circuits that are presented above, there is shown in detail where certain fittings are used. |
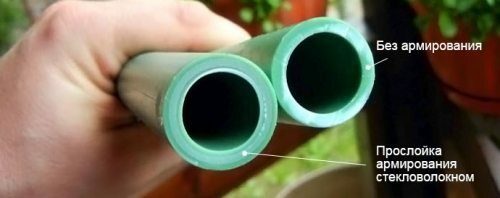 |
polypropylene Pipes. Use the reinforced version (pictured shows how to define it in the eyes), it is suitable for communication with the hot and cold water. The optimum diameter - 20 mm, it suffices even when a large amount of water consumption. Number is calculated by the length of the pipelines in the house. |
 |
distribution manifold. Is required to maintain the same pressure on all the lines of the system. Serial connection without distributor (so also called collector) is allowed in small houses, which are permanent residents no more than 3 people. |
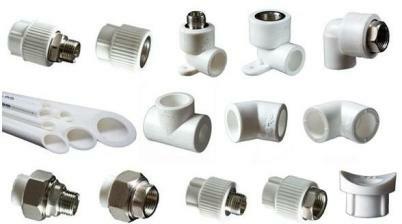 |
Fittings for polypropylene tubes. Calculated by the system design. Each turn, branch and connection fitting is done so in every home range and number differ. |
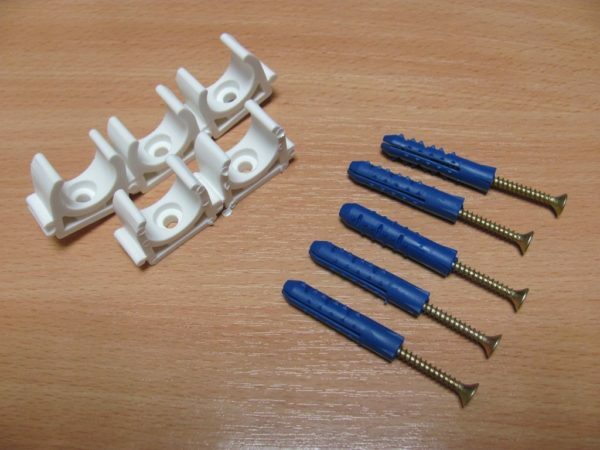 |
Fasteners. Special clips are used to fix the pipe, which can be connected to each other, if you want to maintain several highways. Fixing to wall elements produced by dowels or screws, all depends on the type of surface. |
Now let's deal with a tool that is essential when working with their hands:
- Apparatus for welding polypropylene tubes. The common people call it a soldering iron. This is the main tool through which the installation of running water in the house, the price of the easiest options is about 1500 rubles;
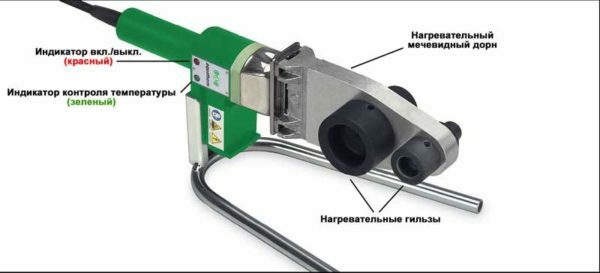
Since the device looks for welding polypropylene tubes. If it is possible to hire - installation costs will decrease.
- Scissors for pipes. A special device that allows you to cut the plastic pipe under perfect right angle. With it, the elements can be cut to 63 mm in diameter;

Such scissors can quickly and accurately cut the tube of polypropylene and polyethylene
- sharp knife. Sometimes the ends of the burrs obtained. To be cut off, keep on hand any knife.
- Composition for degreasing the pipes. Sold alcohol-based solutions, the ends of which elements are processed before connection. Also on sale, you can find special wipes for this purpose.
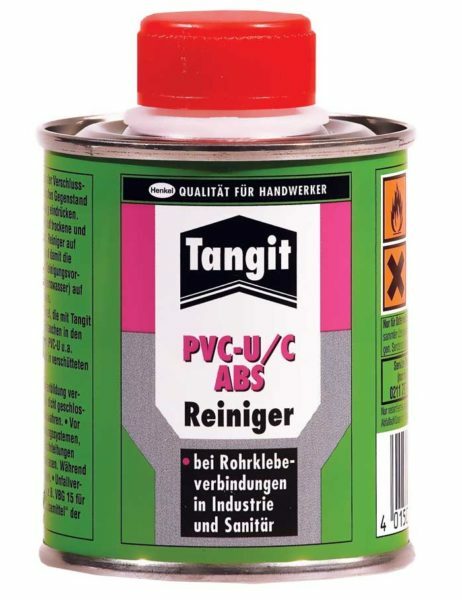
Special composition allows perfectly to prepare the pipe surface, providing their qualitative compound
Laying the outer parts of the system
This part of the work consists of the following steps:
| Illustration | Description stage |
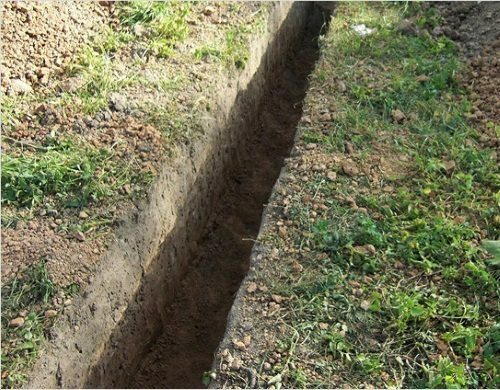 |
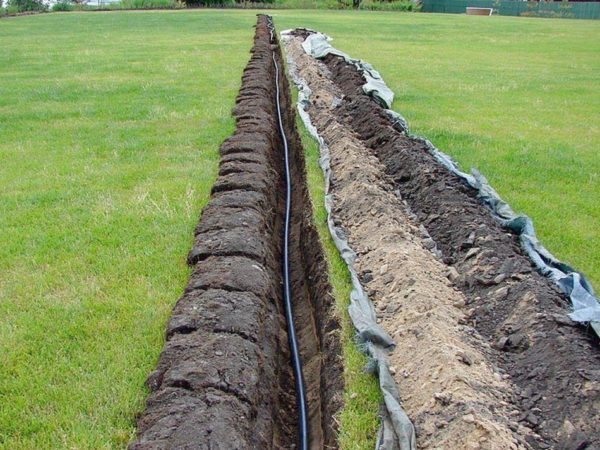
digging trench. She can go to the well, the well or pipe centralized water supply. The depth should be below the soil freezing in your area. If you dig the required depth is not possible, it will be necessary to lay a pipe in a special heater. |
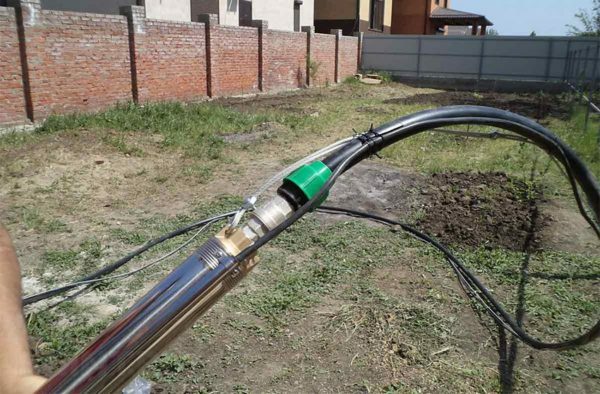 |
If you do well, the pipe connected to the pump. This is done quickly and easily by a special fitting. By tube attached power cable with plastic clips. |
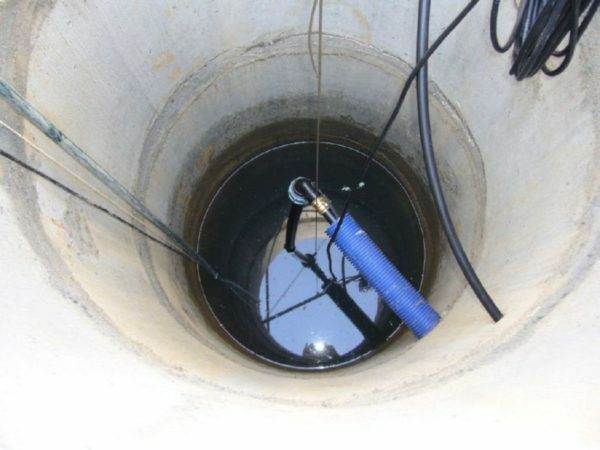 |
If you have a well, then put the pipe fence. It is secured through the knee, is placed at the end of the strainer to protect the system from sand and other impurities. |
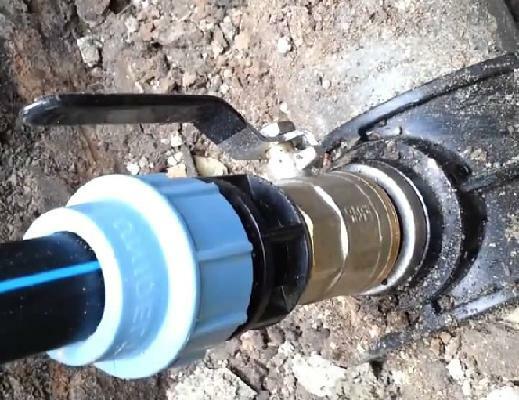 |
The tapping of the central water supply is performed by the clutch. It is put on the tube, after which a hole is drilled and screwed into the tap. No welding is not necessary. |
 |
The pipe is laid in a trench. It's simple - the main neatly put communication and bring them to the house. Make sure that the length of the missing. |
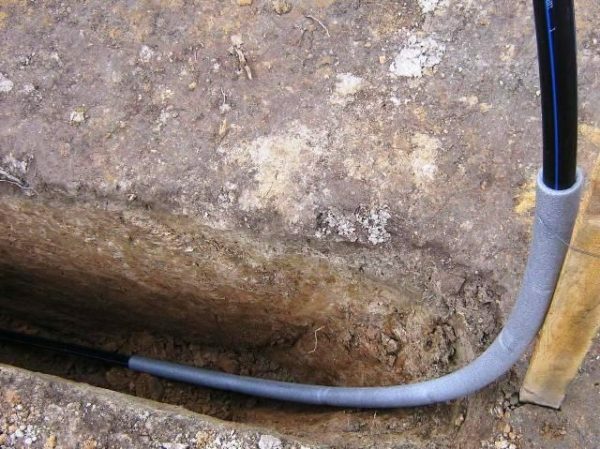 |
The pipe is displayed in the house. Before the start under its foundation I suggest insulate that portion of the structure, which goes up since it is introduced into the house only water freezes at low temperatures. |
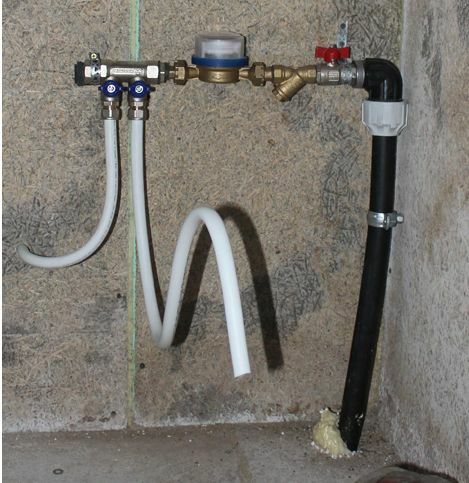 |
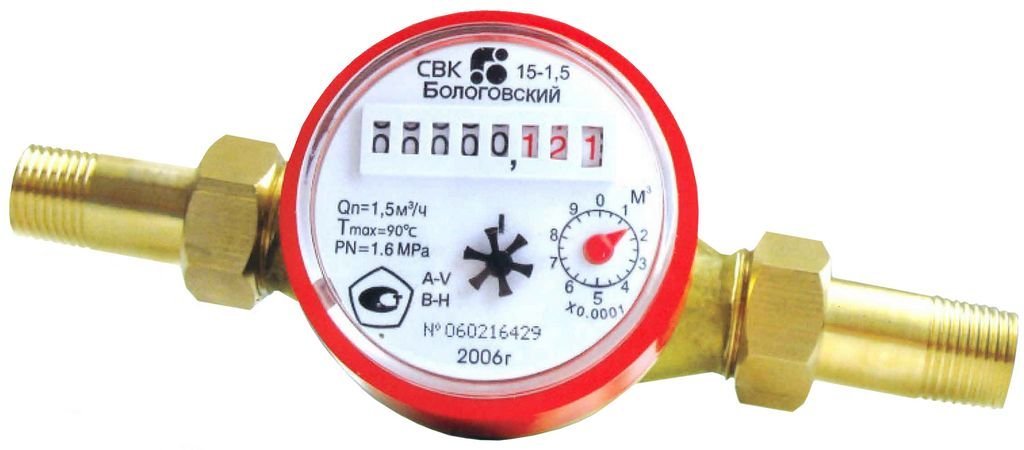
Mounted entry into the house. Put the rotary coupling, crane mounted behind it. Further there is a sump strainer and water meter (if you centralized embodiment), for which there is a splitter for hot and cold water. If the water supply from wells or well, the counter and the splitter is not needed, the gauge located on their site. |
system installation in the house
Water supply wiring in a private home with your own hands is as follows:
| Illustration | Description stage |
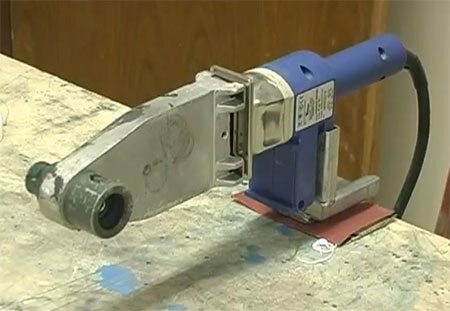 |
Preparing the soldering iron. To do this, first set the nozzle tool is the size you want, then it is placed on a flat surface or mounted on a countertop if the clip is provided in the structure. Includes instruction is always, be sure to read it to know the warm-up time and other rules of operation of the equipment. |
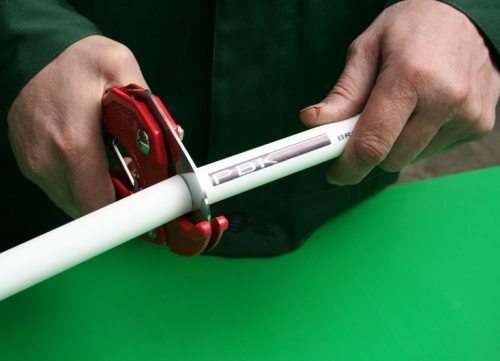 |
The pipe is cut into pieces of desired size. Initially measurements are made, after which the tube is labeled. Cut must be carefully keeping the tool strictly perpendicular. After cutting the ends of the check, if there are burrs, then carefully cut away with a knife. |
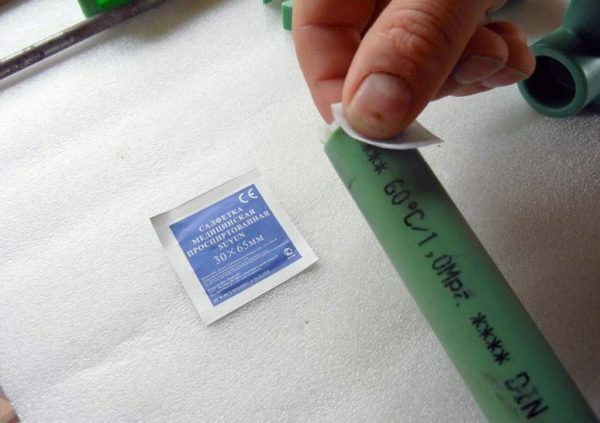 |
The ends of the pipes and fittings are degreased. To do this, use a cloth soaked in a special part of the wet or alcohol wipes. It is important to carefully handle the connected portions. |
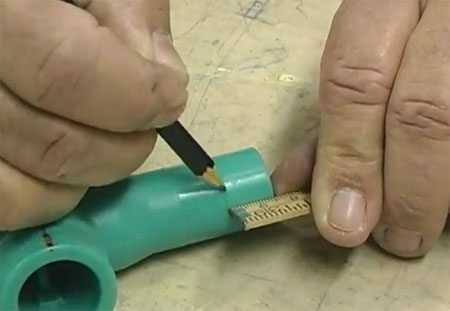 |
On the joined parts are made of welding depth mark. Tags are placed at a distance of 16 mm from the edge. Before you make them wait until the surface is dry after degreasing. Do not miss this nuance to make a reliable water supply in the house need to carefully follow the technology. |
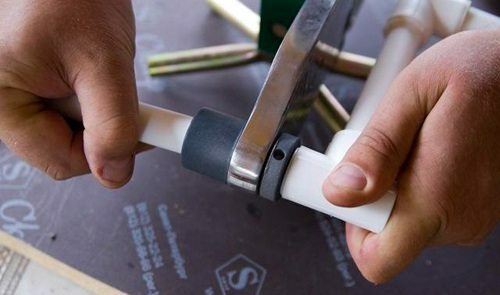 |
The elements are placed on the nozzle and heated. This should be done on a fully heated soldering iron (turns off when the red light). As for the heating time, if the instrument is not an indicator, the details you need to keep 7-8 seconds and withdraw immediately. |
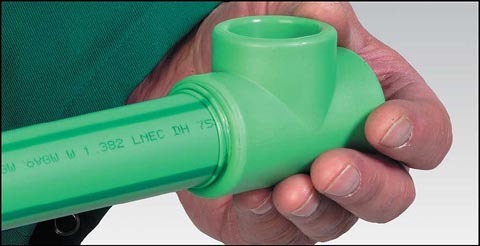 |
elements combine. The tube is inserted into the fitting tightly compressed and kept in that position for a few seconds. In no case does not turn the pipe from the connection of this decrease. Collecting water with their hands, look at the connections, they must be obtained from the rolls of polypropylene as in the photo, it is a sign of quality soldering. |
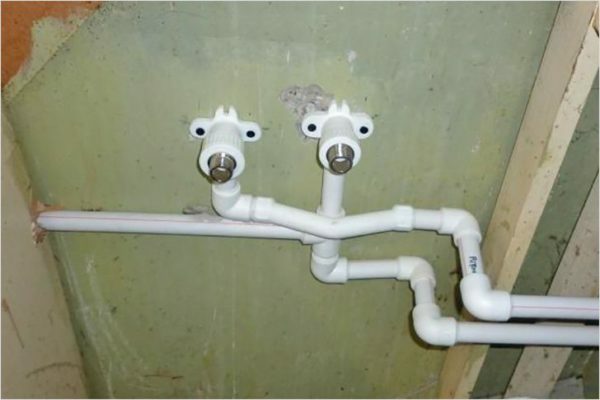 |
Each branch is made separately. water system assembly is made strictly according to the schema. It is important to carefully connect each joint to ensure the reliability of water supply. |
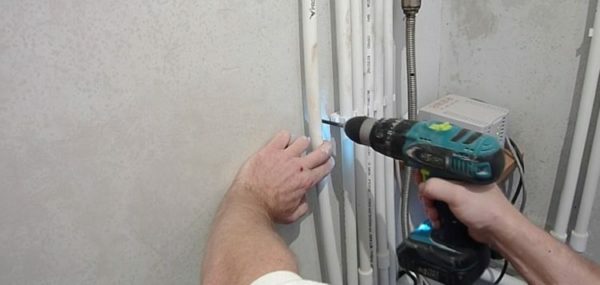 |
Attached clip. Pipe accurately shifted to one side, then through its installed location fasteners. You can bet fixing in advance. communication is often water supply in a private house hidden in the wall, in this case, Stroebe made in advance. |
The water in the house with his own hands laid in 2-3 days. Operation simple and you save a lot of money, because the installation usually costs almost as much as the materials.
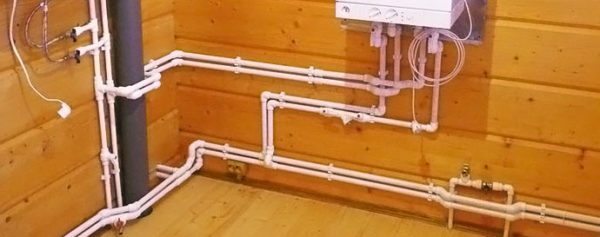
Collect the water supply system is not difficult if you know all the nuances of the work and have on hand the necessary tools
Output
Using the article as a guideline, you can create a project to buy materials and pave the plumbing in the house. Videos in this article will help you understand the topic better, and if you do not understand something - ask your questions in the comments.

