Repair bathrooms in Khrushchev (36 photos): Ideas for decoration
Table of contents
- 1 replanning
- 2 repair options
-
3 plumbing installation
- 3.1 Installing a toilet
- 3.2 Installing washbasins
- 3.3 Installing bathroom
- 4 surface finishes
- 5 Completion of
- 6 Summing up
- 7 Photo Gallery
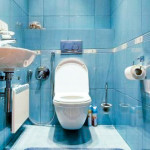
One of the most difficult housing issues is to repair the bathrooms in the Khrushchev. The main difficulty of creating low ceilings and very little floor space, the more so because in most cases the bathroom is combined. On the square in the middle of 3.5-4 m² quite difficult to place everything that should be in a modern bathroom - bath or even shower, toilet, sink, washing machine and a minimal amount of lockers.
Today, this issue will repair our school. We will look at how to properly carry out repairs bathroom with their hands and how to fit everything you need on a few square meters.
replanning
In the bathroom, it all starts with the design of the future building. In addition to the color scheme, it is necessary to consider where it will be placed plumbing and remodeling will be carried out if.
Combined bathroom has only a small number of Khrushchev - is mainly two-bedroom apartments and some houses built in the late 60s. For this reason, the beginning of the repair almost all Khrushchev begins with the demolition of walls between the bathroom and toilet.
Along with the unnecessary wall of premises are dismantled:
- tile;
- paint;
- plumbing;
- lamps;
- if necessary the pipe.
repair options
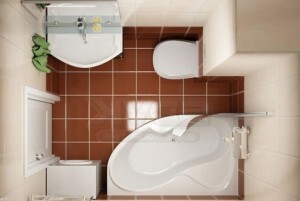
Before proceeding to the mounting step, it is necessary to clearly define the appearance of the future bathroom. We would like to offer you several options for repairing bathrooms combined with WC, total area of 4.8 m².
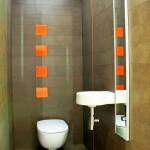
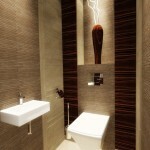
Option №1:
- sitz bath is replaced by a shower;
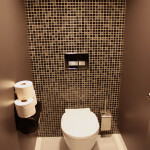
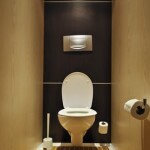
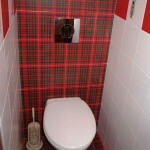
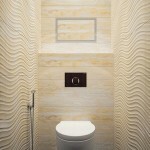
- drain tank hidden in the wall;
- placed under the sink cabinet suspension;
- hung over the sink a large mirror;
- to increase the visual center of the room on the floor is placed a white square.
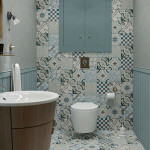
Planning a small bathroom, a variant №1
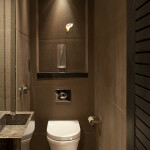
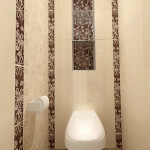
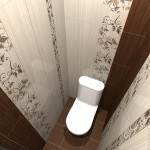
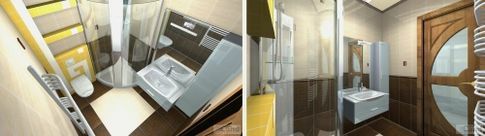
Option №2:
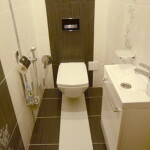
- in the former zone positioned toilet shower;
- toilet and sink is transferred into the bathroom area;
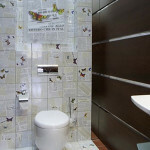
- the sink is placed on the table top length on the wall;
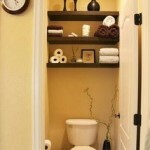
- under the sink and on the sides of the sink mounted shelves
- Mirror takes up almost an entire wall.
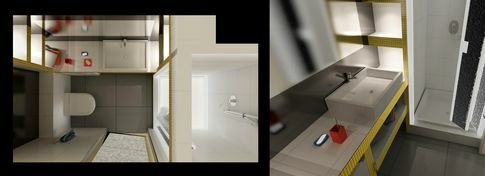
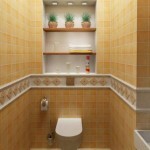
Planning a small bathroom, a variant №2
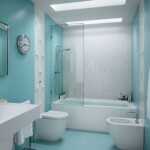
In areas of more than 4.8 m² can already accommodate a full bathroom. If the standard suite will not fit, it is sure to set the angle.
Tip! If you want to install, and the bathroom and shower, you can buy a combined option. With this solution over the sink is not installed shelves so that they do not impede the opening of the cabin door.
plumbing installation
Before you install the plumbing needs to be done pipework and wiring replacement. These works should perform yourself only with skills and experience. But the installation of plumbing the strength to hold, even for beginners.
To fix the toilet need a special set of fasteners, which includes 2 plugs, 2 screws sanitary and decorative caps.
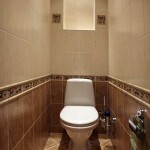
Installing a toilet
- valve overlap, is responsible for the cold water;
- line the floor surface and allowed to dry completely;
- toilet applied to the site of the future location and mark the location of the holes for the fixing screws;
- drilled holes for screws;
- adjusted and fixed toilet bowl;
- the junction with the floor carefully treated with silicone sealant.
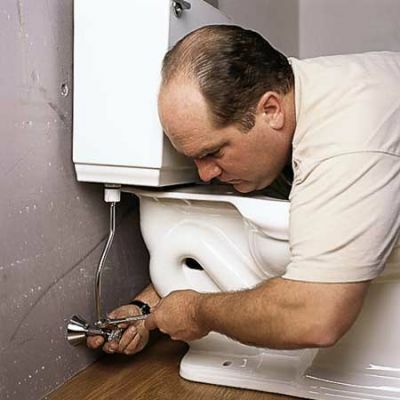
Connecting the toilet
Installing washbasins
- washbasin applied to the wall and mark the places of the fasteners;
- drilled holes using a drill with drill bits pobeditovymi;
- holes in plastic hammer lugs;
- hammered dowels and brackets are fixed;
- hang himself sink;
- set trap.
Tip! For the most reliable sink mounting using special plugs strong black Russian production. Chinese dowels silver significantly inferior to them in quality.
Installing bathroom
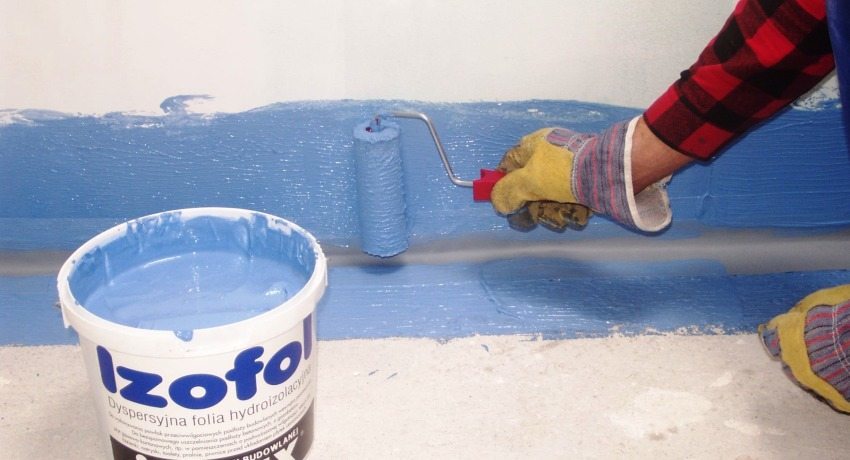
- walls treated moisture barrier means;
- a new bathroom put up at the bottom of the carton;
- support to try on future placement of points: the first pair of supports must be located near the drain hole at a distance of 1.5-2.5 cm to the center, the other - closer to the second edge;
- junction point degreased;
- a protective film is removed supports, the supports are pressed gently to placements;
- adjusting pins are hammered into the plastic lugs;
- if the steel bath, is applied to "coat" of foam;
- Tub recorded in bathroom side (it is held by the edges);
- after installation is performed by means of alignment layer;
- seal all seams and joints.
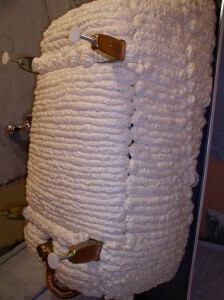
"Coat" of foam
Tip! If you make a mistake in the calculations, and gained too long bath, cut through the wall horizontal bar, and then slide it in the bath end.
Simultaneously with the installation of plumbing perform its connection to the sewerage and water supply system.
The space under the bathroom
Cheap Bathrooms that can afford the basic sectors of the population, are generally not too beautiful legs, so the space under the bath prefer to close one of the following methods.
- Capital construction. It fits in, if you choose not to use this space. It looks nice, but a small area of space wasted. To create capital use brick wall, aerocrete or moisture resistant plasterboard. Outside the wall is lined with a tile, mosaic or even in that part of being renovated bathroom PVC panels.
Capital under the bathroom wall
- Bath screens. This option is the most popular because it enables to use the space with maximal efficiency. Enough to buy a ready screen by selecting the appropriate type of product.
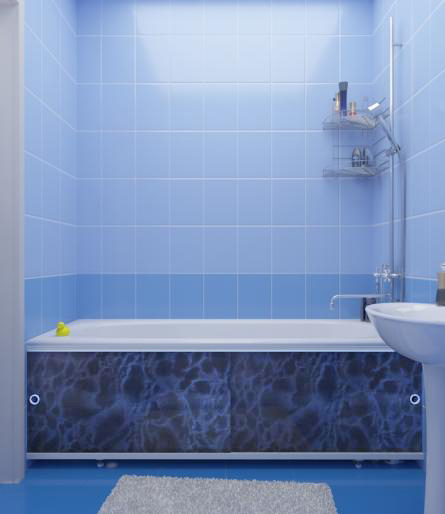
One-piece screen for the bathroom, the price - from 430 rub.svo
Types of screens:
- with hinged doors;
- with sliding doors;
- with the roll-out shelves or drawers.
- Curtain at the bath. The most budget option, however, and the most troublesome in operation. Under the bathtub mounted frame, which is suspended undercut shower curtain. This design is used when there is no suitable commercially available in the sizes of the finished screen.
Curtain at the bathroom
surface finishes
Often in the Khrushchev provides a small window into the kitchen in the bathroom. Old frame of metal and plastic better to replace a small window with a folding mechanism for airing.
Now you can proceed to the immediate surface finishes.
Consider the stages of finishing with the most common materials:
- alignment is performed plaster walls;
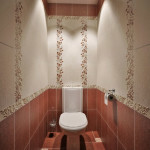
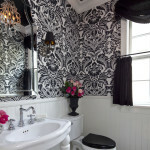
- reflective veneer wall tiles (for visual increase is better to take light colors);
- plumbing joints are sealed with silicone;
- the ceiling is secured wooden crates;
- PVC is mounted to the sheathing panel (pre-drilled holes in them under lamps);
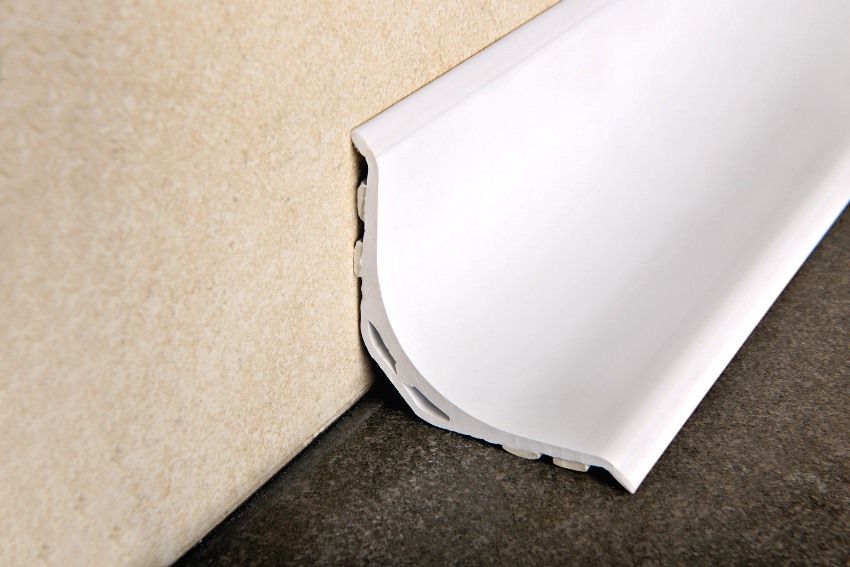
- on the perimeter of the ceiling fixed by special plastic corner;
- set of ceiling lights;
- make a cement screed on the floor;
- after drying veneer flooring tiles;
- tile joints on the floor coat with silicone sealant.
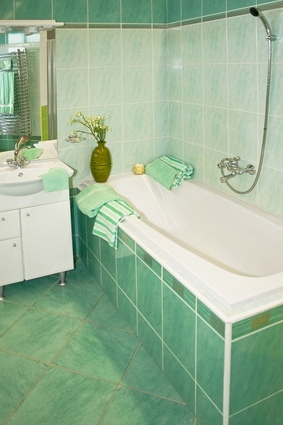
Completion of

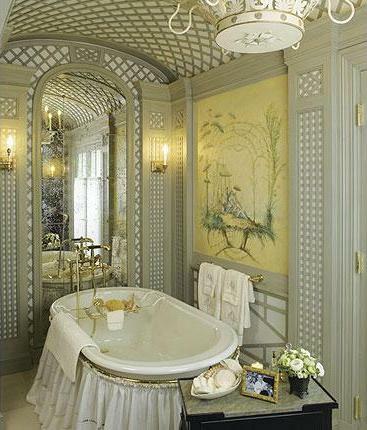
Completed repair bathroom (bath combined with shower)
Repair bathrooms in Khrushchev finish installing heated towel rails, shelves, mirrors and other necessary details. If the new floor space allows, connect the washing machine. Now it is necessary to place bathroom accessories and start to operate the new and more spacious bathroom.
Summing up
We hope our article has been helpful to you. In order to more accurately understand the technological and practical issues on our website provides detailed photo and video instruction, in which you will find useful information on the question.
Photo Gallery