How to make repairs in the room (30 images): design, dismantling, roughing and finishing, suspended ceiling on the wall
Table of contents
- 1 Design project
-
2 The sequence of work
- 2.1 rough finish
- 2.2 Fine finishing
- 3 Suspended ceiling on the wall
- 4 Summing up
- 5 Photo Gallery
After reading the article, you'll learn how to make repairs in the room with his hands. We will tell you about the stages of work performance and help determine the choice of finishing materials.
Design project
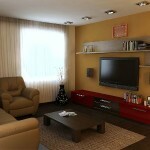
 The first thing you need to understand what you want to achieve by performing repairs in the hall? Update wallpaper and put in place the old furniture? Create a completely new interior?
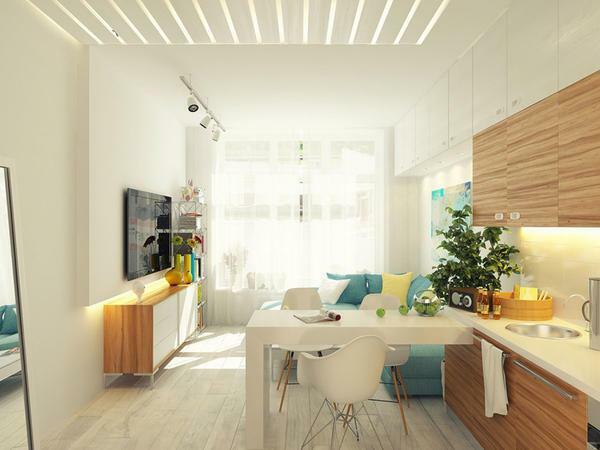
Or just do some cosmetic work that will allow the old finishing materials last for a couple of years? Maybe it will help you some ideas to repair one-bedroom apartment?
Deciding to global change, consider a good design - repair of the hall does not tolerate spontaneous decisions.
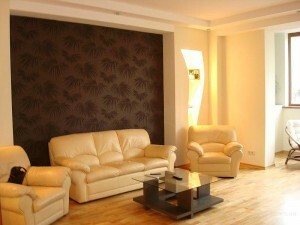
It's the face of your home where visitors are going and the whole family. Create multiple thumbnails and list the work steps and the sequence of their execution. Perform repairs will be much easier if you are aware of exactly what you want.
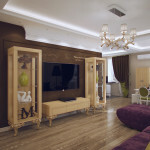
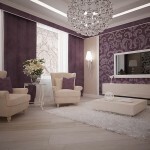
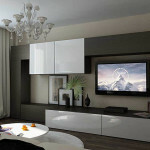
If you want to in the room was the style, subject to availability of finance tasked with the creation of the design project a professional. The designer will make the biggest room in the house is really interesting.
The sequence of work
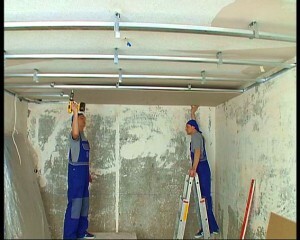
First performed very noisy and dusty work: demolished partitions between rooms, punched arches, new partitions are mounted.
Note! Clean and move the wall under the law is strictly forbidden as long as the work is not consistent with BTI. Violation of these rules is fraught with serious penalties.
Demolition of walls can be made independently. The main thing is to stock up on a respirator, a jackhammer or sledgehammer. With the help of a jackhammer in a brick wall from the top row, one by one, dismantle all the bricks. To dismantle the wall in the panel house will suit the usual sledgehammer and crowbar. It is better to start with a beat Wall Center.
To create openings or arches are kindly requested to fortify the wall struts, as decorate the arch without strengthening not work. On the wall mark the contour of the opening of the future, at this point remove the plaster and bricks on one drill.
Note! Small openings, up to 90 cm in the other props are not needed, because the bricks can withstand its own weight.
rough finish
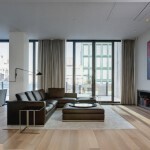
Rough finishing facilities
Decide how to make repairs in the room, you can move to the main work, namely the dismantling of the old finishing materials from the walls and ceiling.
Before work should remove the plastic sockets, switches, skirting boards, decorative moldings and other elements that may hinder the repair, since the correct repair of the hall - it is a gradual process.
The next phase - the removal of wallpaper. It's enough to wet the paper with water to make it easier to remove from the wall.
Today one can find special tools to quickly and easily remove the wallpaper in DIY stores. Also a special liquid is sprayed onto the wall, wallpaper allow to soak, and gently remove the paper sheets.
Further, a wall coated with a primer, putty and plaster to the maximum level the surface and to prepare it for gluing new wallpaper.
Similar work is done with the ceiling. Since it is removed yellowed whitewash dry or wet process (using a scraper or wet cloth), scraped off the old paint, remove wallpaper or decorative tiles, then primed and leveled surface, preparing it for the new painting.
Next, operate the dismantling of the old flooring, floor screed for leveling and its surface is new.
Furthermore, at the stage of rough finish changing the windows and interior doors.
Fine finishing
wallpaper glueing procedure is familiar to probably everyone. However, it is useful to recall some of the nuances. Before you start, the wall stands from top to bottom fluff wallpaper paste, so that there was a better linkage with the sheets.
- Before you start gluing the vertical line is drawn on the wall (for this you can use the plumb bob). It will serve as the main reference for fixing the first sheet of wallpaper.
- Since modern wallpaper glued butt joint, rather than overlapping, the direction of stacking of sheets does not really matter.
- Carrying out repairs of the hall in the panel house with wallpaper that require labels overlap, start working from the window to the door that the seams are less visible.
- Wallpapers cut into strips of a length that is equal to the height from floor to ceiling + allowance of 5-7 cm. Be sure to note the coincidence of patterns.
- A sheet coated with adhesive, should be kept above the package with glue time. Wallpaper applied on the wall surface and smooth to eliminate air bubbles.
- Upon completion of the operation by the knife cut off the excess wallpaper below. You can leave a 5 mm bend under the plinth.
Note! Choose wallpaper adhesive so that, in addition to good adhesive properties, it also adds new features. Prevented the appearance on the walls of mold and mildew.
Suspended ceiling on the wall
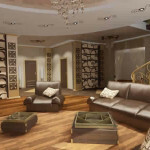
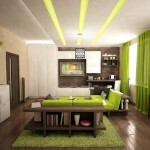
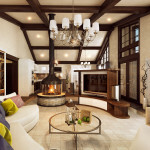
Design approach to repair
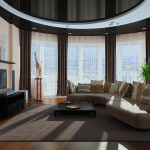
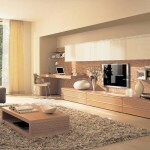
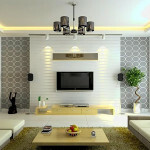
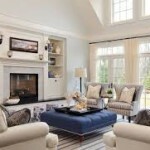
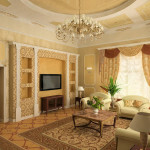
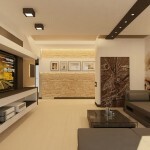
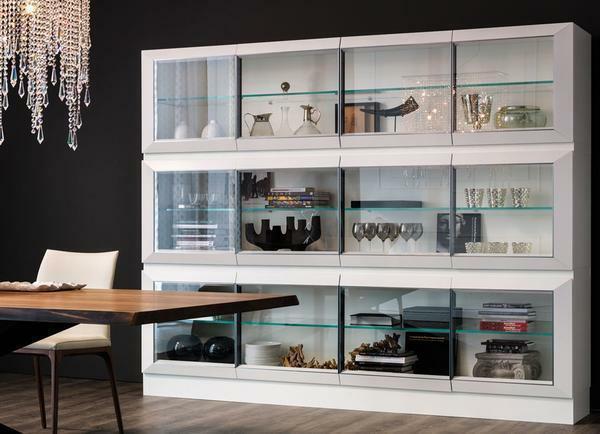
Beautiful renovation in the room begins with the selection of finishing materials. To repair this room can not skimp when choosing expensive and high quality materials.
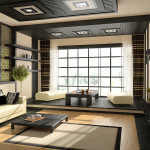
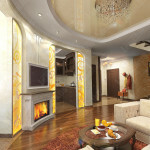
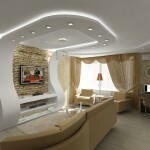
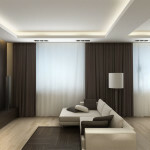
A great option - the ceiling with a tension structure. White and smooth, imitating a normal ceiling, or colorful, irregular shape.
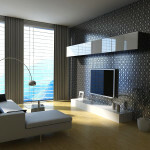
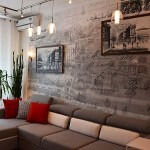
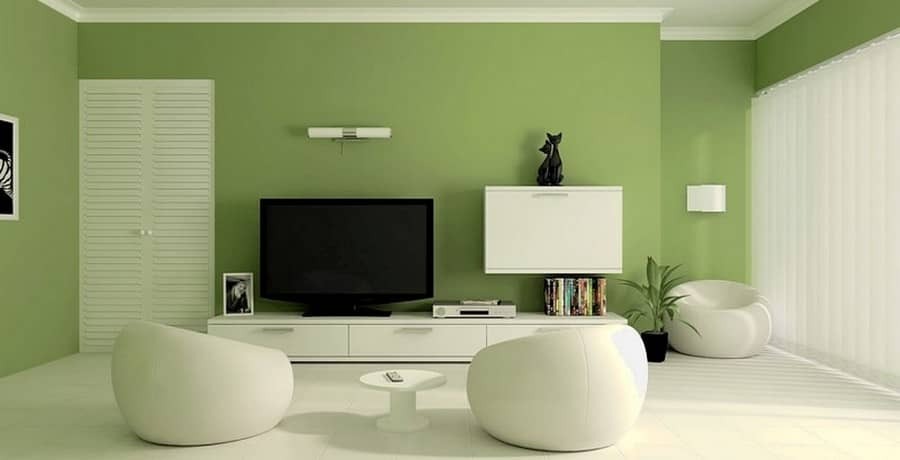
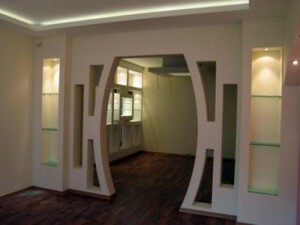
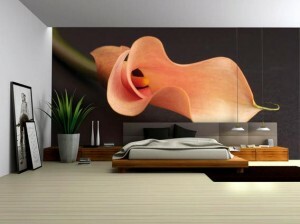
Bold design course - to mount the suspended ceiling is not at the top of the room, and on the wall. Applied to the canvas photo printing can help make the wall a work of art. The price of such design solutions - from 390 rubles.
Summing up
We hope our article has been helpful to you. In order to more accurately understand the technological and practical issues on our website provides detailed photo and video instruction, in which you will find useful information on the question.
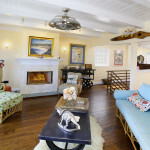
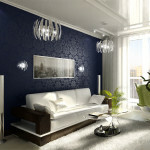
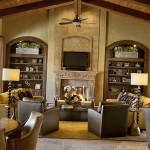
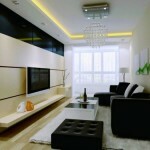
Photo Gallery