We produce furniture for dolls with their own hands: detailed instructions and photo illustrations
Table of contents
-
1 Project №1: chair
- 1.1 materials
- 1.2 progress of work
-
2 The project №2: dresser
- 2.1 materials
- 2.2 progress of work
-
3 Project №3: dressing
- 3.1 Materials and tools
- 3.2 progress of work
-
4 Project №4: bed
- 4.1 Materials and tools
- 4.2 progress of work
-
5 Project №5: cot
- 5.1 materials
- 5.2 progress of work
- 6 conclusion

The main advantage of a home-made furniture to toys - is its exclusivity
Do you want to please the daughter of the original toys? Make a puppet for her furniture with his own hands. I'll tell you how to do this and offer support schemes and detailed photo reports for each of the projects presented in the article.
Project №1: chair
Let's start with the assembly of the chair, which is perfect for Barbie, and for any other modern dolls.
materials
Most items are doll furniture interior is made from scrap materials. The need for a hike in the shop there very often, but in any case it is better in advance to ensure availability of the necessary props at home:
| Photo | Title |
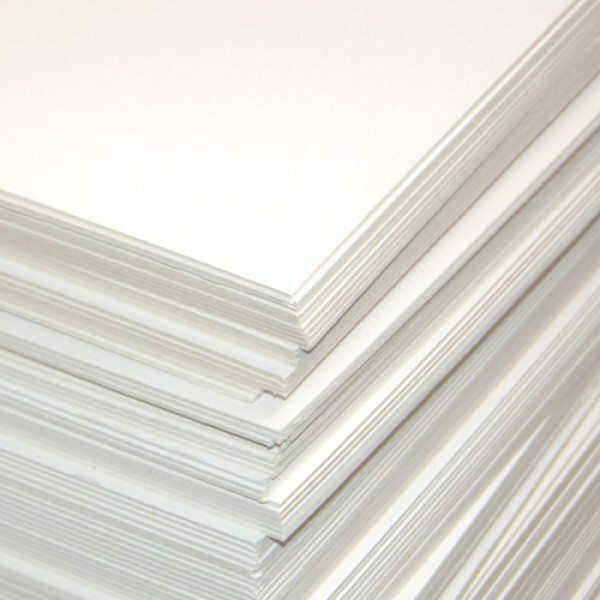 |
thick cardboard 1-1.5 mm thickness |
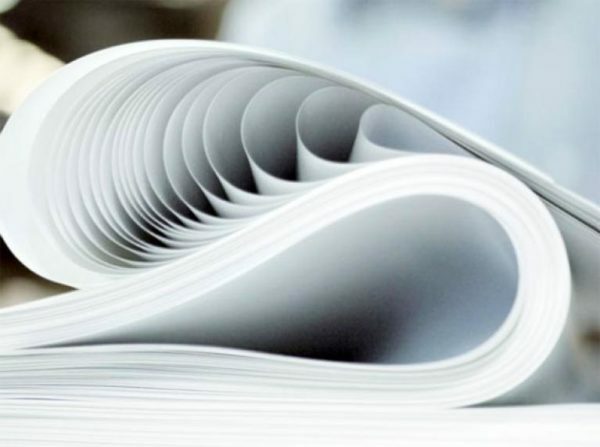 |
Plain paper |
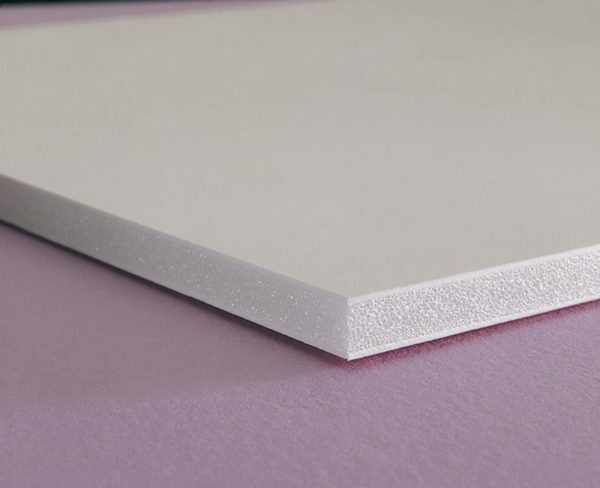 |
thick material high density, which are suitable as:
|
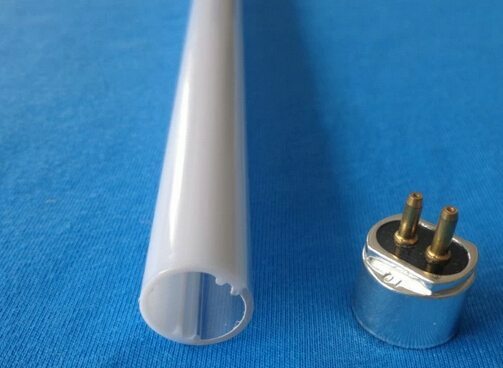 |
A tube of any material with a cross section of 15-25 mm, which can be used as a housing of the old token |
 |
A piece of thin foam rubber or fleece |
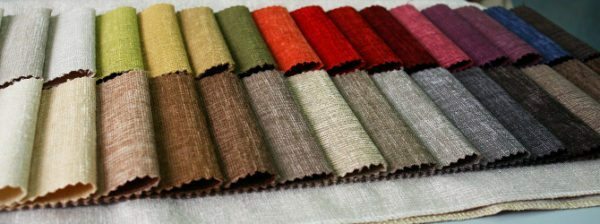 |
Fragment liked upholstery fabric |
 |
Consumables and tools:
|
Upholstery toy furniture with his own hands is recommended to choose cotton, as it is well impregnated with glue.
progress of work
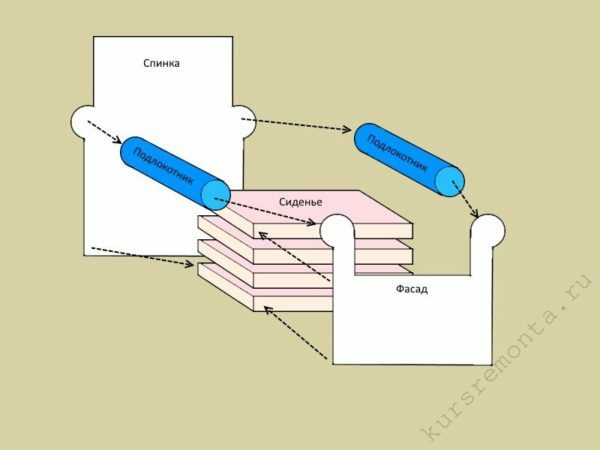
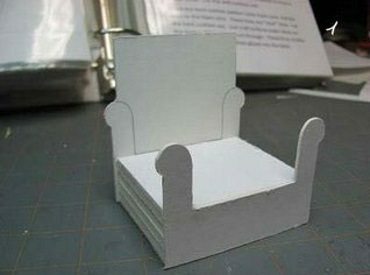
The circuit assembly of the main elements of a toy chairs
Preparing everything necessary to begin to make a dollhouse chair:
| image description | Description |
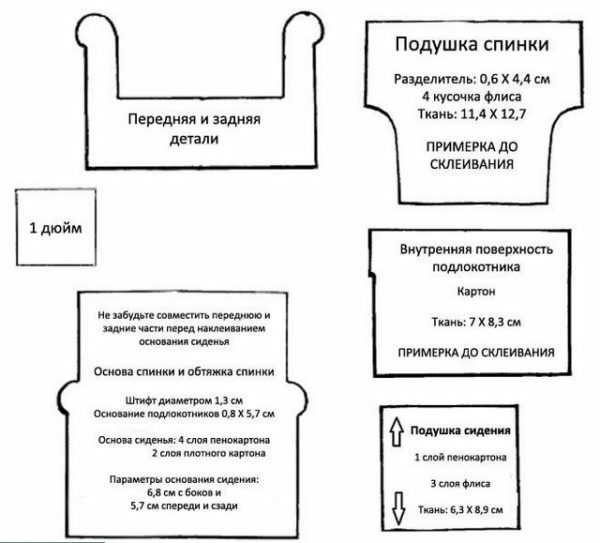 |
|
 |
|
 |
|
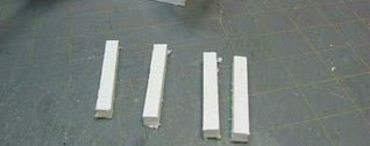 |
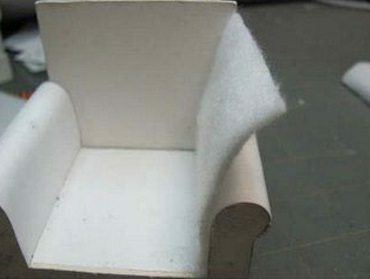
cut out of corrugated cardboard or foam board several strips whose length is equal to the length of the armrests and the width - 10 mm |
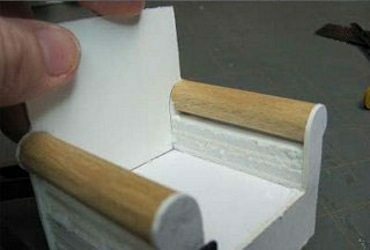 |
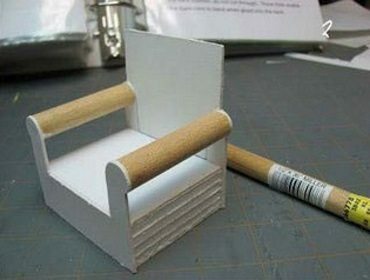
glue strips under the armrest in several layers to fill the space between them and the seat |
 |
|
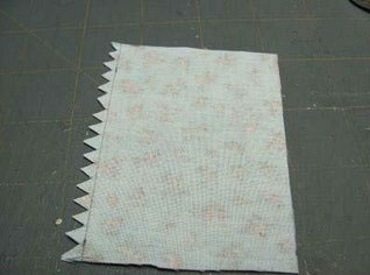 |
Slice pieces of upholstery fabric according to the same drawings, on which patterns are produced only add to each side of 10 mm for tuck |
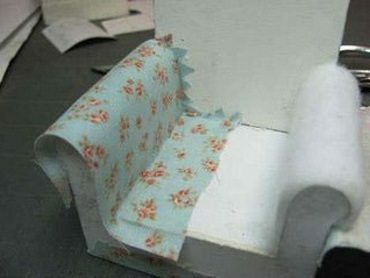 |
paste chair cloth |
 |
Pillow for back first on one side of a pasted over foam, then from all sides - cloth |
 |
seat cushion also first on one side of a pasted over foam, then from all sides - cloth |
 |
We transport ready-chair in the dollhouse |
As you can see, the final price of such toys out meager, do not require any special materials, almost everything can be found at home. But the doll daughter gets an exclusive chair, which no one else there.
The project №2: dresser
Wardrobes, chests of drawers and kitchen furniture is very convenient to do from matchboxes. All you need the following requisites:
materials
| Photo | Title |
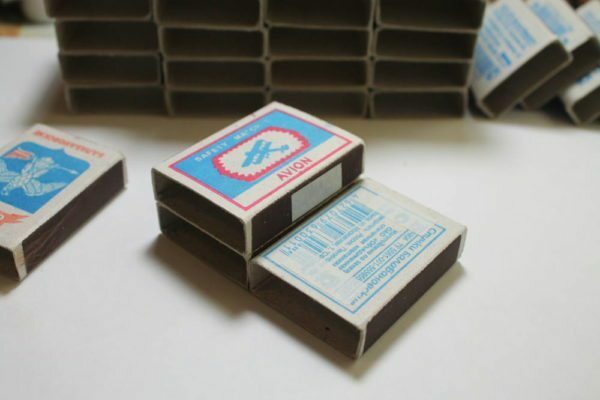 |
matchboxes - 4 things. |
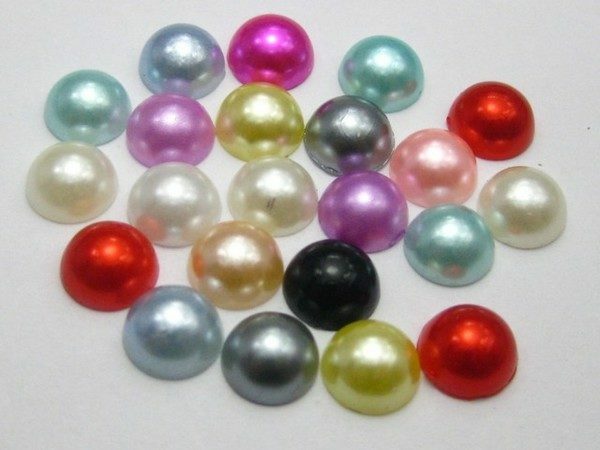 |
beads:
|
 |
Colored paper or thin cloth, PVA glue |
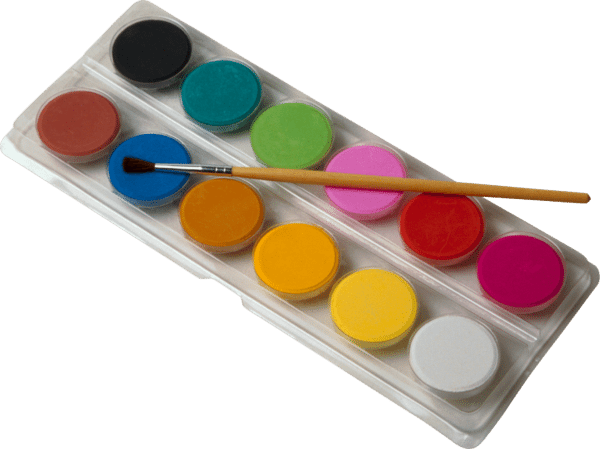 |
Paints |
I recommend choosing paint acrylic. They do not contain solvents and other toxic ingredients in its composition and, therefore, nothing will not threaten the child.
progress of work

The circuit assembly of the main elements of a toy chest
assembly instruction chest looks like this:
| Picture | Description |
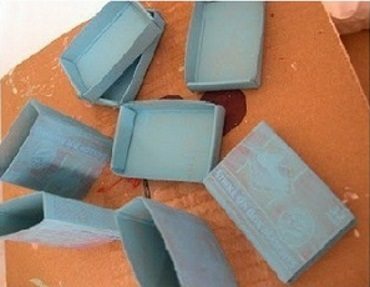 |
paint all matchboxes inside and out in a single color |
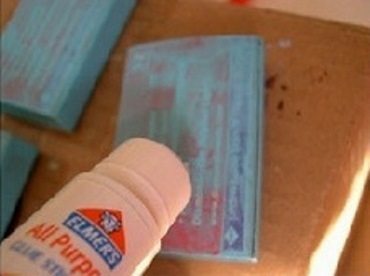 |
coat with glue lower and upper sides bolls |
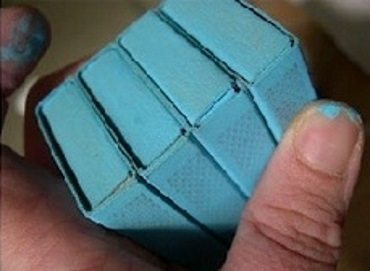 |
glue a stack of cardboard containers |
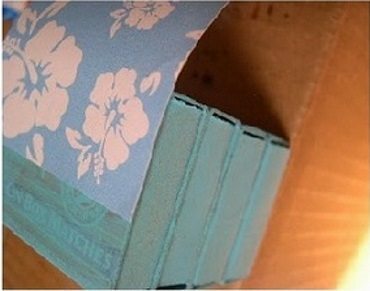 |
turn round the resulting structure with colored paper, which also sadim glue |
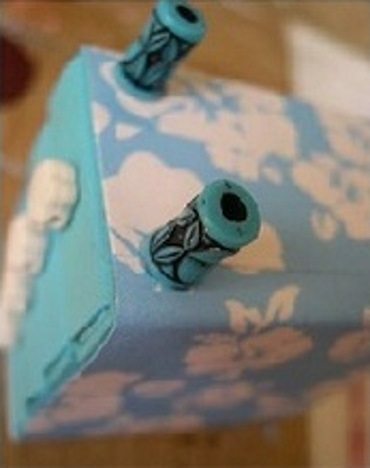 |
glue beads:
|
 |
install finished drawers in the right place |
This toy furniture had already put on the doll house of your daughter's uniqueness, but it is still not a limit to what can be done with his own hands. Move on.
Project №3: dressing
Dressing table or dressing table needed every fashionista, and a certain way doll your daughter. We are putting everything needed for the manufacture of such a subject the furniture Interior:
Materials and tools
| Photo | Title |
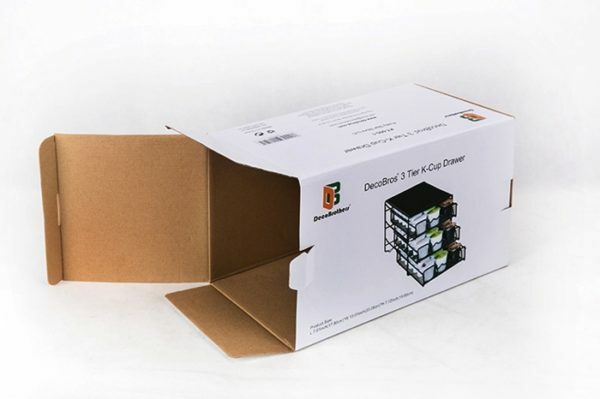 |
Cardboard box small size to match the doll; scissors and a ruler with a pencil; PVA glue |
 |
a piece of foil |
 |
Colored or white paper |
progress of work
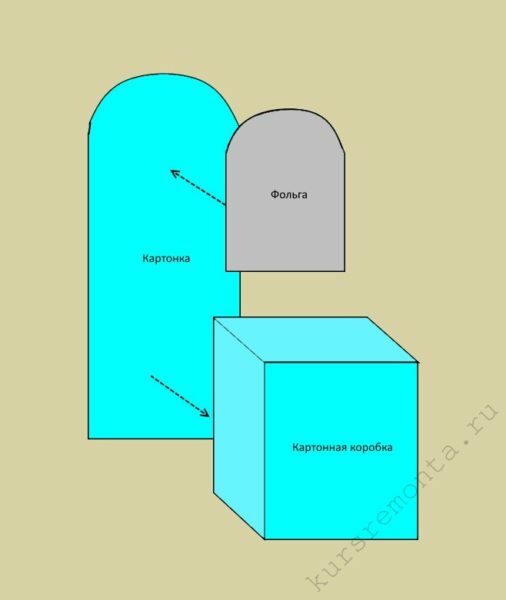
The circuit assembly of the main elements of the toy toilet table
Now look at how to do all of the above items are elegant doll dressing:
| Picture | Description |
 |
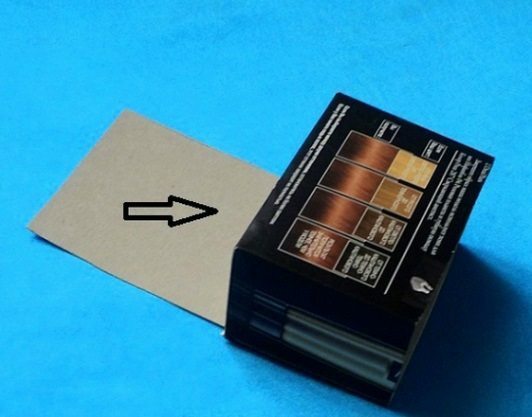
cut the box under growth doll usually enough to leave 60-80 mm |
 |
cut out excess of the box rectangle measuring 60-80 mm on a 150 mm |
 |
glue cardboard rectangle to the bottom of the future dressing table |
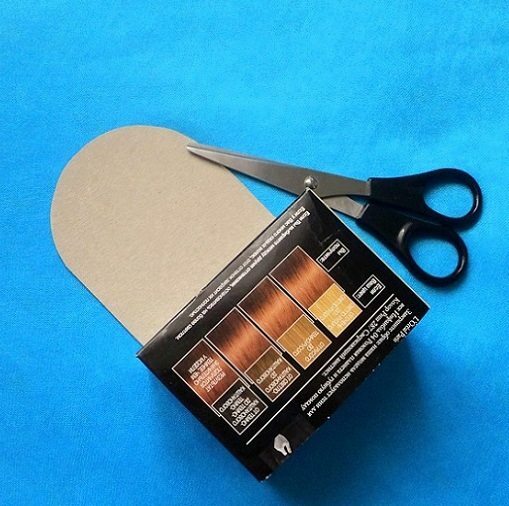 |
Cropped top-boxes in a semicircle |
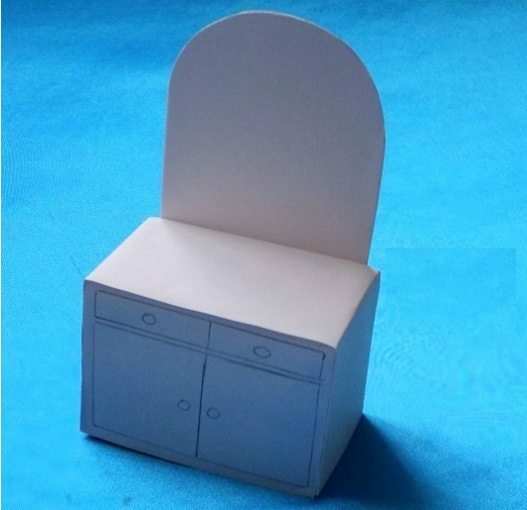 |
|
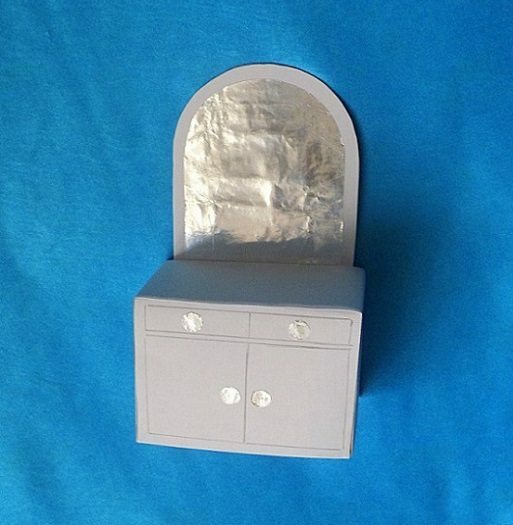 |
|
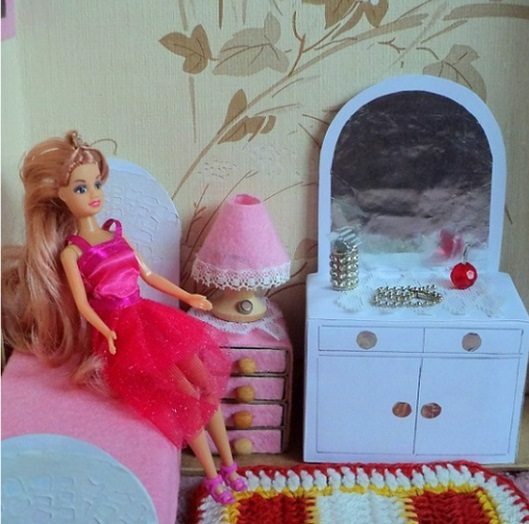 |
install finished dressing where already arranged and the other pieces of furniture |
And this doll furniture with his own hands made very simple. In principle, the child described the task can even cope without your help. Now I propose to consider a more complex project.
Project №4: bed
This can be either a sofa or bed depending on your daughter's preferences. The main difficulty here lies in the fact that the need to use tools for cutting of wood. So do not do without the Pope.
Materials and tools
| Photo | Title |
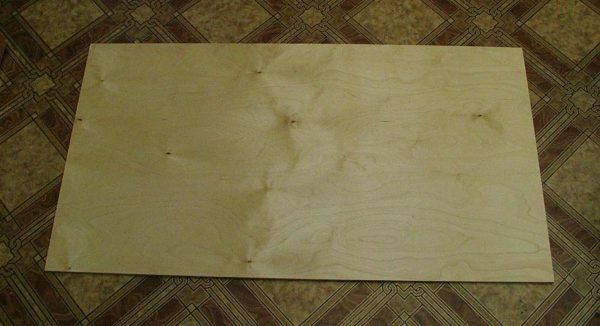 |
A piece of plywoodWhile it is not necessary to buy a special leaf, it will be enough remnants from the last repair or finishing work |
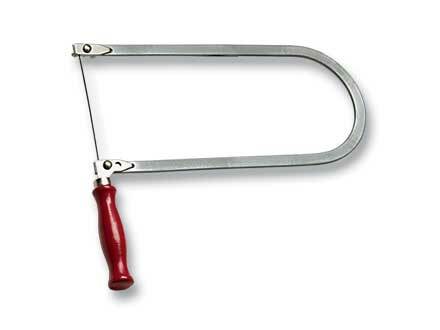 |
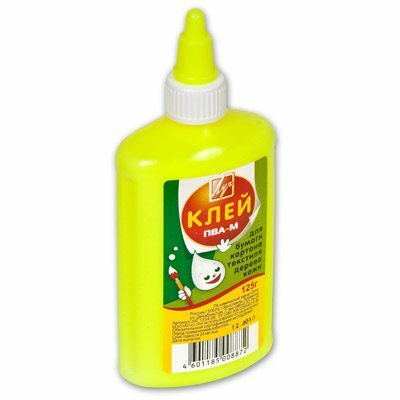
Jigsaw, PVA glue, carpenter's glue |
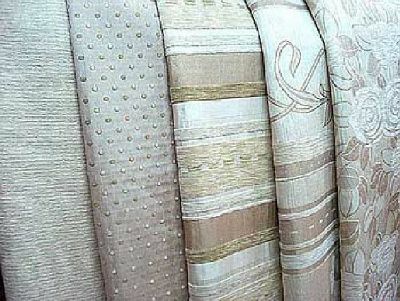 |
upholstery fabric |
For exterior trim recommend to choose the most dense tissue, as much as possible similar to the one which is sheathed real sofas. In this case, self-made toy furniture will look very realistic.
progress of work
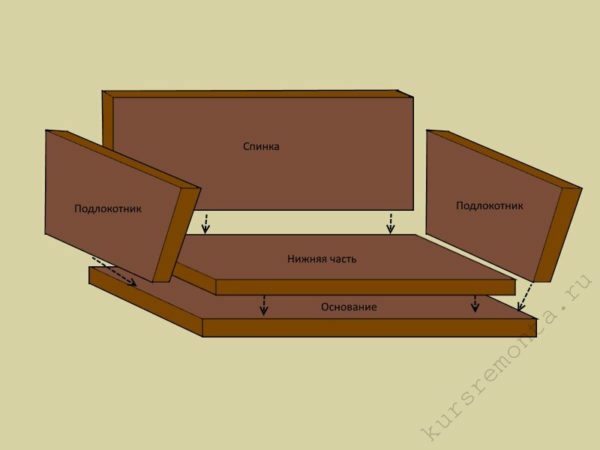
The circuit assembly of the main elements of a toy sofa
Miniature bed or sofa are made as follows:
| Picture | Description |
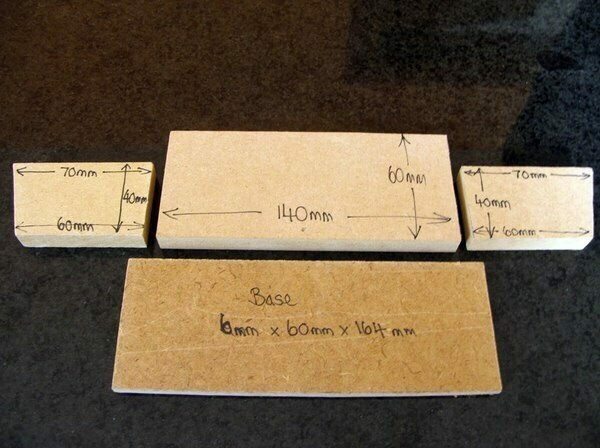 |
cut out plywood:
|
 |
|
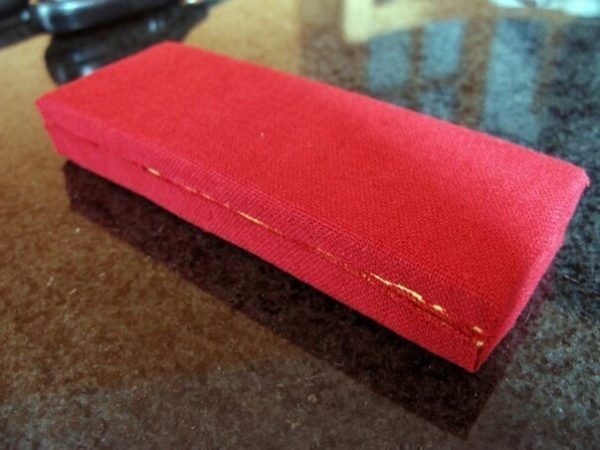 |
separately paste cloth removable bottom part of the sofa |
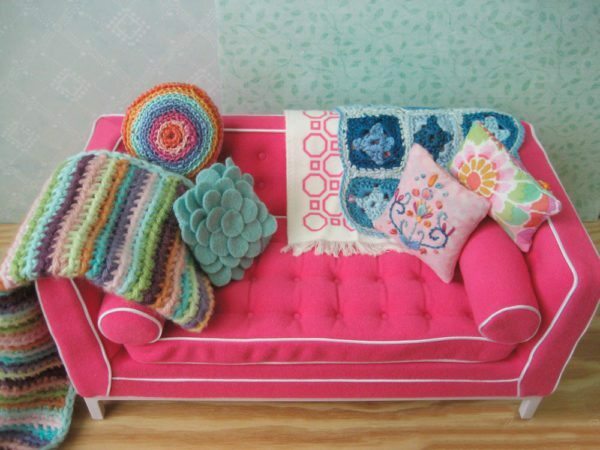 |
The finished lower part laid at the base of the sofa and optionally supplement composition slices of different tissues, airbags imitating |
Project №5: cot
The doll your daughter may also have their own children, and they need the right furniture. Here is a description of the manufacture is very economical option cot:
materials
| Photo | Title |
 |
Two matchboxes |
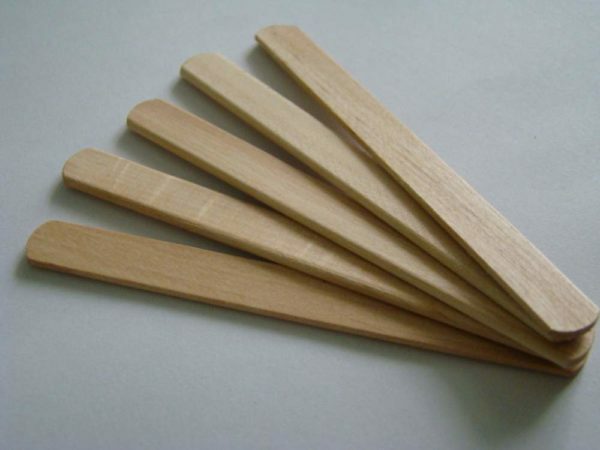 |
Sticks of ice-cream |
 |
PVA glue |
 |
Paints |
progress of work
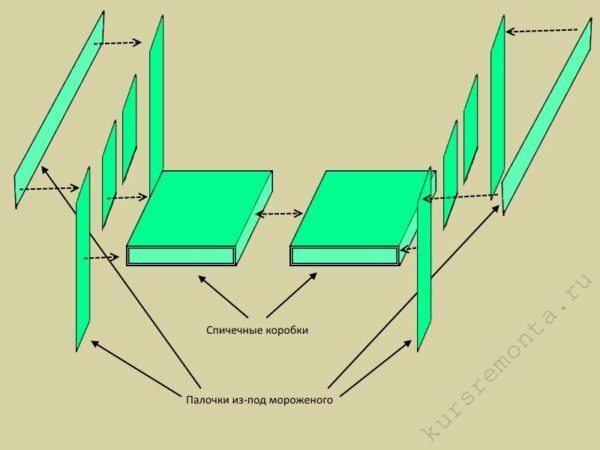
The circuit assembly of the main elements of a toy cot
Everything is done very simply and without the use of any special tools:
| Picture | Description |
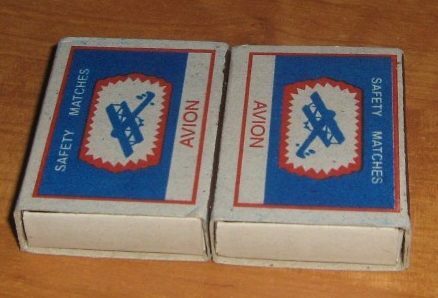 |
glue the ends two matchboxes |
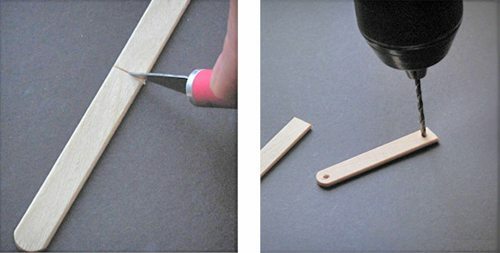 |
shorten a few sticks of ice-cream |
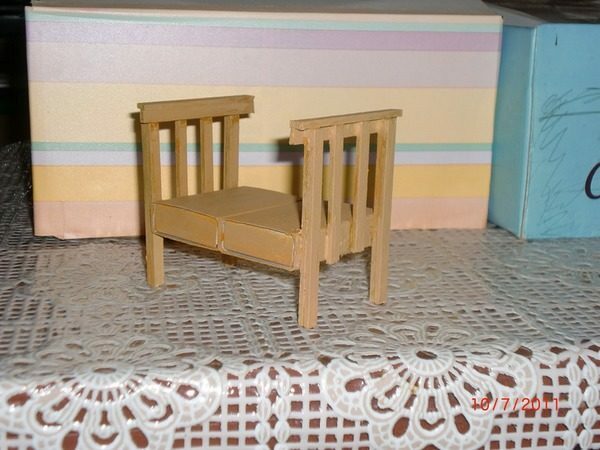 |
glue Sticks according to the scheme shown above the base of the box and of the object |
conclusion
You are familiar with good examples of toy manufacturing furniture for the dolls. Videos in this article contains additional materials on the subject, and in the comments, you can set it on your questions.
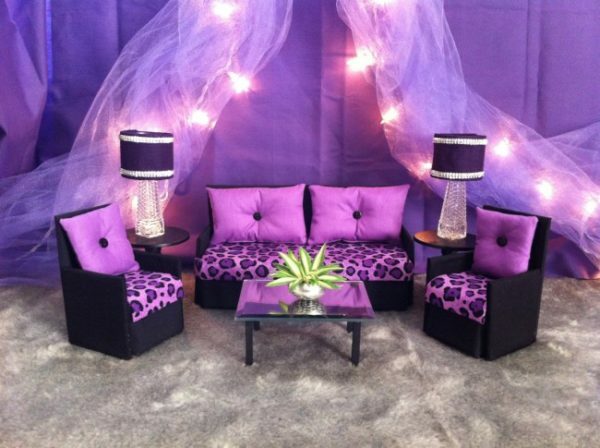
You can make all the dolls with their own hands, including even the interior of the living room in a very modern style


