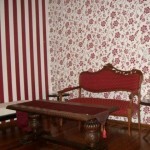
Wallpapering (photo 48): preparing the walls and technology
Table of contents
-
1 How to prepare wall
- 1.1 Removal of the old coating
- 1.2 alignment
- 2 Preparation of the glue
- 3 wallpapering
- 4 Summing up
- 5 Photo Gallery
Wallpapering - one of the most important stages in the process of repair.
In this article, we'll reveal some of the secrets of the right wallpapering How to prepare a wall, select the wallpaper and glue, as well as perform pasting hard to reach places.
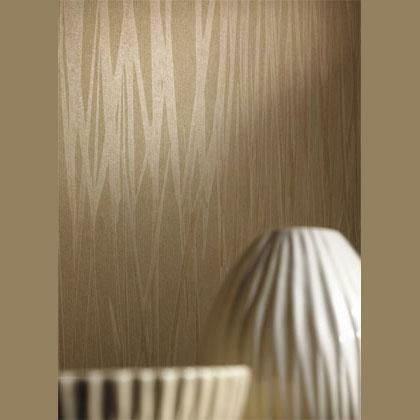
Processing and Wallpapering - a process that requires careful preparation and does not tolerate haste. First of all, it is necessary to prepare the tools to choose the glue solution and brand fabrics, and, of course, to prepare surfaces that are going to paste over. This is what we'll talk in more detail.
How to prepare wall
Removal of the old coating
First there is a removal of the old finish layer from the walls. To make things easier, wet the surface and wait 20-30 minutes. If the blade moved on top, pour the water in and wait. Metal scrapers to help cope with the removal of the paper.
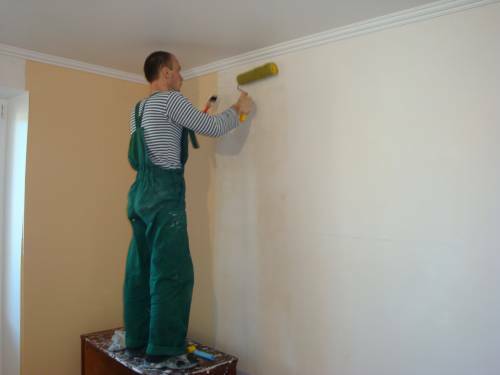
primer walls
After removing all the layers must be thoroughly rinsed surface with a brush dipped in warm water.
Walking wide spatula across the surface and removing a layer or whitewash plaster attach brush extending to give a clean surface free of dust and accretions.
In the case of dismantling of vinyl purification takes place in two stages: first, the vinyl layer is removed, then - the paper by using the above instructions.
To clean the ceiling, you can use a sponge on a long stick.
- Painted with oil paint the walls washed with soap and water and sanded.
- Wash off distemper help ordinary water.
- When coating mineral wall paint, its thinner layers are washed away with a brush, a scraper removed thick.
- Enamel paint removed with soap or soda solution.
- Dispersion paint is scraped spatula.
How to handle before mounting your wall, so that the new paintings were kept tightly? You can cover the walls with a solution of bleach - the best solution in the fight against mold. To prepare the mixture per liter of water, add 200 grams of bleach.
You can also treat the wall fungicide. When gluing non-woven wallpaper it is desirable to use an adhesive having a fungicide in its composition.
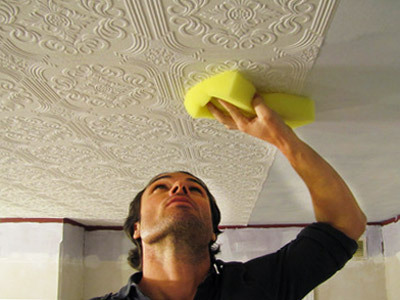
Sticker paintings on the ceiling
alignment
Subsequent treatment of walls before gluing fabrics - alignment. Inspect the surface for defects. the walls are often in need of puttying cracks and removal of irregularities.
You can insulate the wall sheets of foam, which will also help them align.
If the walls are nailed sheets of drywall, check to see if the nail heads protruding. If you do not paint them with paint, then they may rust.
Priming - the last preparatory phase. Primed plaster, plaster and plasterboard.
Primer binds fine particles on the surface so that they do not damage the adhesive compound from the wall, and also protects against fungi. After waiting for the primer is completely dry surface.
Check the readiness of the wall can be easy enough - stick a piece of adhesive tape to the surface and wait. If you perform the condensate is not the time.
Note! Instead gruntovalnoy mixture, can be used highly diluted solution of wallpaper paste.
Before pokleit wallpaper, the walls can be covered with paper. This helps to mitigate the small surface irregularities, as well as to protect the layer of wallpaper from the effects of alkalis.
There is even a special paper, but you can always use old newspapers. Such paper is smeared with glue, wait for complete impregnation and glue lap. It remains only to smooth it with a brush to remove the irregularities. After drying (it overnight), and sanding the surface can begin to glueing.
Preparation of the glue
Remember, the denser and heavier fabric, the thicker should be the glue.
The cold water sprinkle dry mass and mix thoroughly. Wait 5 minutes, stir once again - and the glue is ready for use.
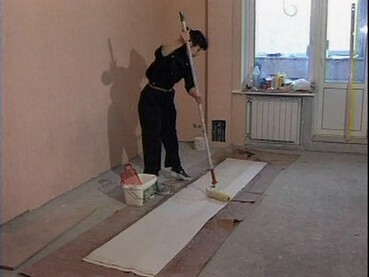
Smearing fabric glue
wallpapering
First, measure the wall, draw the layout directly on the wall in pencil.
Make sure you buy the same rolls and can start gluing. Unrolling a strip which is longer than the required 5 cm - a reserve for drying and "contraction" of the paintings.
Apply glue to the canvas since the middle and moving to the edges. Pay special attention to the edges, they must be careful to miss the mark, while preventing contact with the adhesive on the front side.
Stick strip downward from the center of smoothing and avoiding the formation of bubbles. After all the paintings are stuck, wait for drying, and watch out for the lack of drafts in the room.
After completion of gluing the excess parts accurately trim knife.
Here you are and how to perform a procedure such as Wallpapering, repair will now not so bad. Good luck with the interior decoration of your home!
Summing up
We hope our article has been helpful to you. In order to more accurately understand the technological and practical issues on our website provides detailed photo and video instruction, in which you will find useful information on the question.
Photo Gallery


