How to plaster (photo 36): the tools, features of the solution, plaster structures, installation of beacons and major works
Table of contents
-
1 Preparatory stage
- 1.1 Instruments
- 1.2 What should be a solution, plaster structure
- 2 The sequence of work
- 3 installation beacons
- 4 Major works
- 5 Total
- 6 Photo Gallery
Before the plastering of the walls must be pre-sag their plumb plane and set the beacons. Only in this way you will be able to make the surface smooth, horizontally and vertically.
In this article, we will discuss how to plaster the walls.
Preparatory stage
Instruments
 For high-quality execution of work, choose good tools from renowned manufacturers.
You will need:
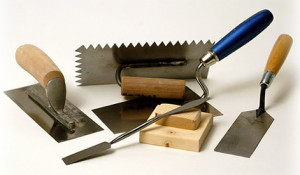
The photo tool for plastering
- Scoop plaster. It can be used to sketch and dub solution and fill materials with the compliance ratio. For example, consider the exact consumption of cement in the plaster.
- Bucket on 1l for spraying plasters and precise dosage of materials.
- Building a mixer or a drill with a similar nozzle.
Here's the first tip, how to plaster and putty.
Never stir ready dry mixes for plaster or putty by hand. So you get a variety of compositions with lumps, which greatly hampered the work.
- Big poluter for pre-leveling of the surface.
- A small grater for final troweling plaster.
- Sokol (a special plate for small portions of the solution, the price - from 870 rubles.).
- A plumb and level.
- Roulette.
- Hammer.
- Puncher, if you want to knock down large projections on the wall.
- The guide rails for the lighthouses.
- Containers for solution.
- Aluminum generally for alignment solution. Rules are available of different lengths. The choice of instrument depends on the size of the wall, so you should be their number.
What should be a solution, plaster structure
Plastering walls with a mixture of lime-based.
In the matter, the better to plaster walls, the answer depends on the location and the wall material, and the type of room.
For internal plastering the walls with his own hands premises with concrete, stone or brick walls, with humidity no more than 60% of all known species most commonly used plasters lime or complex mixture. For plaster, wooden partitions and walls using lime-plaster solutions.
Cement and complex analogues designed for exterior and plaster rooms prepared for tiling. in most cases this is the room with high humidity.
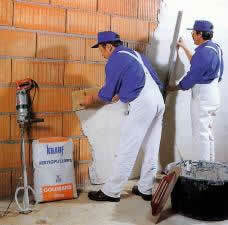
The sequence of work
Instructions plastering their own hands:
1. The first of them - obryzg. Generally it has a thickness of 3-9 mm and serves for a better adhesion of the base layer of plaster. Choose the optimum thickness of the rendering on the basis of the material of the walls, the plaster should it lay down evenly and not crumble afterwards.
Attention! Optimum consistency of spray - thick cream. That it is better to keep on the wall, you can make notches on it.
2. Next, primer is applied. It obryzga thicker and serves to align the main walls. Throws the soil several layers, as a result of its total thickness may be up to 2 cm.
Thus necessarily have to wait until the previous layer has dried, before putting the plaster second or third time. Otherwise, the solution flows and moves away from the wall.
3. And the last layer - nakryvki. He smooths small irregularities. Its thickness - 2.4 mm. After that, the smoothing or smoothing plaster.
installation beacons
Before you start staking walls, inspect them and bring down big puncher irregularities. Beacon may serve as a solution / gypsum and wood or metal slats.
Please note that during installation of mortar beacons guide for them should not be placed on the cap to hammer nails. Therefore it is necessary to do "brand" - the site of the solution / plaster around the fixture.
They do so:
- Apply a solution of tubercle / gypsum, diameter 7.5 cm, 0.5 cm above the level of the cap fasteners.
- When the solution grab, cut parallel to the hump to the level of the cap wall.
- Cut with its four sides, forming a square of 3 cm × 3 or 4 × 4 cm. Make the required number of stamps.
Proceed to the arrangement of the lighthouses themselves. The guide is attached to the brands nails, clips or mortar. Once the restrictive strip is installed, make a plaster or cement mortar is paste-like consistency.
Fill them to the gap between the bar and the wall. Apply the solution was short, accurate throws rail and is pressed under a scapula. Excess mixture cut off.
When the solution seize, Knock the restraining strap hammer throughout its length. Moving gently up and remove the sliding movement. If the lighthouse turned out empty, fill them with a solution and smooth float. Remove all nails used to fix the guides.
It is very convenient to plaster their own hands if the secured guide clips. With this method, segments are laid under rail beams, which are removed after the arrangement of the beacon, and the resulting hole in the wedge beats.
Hitting it, you can easily lift the restraining bar without disrupting the lighthouse. It can be used in the regeneration of lighthouses and special guides. They are made from flat boards with a thickness of 3.5-4 cm, a width of 10 cm, and their length is selected depending on the height of the walls.
Boards need to cover the well-heated with varnish or paint in two coats of paint. Further, they inserted two screws with a diameter of 0.7-1.5 cm and a length of 17.5 cm. The bolts must be threaded a length of 7 cm. The optimal variant of the form of the head - the hooks, it will rotate the bolts without using the key.
Boards are fixed with two clamps or steel crutches. Attach the strap to the bounding wall surface from its corners, driving crutches and insert wedges. Expose them plumb or level. Adjustable bolts ensure the installation accuracy.
When the strips are installed, secure them with wedges definitively. Make a solution and fill beacons. After drying the solution, remove the strap, lowering the top of the lighthouse and pull cords.
Make intermediate beacons in accordance with the rules of the length to which you will enjoy. Wooden beacons placed much easier and faster than the mortar. The only, but their significant disadvantage - the deformation of the solution water.
Industrial metal lighthouses, simple in design and installation. so it is recommended to start their masters.
The installation will start with the corner beacons, while hammering the pins into the wall. Adjustment is made nut, which revolves around the key pin. Lighthouse gradually pressed against the wall, you need to simultaneously check the correctness of its vertical position.
The gaps between the wall and the lighthouse fill solution or wedge. Since the profile is still in the process of plastering sag. Once the corner beacons will be installed, set intermediate between the two.
Now you are ready to plaster beacons.
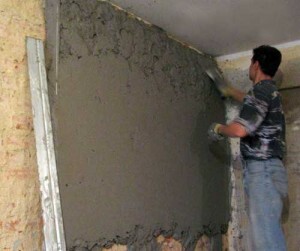
Major works
Leveling primers
Once all the beacons will be on display, you can start plastering the walls under the tiles, painting or wallpaper.
Very often in the course of the work solution is the lighthouse. Remember that it must be continuously removed. Otherwise, the accuracy of plastering will be broken. With wooden or metal rails solution can be removed fairly easily. But mortar / plaster it lighthouses, giving moisture quickly hardens. When you try to scrape off, lighthouses inevitably damaged, and thus suffers from the accuracy of the work produced.
How to learn to be plastered to prevent this from happening?
One solution would be the way to get around the rules by solution beacons, which is called "to shine." Rib rule that moves the first to lift the bit, and the solution is smooth or remove the second rib.
You can also more tightly pressed against the rule to the lighthouse and move it with the pressure, but only slightly. When working in this way a solution is well removed from the beacons.
Do not move a rule, lowering the front of the edges and thus working as a plasterer say - "to tearing." So it will not only be removed once the solution, but also the top of the lighthouses themselves.
In principle, the rules of plaster walls are not saying anything about where it started. But most of all, the process starts from the bottom.
Applied first "scratch coat". Thus clots sometimes obtained, whose thickness exceeds plane beacons. Leveling them with the rules, trowel or blade.
This is especially significant when making a thin layer plastering. Next comes the turn of applying plaster ground. Do this in several layers. Each of them must be well leveled. The smoother eventually get a primer, the less coat "finish coat" you will have to apply for it.
After this part of the work is completed, remove the wooden / metal beacons. Remaining after these empty seats close the solution, and align powertrowel.
The resulting surface of the rule check, putting it in all directions. If you find errors and defects, eliminate them by applying a solution or vice versa - cutting it.
At the end of the last applied skim coat solution.
One last tip, how to plaster.
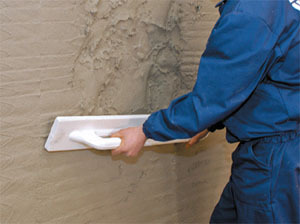
Attention! After applying the primer, gypsum beacons must be cut out completely, otherwise at the juncture gypsum plaster and burst solution. Beacons of cement-sand mixture can be cut down by half. Voids are filled with a solution, then apply nakryvku. The last phase of work - grout plaster, it is made of aluminum or wood trowel with glued on it with foam.
Total
We hope our stuff was useful for you, we also offer you is a useful video in this article and I wish you good luck.
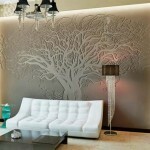
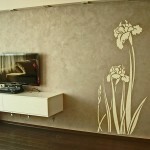
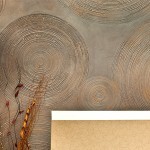
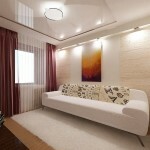
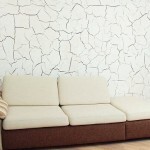
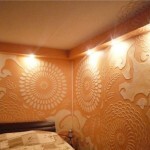
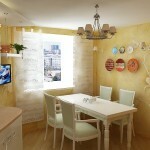
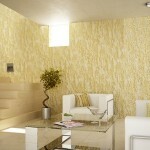
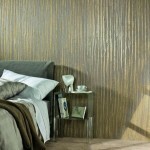
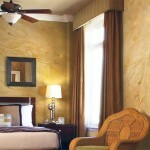
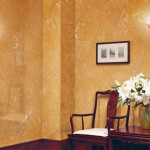
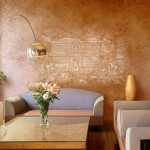
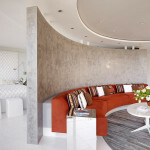
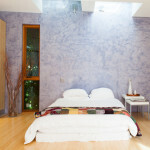
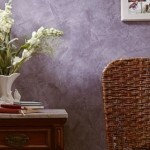
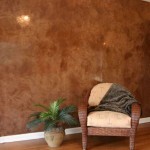
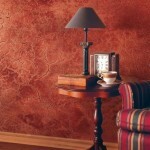
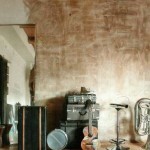
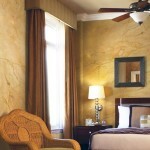
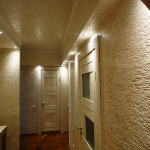
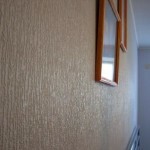
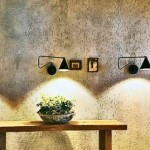
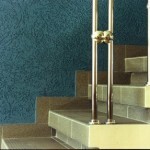
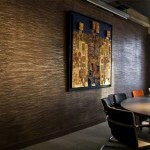
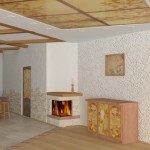
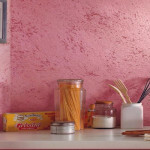
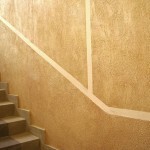
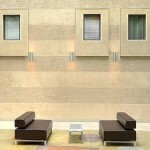
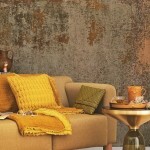
Photo Gallery