 You can finish the plasterboard wall covering in two ways: install outlets and install outlets and switches. One of the finishing stages of plasterboard wall covering is the installation of sub-wall panels and the installation of outlets and switches. This work does not take much time, as effort, it is simple enough that even a novice master can cope with it.
-
- Escutcheon for GCR: characteristics
- Escutcheon plasterboard: size boxes
- Set Escutcheon for gypsum board: preparations
- As set Escutcheon in plasterboard: work steps
- Punching Escutcheon in plasterboard: Application features
- We install ourselves: installation of sub-wallboards in gypsum board( video)
Dashboard for GCR: features
The pad for GCR is an important element in conducting electrical equipment in hollow walls, which is securely attached to the sheet and allows mounting any electrical structures - switches, sockets, sensors or switches.
"Glass" for gypsum board differs from others in the presence of special fasteners installedOn the screws. These fasteners are attached to the inner side of the wall. Only in this way can the glass be fixed securely, not with the putty solution, or with cement. There are times when it is necessary to mount a row of 2 or 3 podrozetnik. In this case, you need to select "glasses" with connecting tunnels, through which the wire will be laid. In the case that you need to install only one juniper, these connections can be cut, since they can interfere with installation in the groove in the plasterboard. There is also a second option - you can purchase special connecting elements. These partitions are installed in the glasses immediately before they are mounted in the wall. Use the level to install the juniper block to determine how well you have placed the "cups". When assembling the junction box in the plasterboard, it is important to be able to choose it correctly. Of course, in any construction shop consultants can help with the choice, but it is better if you yourself know what the difference between the podzroetnikov and how not to make a mistake with the purchase. The choice of jigs is: When buying podrozetnikov it is desirable to immediately purchase switches and sockets, so that they were one firm and fit each other. Before proceeding with drilling of walls and installation of sub-wallers, it is necessary to determine the location of future outlets and switches. Be sure to carefully consider the number of outlets - single or double. . When this issue is resolved, you can directly go to preparing the walls for the installation of sub-wallers. When working with a drill and bit, try not to push hard on the wall, any sudden movement can cause damage to the sheet. So, Escutcheon hole is ready. You can proceed directly to the installation of the box. Installation steps: Important! When several Escutcheon one line necessary to adhere to the distance between centers of 71 mm To cut a hole in plasterboard sheet Escutcheon need special adaptation - crown( cutter).It is attached to a drill. The cutter looks like a drill with round nozzles, at the end of which there are teeth. can distinguish 2 types of structures cutters on GCR: When buying crowns, do not take the cheapest Chinese, they are short-lived and quickly sharpened teeth. Nothing complicated to install drywall in podrozetnik not, if we approach this matter with the mind, and to do everything step by step and slowly. Any man with minimal electrical skills will be able to mount the sub-socket and all the electrical accessories offered to him. 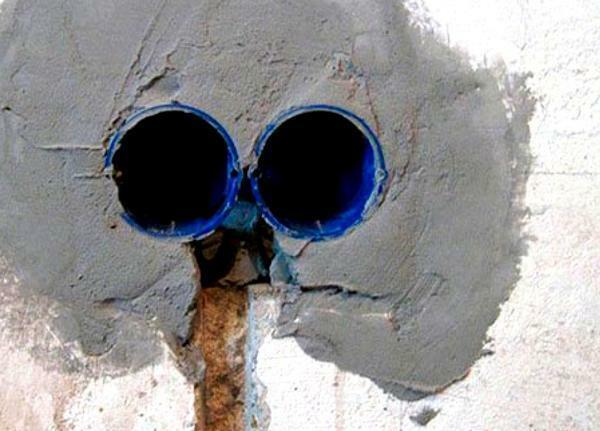 A wide range of electrical structures, from switches and sockets to sensors and switches, can easily be mounted on the GCR, if you use an additional and important element -
 Socket for drywall: dimensions of the box
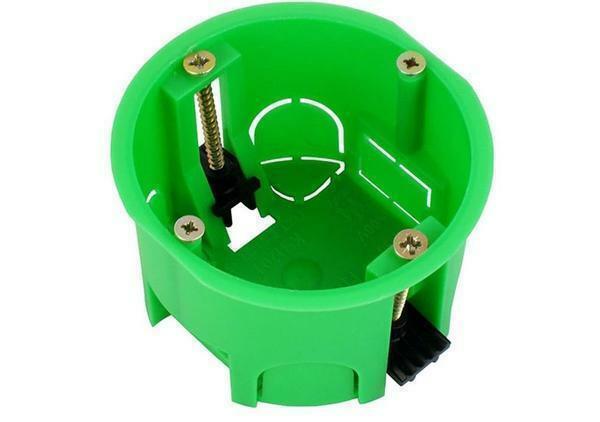 It is quite easy to work with a piece of wood if it is made of high-quality material, for example, self-extinguishing plastic
We install the subgrid for gypsum cardboard: preparatory work for
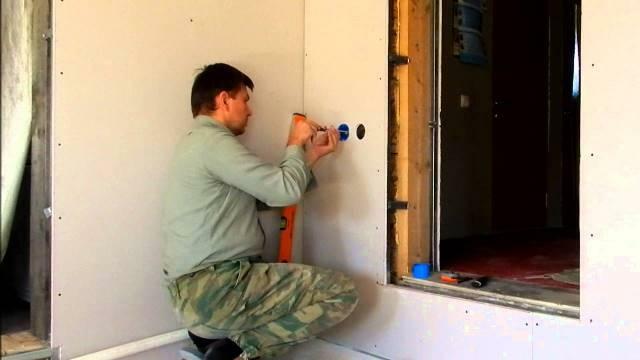
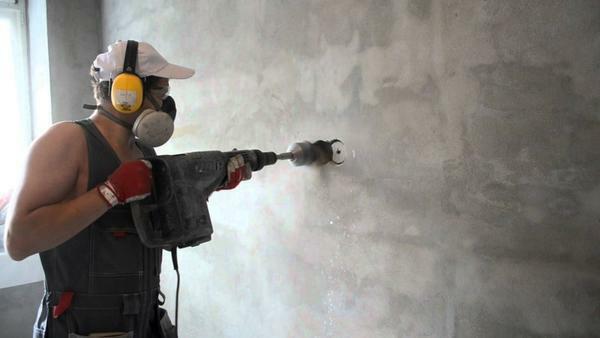 Sockets and switches are mounted after installation of the sub-wall panels, but before starting work, it is necessary to drill the walls
How to install drywall in podrozetnik: milestones
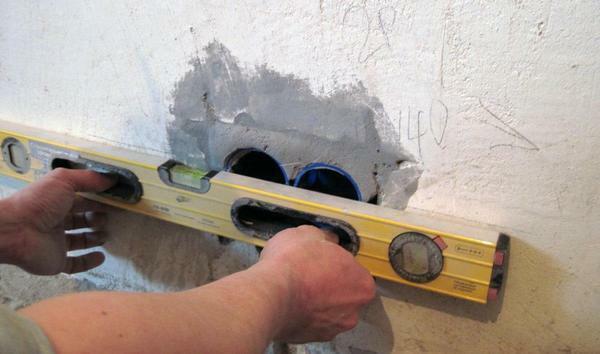 In order to check the quality Escutcheon installation, use level
Punching Escutcheon in plasterboard: application features
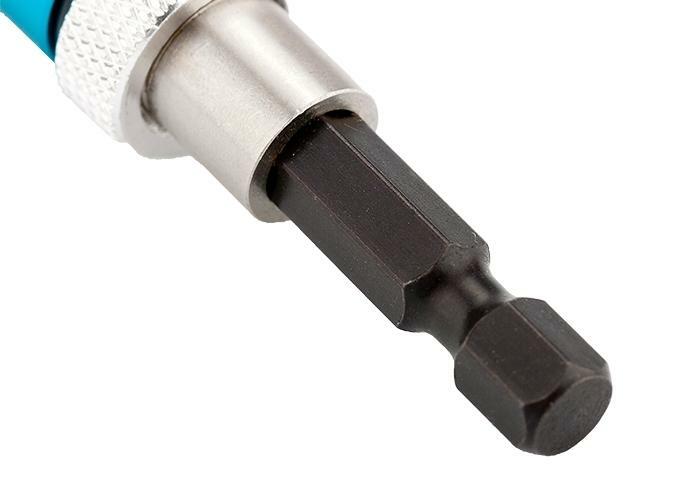
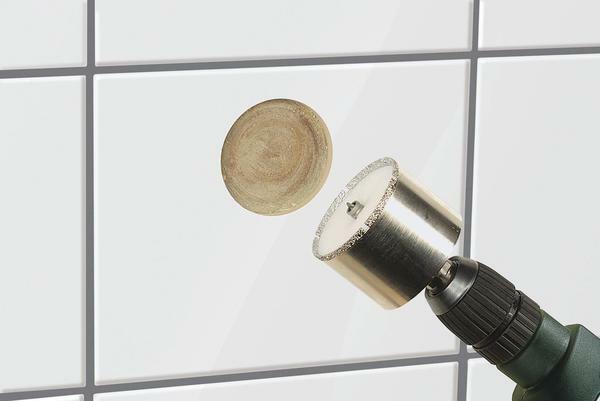 to create holes podrozetnik convenient to use a special device - a crown( cutter)
Mount themselves: Enclosures installation in drywall( video)