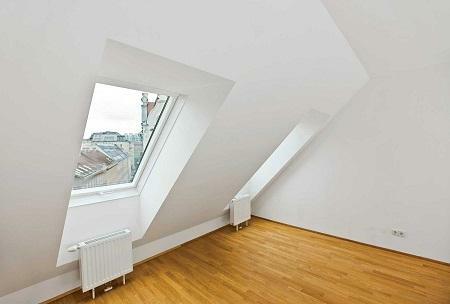
 Drywall is excellent for finishing the attic due to the long life and appearance of the For the walls and ceilings of the attic, strong materials are used. It is possible to make the surface of the walls even, using plasterboard sheets for finishing. After arranging the interior of the attic in any style to your taste. Drywall can keep heat indoors, better than plastic and other cheap materials. Finishing of this material withstands low and high temperatures, and it is possible to attach mirrors, hanging cabinets and shelves without much difficulty.
-
- Installation: how to sheathe the attic plasterboard
- Finish attic floor plasterboard with their hands
- Sheathing attic GCR
- finishing touch finishing the attic floor
- Tips for finishing plasterboard attic( video)
- Self finishMansard plasterboard( process photo)
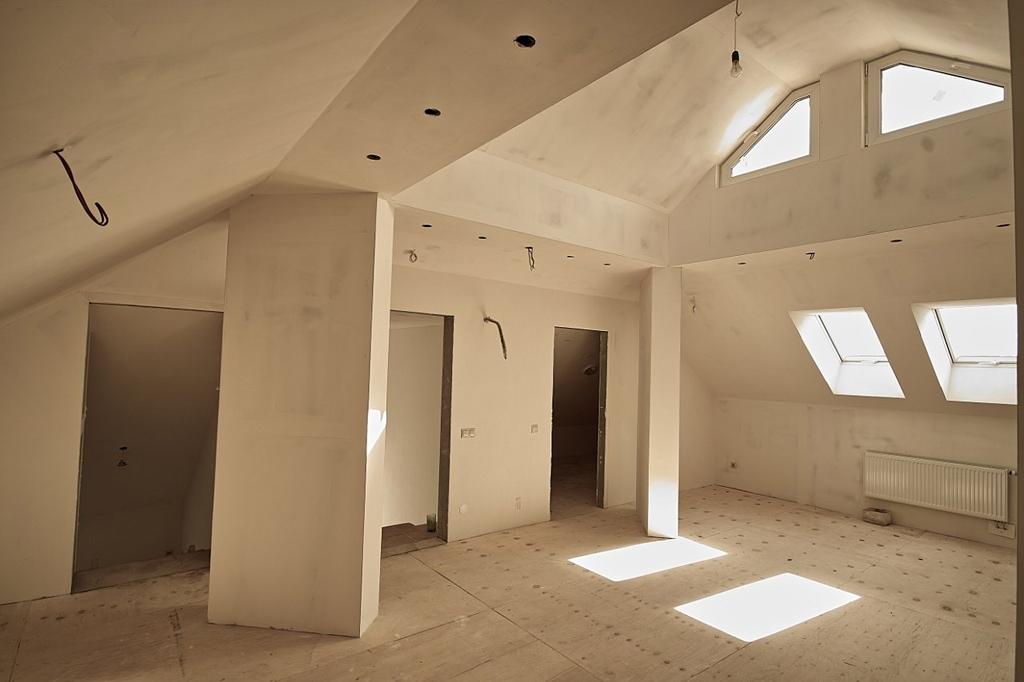
Installation: how to trim the attic with gypsum plasterboard
Drywall is ideal for finishing different rooms. It is not expensive. You have the opportunity to heat the walls with additional materials, which will be located between the walls and the plasterboard paneling. Make insulation from noise. This material is easy to install and does not require special care.
The attic may have increased humidity. You should consider this factor and purchase a moisture-resistant plasterboard for finishing.
First we do the preparatory work. The roof must be free of defects and allow water to pass through. Carry out roof repairs if necessary, so that in the future you do not worry about getting water in the attic. And you did not have to do the cladding again. This will save you time and money.
Check the condition of the beams. They should not be spoiled by external factors.
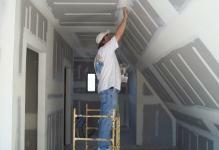
Before beginning the installation of the finish, it is necessary to impregnate the walls and ceiling with an antiseptic if the house is built of a wooden beam. After drying the room.
 When plastering the attic with gypsum boards, cut out the ventilation holes and lighting fixtures.
The rafting is carried out in several stages. This method is common. If the room for finishing is small, and the distance between the rafters is not more than 75 cm, you can not use a frameless lining.
Step-by-step instruction:
- We buy sheets of drywall;
- We cut the sheets to fit;
- Attach the finish to special glue;
- We fix gypsum cardboard on the rafters;
- We fix it with glue and screws.
The drywall should be 12.5 centimeters thick. If they are thinner, they can be bent down in some places.
The inner corners are reinforced with a perforated corner. Then we take the putty and close the seams and the places of the fastenings of the screws with the rafters.
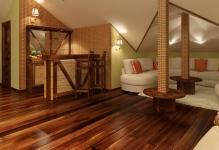
Decorating the attic floor with plasterboard by one's own hands
Many people use the skeleton method for finishing the attic. It is reliable and you have the opportunity to insulate the room with special materials. You do not have to additionally use heating appliances in conjunction with heating systems. You can also make acoustic isolation if you live close to the roadway.
Stages of frame mounting:
- Making room measurements;
- We purchase all necessary materials and tools;
- We make the installation of the crate;
- Along the perimeter we mount the frame guides;
- We fasten the racks with self-tapping screws for metal;
- Fix cross-pieces;
- Route wiring;
- We lay the insulation in the cells of the carcass.
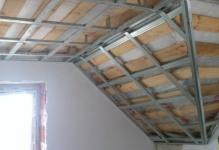
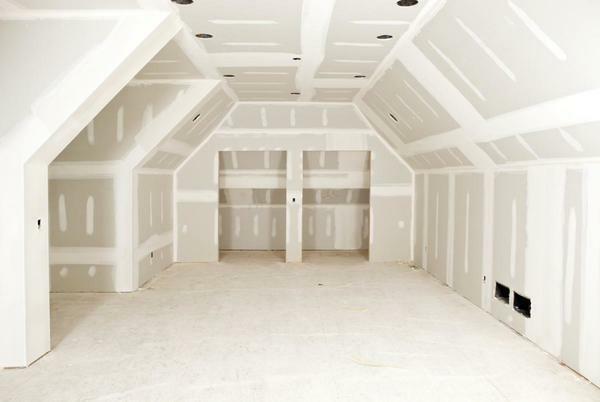
 For finishing the attic with gypsum board it is recommended to draw two or more people
For finishing you need to buy gypsum board, hardware and metal profiles of the required quantity.
Then do the erection of the crate. We start all from the walls. Its markings are transferred to the ceiling and floor. In this case, you should monitor the vertical position of the racks.
It's worth remembering: metal guides are fixed at a minimum of three points. The distance between points should not be more than a meter.
Racks are fastened by means of self-tapping screws for metal in the guides of the frame structure. The distance should be 40-50 cm between them. The frequency of the cross bars should correspond to the length of the sheets of gypsum board after the cutting. Before plastering the attic with gypsum plasterboard it is worthwhile to conduct all necessary communications - wiring, heating systems. In the frame cells it is necessary to lay mineral wool. It is used as a heater. This material does not deteriorate under the influence of moisture and rodents.
If the humidity in the attic is large, it is worthwhile to tighten the entire structure with a water vapor barrier membrane for greater protection.
After covering the attic floor with plasterboard of the required thickness, so that the finish does not bend from impact. Thin sheets can be swollen during operation. Therefore, do not save on supplies, then you do not have to change the skin again.
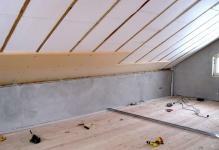
GKL attic casing
The principle of the attic casing is similar to the process of installing gypsum plasterboard in any other premises.
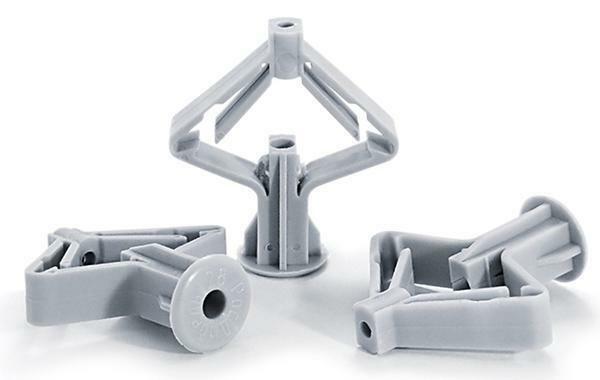
For this you need to buy: sheets of gypsum board( GKL), building level and tape measure, punch, screws, metal profiles.
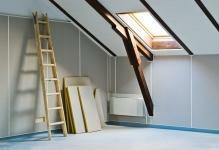
 Before beginning the finishing of the attic with gypsum boards, you need to purchase a ladder, screws, level, screwdriver and other tools.
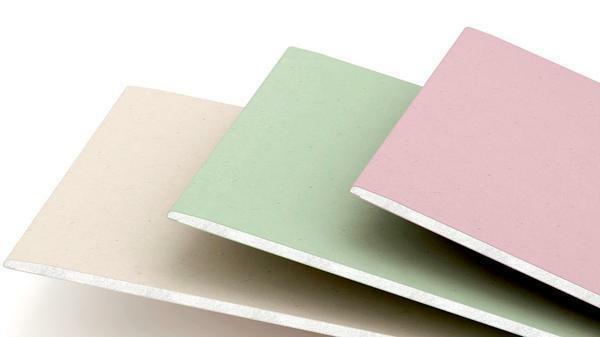
Gypsum board( GKL) has a gypsum core. All the plane of the sheet, except for the end edges, have a cardboard finish. Such a material has enhanced properties, since it contains special components.
Drywall sheets of GKLV type are suitable for finishing the attic. They are moisture resistant.
The roofing of the attic floor proceeds in several stages:
- We are dissolving sheets of gypsum board;
- We fix their profile at a distance of 20-25 cm;
- First we make the paneling with solid sheets;
- Then we produce the installation of cut sheets;
- We make the final finish.
Horizontal seams should be offset from each other by 1/3 of the width of the sheet. If this happens during installation, replace the whole sheet with the cut sheet.
You can decorate the attic floor with your own hands quickly and efficiently. To do this, you need to have all the necessary materials, tools and follow the installation instructions.
The finishing touches of the attic floor finish
Before finishing, it is necessary to complete the main work: seal the seams, hide the hardware caps, strengthen the corners, primed and plastered the finished plasterboard walls and ceiling.
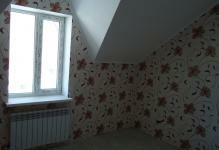
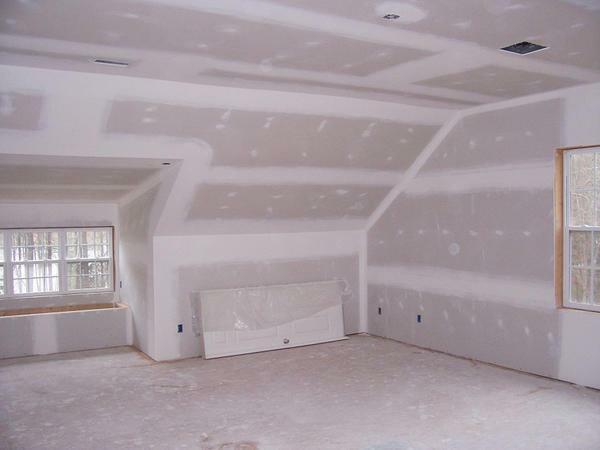 At the final stage it is necessary to perform the putty and paint the drywall
After the putty the walls must be sanded to remove excess putty and make the seams invisible. So you can achieve a perfectly flat surface of the walls.
Priming the surface so that the paint falls easily on the plasterboard walls and does not absorb it. At the very end let's dry the primer and start to glue the wallpaper or apply the paint with a roller.
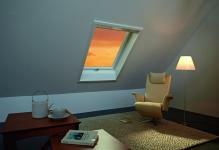
Tips for finishing the plasterboard attic( video)
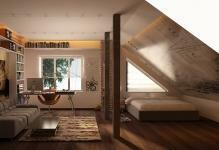
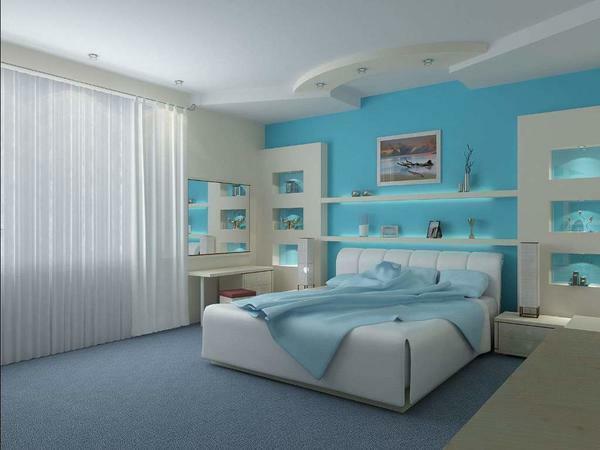
You can independently arrange the attic floor, using for finishing sheets of plasterboard. Thus, you will get even walls, hide all communications and be able to paste wallpaper. Finishing of the attic depends on your taste and style of the room design, which you choose from ready-made options or design yourself. Self
decoration plasterboard attic( photo process)