 topiary can be made of any material - it all depends on your imagination Make Topiary with his hands, step by step instruction which is given below, it is not difficult and interesting. Everyone can buy, but to take part in making it yourself is another matter. This is the basis of all art - to create the so-called "tree" of desires.
-
- Topiary own hands: step by step instructions for creating a basis
- How to Make Topiary: step by step create the upper part
- Options decorations Topiary
- quilling technique in topiary art
- How to Make Fruit Topiary own hands( video)
- Topiary with their hands for every taste( photos)
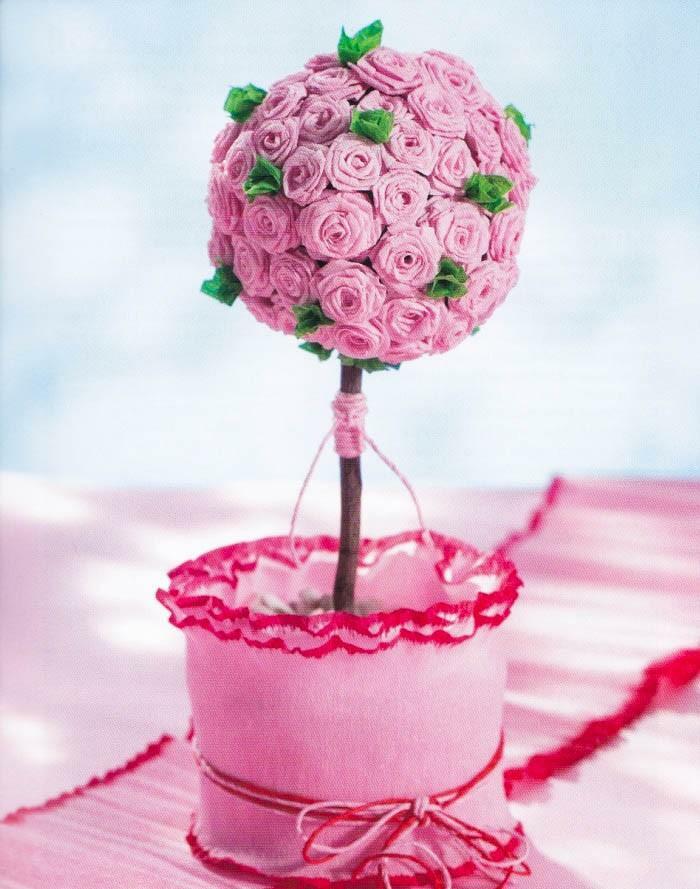
Topiary own hands: step by step instructions for creating a basis
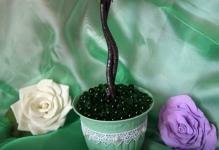
Made base( aka stem) preiuschestvenno of durable steel wire - it is malleable to change shape and quite strong, if not to make abrupt transitions and sharp bends.
easiest option basics:
- all mounted on a plastic flower pots;
- From the bottom, where there is a hole, the edge of the wire is pierced and blocked with hot glue( a thin layer so that there is no protruding outgrowth on the bottom);
- It is not forbidden to use several pieces of wire. It is possible and at all a basis to add with wooden or plastic sticks( amazingly look the rods for an adhesive gun).
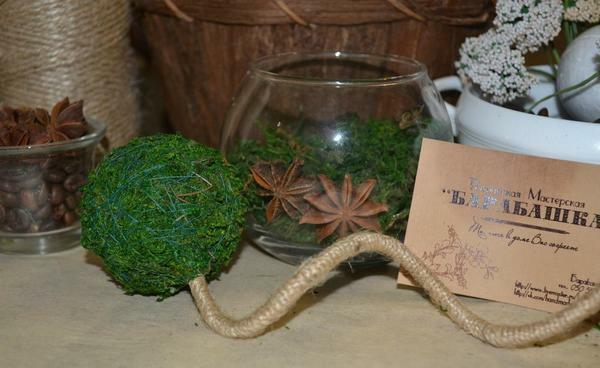 twisted stem wire can keep yourself on a few kilos without deformation
And you can do and that is easier - take a heat-resistant water pipe with a diameter of about 15-20 millimeters, and use it as a basis. Here the main convenience is that to fix the elements on it you can use the molten plastic itself, warming it up beforehand on a gas heater.
How to make a topiary: step by step create the top part
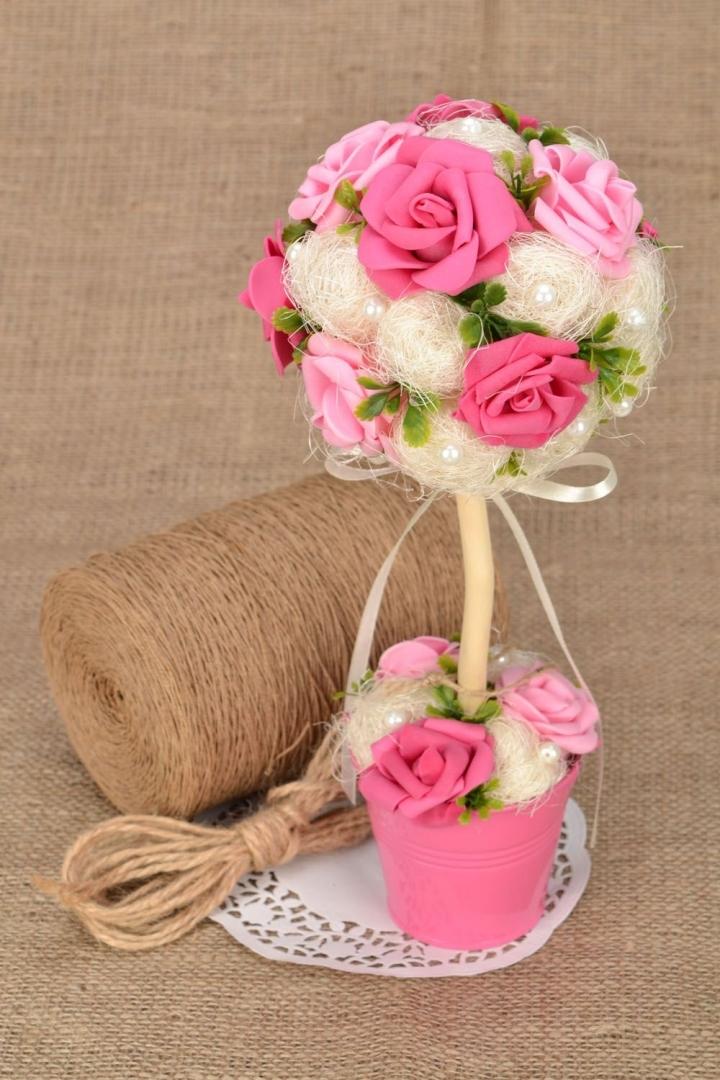
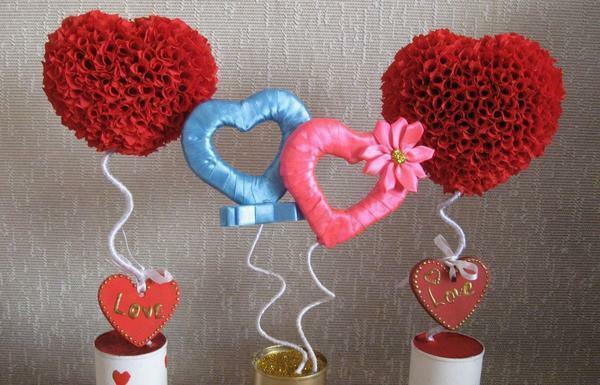
Let's assume that the base of the topiraia is already ready. It remains a matter of small - to attach to it the very crown of the "tree of happiness".And here you can give your imagination a full-scale sweep, for you can use any improvised materials, from ordinary colored paper, to expensive jewelry or Swarovski stones, to someone you like best.
And you can even make figures from a beautiful shiny ribbon. It will be something like a Japanese origami, but formed into one tree.
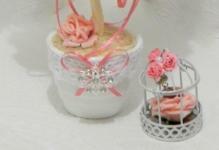
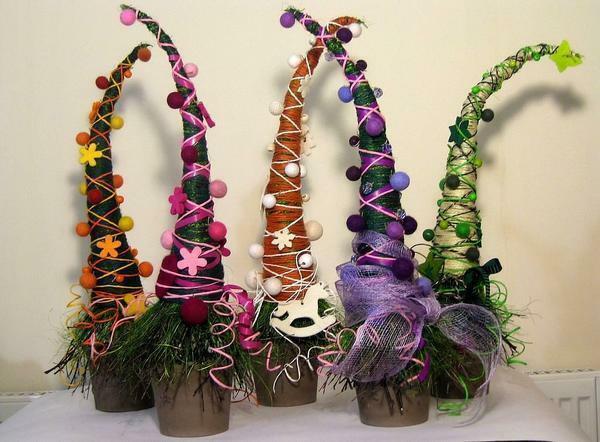
 decoration for crown Topiary can serve as natural materials or artificial decor
main rules for creating crowns:
- a basis to use a soft material( you can even club any tissue or a piece of hard foam,papier mache);
- Fasteners of elements to make rigid( on a hot glue or metal скобы);
- It's not necessary to observe an even form - the tree reflects only the master's fantasy and is not described by any algorithms.
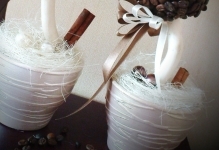
What is used most often for decoration?Coffee beans, woven patches( patchwork), cellophane ribbons, dry twigs, artificial flowers, moss, turned sea pebbles, shells and so on. Anything that in principle can be considered beautiful is suitable. You can focus on a photo or master class from other needlewomen, but it is better to create your own unique combination.
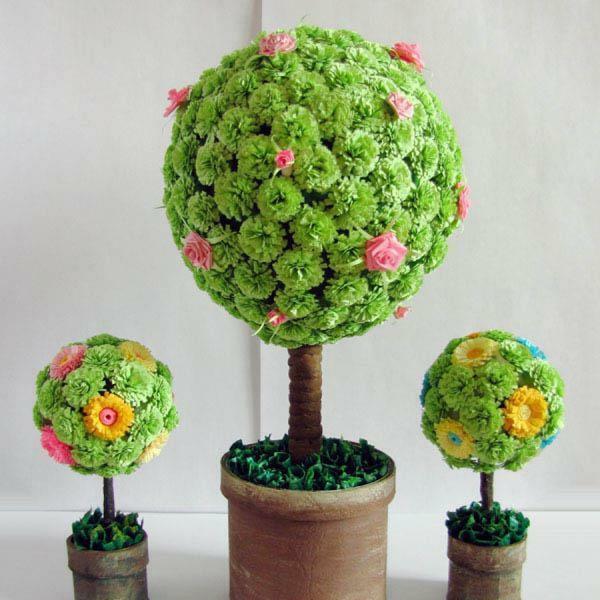
Options for decorating the topiary
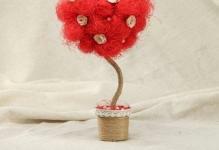
Creating the crown is a painstaking process, but even then the topiary is not considered fully completed. Beautiful works require a finishing chord. In simple variations, it can be landscaping with artificial vegetation, in the role of which will perform woven flowers. And it is possible and at all to make the making of an ornament from old and broken Christmas-tree toys( crushed in a mortar).It will be very effective and attractive. And, of course, topiary art implies that the finished tree will completely reflect the master's wishes.
Simply put - as you like, so it should be done, if only part of your soul was included in the finished topiary. It is difficult to convey this in words - it is more necessary to feel it in the process of creation.
 Options for decorating the topiary you can take already from the finished works or come up yourself
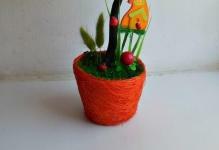
How to hide the wire - for this there are several proven methods:
- Wrap all the glossy paper;
- Tightly knit with a regular tow or rope from the burlap;
- Just paint( suitable if plastic tube is used as the base);
- Hide behind the crown( if the height of the base is small, like the tree itself).
If the fabric is mainly used for decoration, then it is desirable to cover it with a layer of hairspray.
Quilling technology in the topiary art
There is still such a thing as a keviling, which is quite widely used in the creation of topiary. In fact - it's just pieces of twisted paper in a tube. If all of them are connected on the basis of the type of foam - you get a pretty luxurious and "fluffy" tree crown. Most importantly, it is done quickly and the crown volume can be adjusted directly during the gluing process( simply cropping to the desired height).There is no need for a step-by-step description of crafting - it differs only in the form of quilling( the same diameter or one part larger / already), and also in the gluing density.
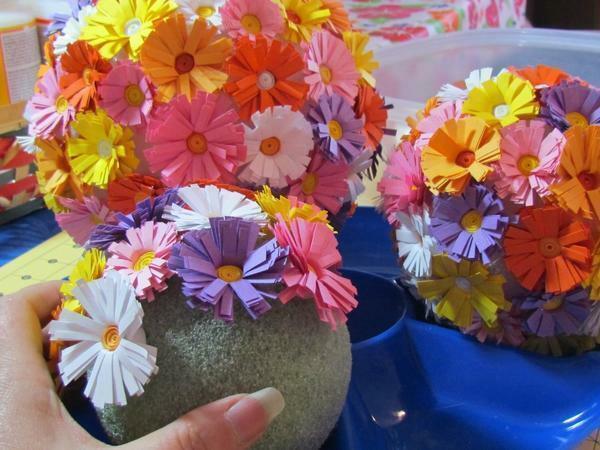 When manufacturing topiary in quilling technique, you spend a minimum of materials and time
When using quilling, remember:
- The paper should not be strongly bent - sharp angles will appear as soon as humidity increases in the room;
- When choosing sheets for quilling, you need to correctly combine colors. For a basis it is possible to take a combination of all known rainbow;
- Instead of gluing the sheet, it is better to fasten it with a bracket - so it does not take up waves, as after glue;
- To keep the base firmly - it needs to be bent slightly( for each sheet).
How to make a fruit topiary with your own hands( video)
And again - how you will get the "tree of happiness" depends only on your imagination. It is advisable to draw preliminary pictures of what the final product will look like before the creation of the topiary, so it will be easier to supplement it, to change something during the manufacturing process.
Topiary with their hands for every taste( photos)