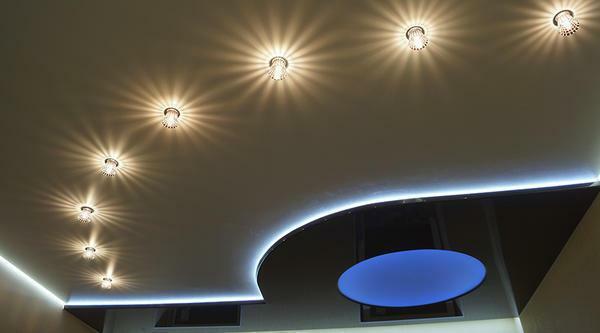
 To qualitatively seal the joints between the slabs on the ceiling, the preparatory work of needs to be carried out. The seams, which are located between the ceiling slabs, are considered to be one of the most complex defects. For decades, people have tried to deal with this problem, but as a result, the cracks again made themselves felt. This happened for various reasons, for example because of the shrinkage of the house or the movement of the soil. The current market for building materials can offer a wide range of products that can help in this situation. One solution to hide this defect is to install a stretch ceiling, but not everyone is able to afford this luxury. What to do in this situation?
-
- Sealing ceilings on the ceiling between the slabs: overlapping steps
- Joint between the wall and the ceiling: choose the material
- Preparatory stage: how to cover the joints on the ceiling between the plates
- Final alignment work
- Answer(Video)
Sealing ceilings on the ceiling between the slabs: overlapping steps
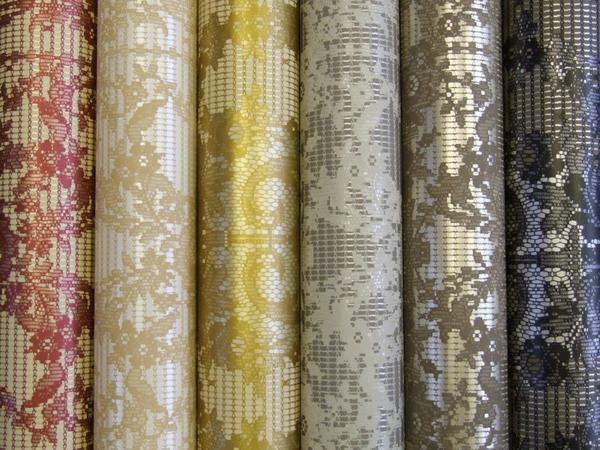
How to remove the expansion joints if they are very visible?If you decide to use a material such as wallpaper or fabric for the ceiling, then the best option for closing the seam will be the use of mounting foam and putty. If the ceiling is painted, it is better to use a method that will be better.
When sealing seams on the ceiling, only high-quality working materials should be used.
If you do not comply with this simple rule, then after a certain period of time, the seams will reappear and the ceiling will have to be leveled again.
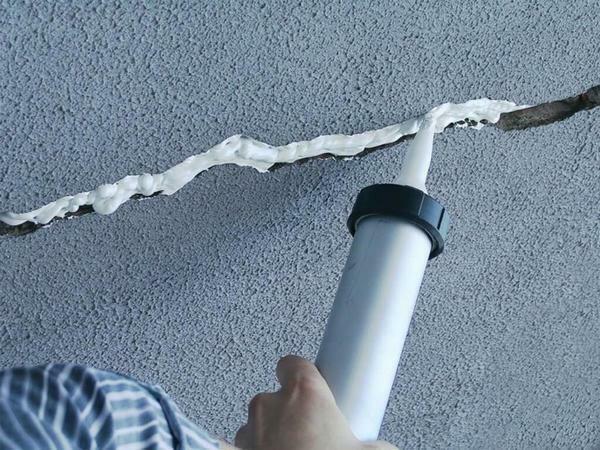 Sealing ceilings on the ceiling with a mounting foam is the simplest and fastest
Ceiling overlap on the ceiling can be divided into 5 steps:
- First of all, you need to expand the crack. To do this, you can use a perforator or a special spatula;
- After that, with the help of a construction knife, the seam needs to be cleaned and the cracked with a special primer. This stage needs to be done with a brush;
- The seam should then be filled with a mounting foam using a construction gun. When the foam thoroughly dry, using a construction knife, the excess is removed to a flat surface;
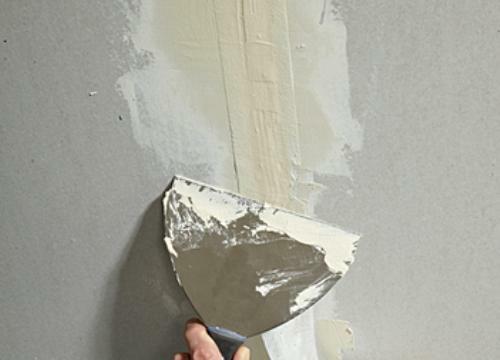
- The next thing to do is mix the primer from the mortar. Blend neatly with a spatula on the seam. Movements should be smooth and confident, so that the putty completely fills the empty space of the foam;
- After half an hour, an additional layer of putty should be applied using a wider spatula.
This method is suitable not only for sealing ceilings. They can also be used if there is an empty space between the pipes that enter the ceiling.
After the mixture dries, it must be primed, then the whole surface of the ceiling must be treated with putty.
Joint between wall and ceiling: choose material
Another problem that can be very often encountered is the crack between the walls and the ceiling. What to do with such a seam?Such a problem will become a hindrance to high-quality finishing of the ceiling. Of course, you can resort to the method described above and seal the joint with construction foam, but there are several other materials that can save the situation.
For example, to close the seam you can use:
- Gypsum solution;
- Synthetic-type putties;
- Water-resistant putty.
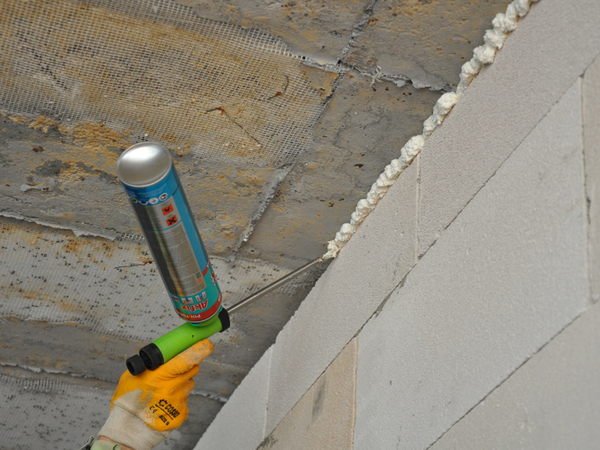 The best way to seal the joint between the wall and the ceiling is the construction foam, since after application during drying it begins to expand, thus filling all the empty spaces.
If there are large joints, A grid, which must be placed in the resulting crack. Most often, cotton or flax is used for this purpose, which is wetted in the glue. The final stage will be the application of plaster, which will help to consolidate the result.
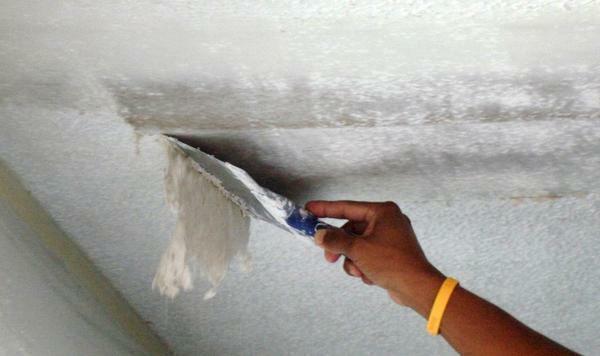
Preparatory stage: than to cover the seams on the ceiling between the
plates. In order to avoid further seam, it is necessary to do some finishing activities, which include the use of special materials. However, first you need to prepare a ceiling for work. Since the primer is applied exclusively to a clean surface, the old coating is removed first and the old cement and lime are scraped off.
It is important to remember that you can not apply the next layers of material until the previous one has dried. This is a very important point that must be observed. If you do not pay attention to this and neglect the rule, the quality of the final work can seriously suffer.
Final alignment work
After the main work is completed, you can proceed to leveling the surfaces. This is done using abrasive blends.
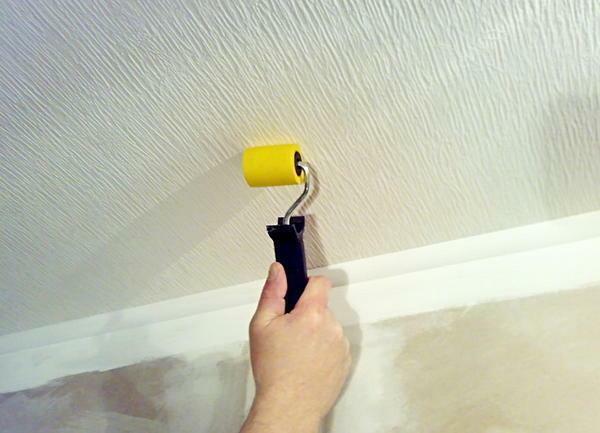 Non-woven fabric can eliminate all small unevenness in the ceiling
It is very important to remember that you can start painting the ceiling only when all the repair work is finished.
Using interlining, you can get a wonderful ceiling. It must be glued before you start using the putty. So you get a flat ceiling. After the final puttying is applied, the ceiling is primed for the last time. In the end, the ceiling can be given absolutely any kind, using paint or other material.
The answer of the specialist: how to seal the seams between the slabs on the ceiling( video)
The seams between the ceiling slabs are a problem that arose a long time ago. For today, this unpleasant situation is solved very simply, it is enough to resort to the help of building materials. Focusing on the size of the crack, we select the material and the desired method. Create an ideal ceiling without resorting to hinged structures really. The most important thing is follow the step by step instructions.