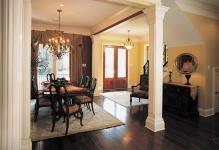
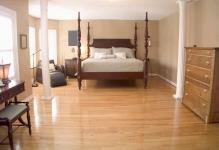
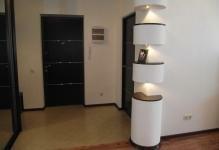
 Decorative columns made of drywall will be interesting and unusual to decorate the interior. Until recently, columns in interiors served as bearing supports. Now, in most cases, these elements play a decorative role in the design. False columns have become an integral part of both classical and modern stylistic trends. In form they can be square, rectangular or circular, triangular ones are less common. In addition to the main function - decoration of the interior, the column can serve as an ornamental box for communication or as a basis for a furniture structure, as well as for an ample space or a decoration for arches. How to make such an element of the interior with their own hands?Consider a simple example.
-
- Column of plasterboard with our own hands: preparatory stage
- How to make a column of plasterboard: install a frame
- Columnboard plasterboard
- Roughing and decorative finishing of a column
- Doing it right: columns of gypsum board( video)
- Detail: plasterboard columns by one's own hands( photo examples)
Column of plasterboard with own hands: preparatory stage
Any design from gypsumokartona presupposes a detailed drawing, which will help determine its design and calculate the materials. For the right project, you need to know the diameter of the future structure, its shape and height. Also an important stage is the preparation of the necessary tool.
 Installation of gypsum boards should be started only when all necessary materials and tools are available for operation.
Namely:
- Knife for gypsum board or electric jigsaw;
- Shears for metal or Bulgarian;
- Stepladders;
- Squares and roulette;
- Ruler and pencil;Plummet and level;
- Screwdriver, electric drill and perforator;
- spatula and building mixer;
- Roller;
- Compass( in the case of the round shape of the product).
The arsenal of materials includes a metal profile, plasterboard sheets, fasteners, primer, serpian and putty. If you plan a column with the presence of external corners, you will need a perforated corner for their clearance.
How to make a column of plasterboard: install the frame
The frame is the bearing structure of the entire product. It sets the shape of the future element of the interior, so the installation begins with its assembly. When the location of the future column is already determined, the project is prepared and the surface prepared for operation, you can proceed with the installation.
 Before starting the installation of the column, it is necessary first to mount the structure of the
- The ceiling is applied to the section of the column, then the image is transferred to the floor using a laser level or a plumb and pencil. At this stage, special attention should be given to the accuracy of the markup. Otherwise, you can ruin the whole repair.
- Further from the metal profile corners are made and fixed to the floor and ceiling by dowels along the contour of the marking. They will serve for fixing the racks. It is very important to fasten the elements clearly against each other, so that the structure is even.
- Take the rack profile and cut into vertical elements of the crate, according to the drawing parameters. The number of racks is determined by the weight of the material and the functional load of the column.
- Racks are attached to the corners using self-tapping screws.
- To strengthen the frame between the posts, jumpers are mounted horizontally and diagonally.
If the column serves as a conduit for hiding the water pipes, it is better to build a soundproof material inside the frame.
Column casing with plasterboard
This stage may differ in the specifics of installing gypsum board and preparing the necessary elements. For example, in the case of a round column, the material will need to be bent, according to the diameter of the structure. A rectangular or square column is simpler in this respect, however, there are certain nuances.
 The required step in the installation of the column is the correct marking of the drywall sheet
Fastening the drywall with the example of the square shape of the product:
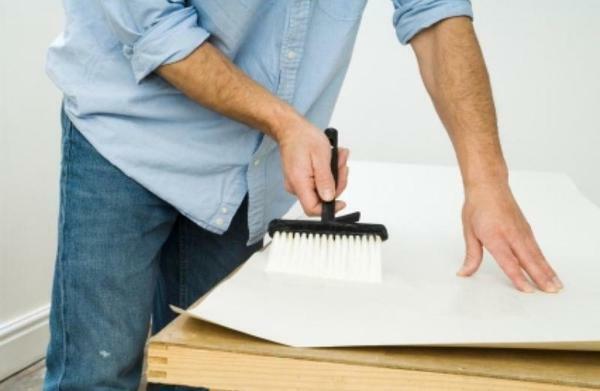
- The sheets of the GKL mark the necessary elements and cut the material with a construction knife or jigsaw.
- Scaffold parts are attached to the frame using self-tapping screws. The distance between the fixing points should not exceed 15 - 20 cm. The self-tapping screws must be slightly recessed into the drywall.
At this stage, when screwing screws, it is important not to press the plasterboard itself. You should act with caution. When the entire frame is hidden under gypsum board, the column is finished.
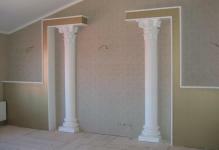
Roughing and decorative finishing of the column
The finishing stage includes sealing of seams, processing of corners and leveling of the surface. Places of joints are cut by a milling cutter, filled with putty and sealed with a sickle. While the putty freezes, it is possible to proceed to the outer corners of the structure. The perforated corner is cut along the height of the column and fixed to the outer corners by the putty. This element will serve as a kind of beacons when leveling the surface. Then the ceiling skirting is fixed. When the putty on the joints and corners solidifies, you can proceed to leveling the entire surface of the column.
 Special attention is paid by experts to the finish of the gypsum board
. When selecting materials, you can choose the universal filler. It is applied in one layer and is quite suitable for further decorative finishing.
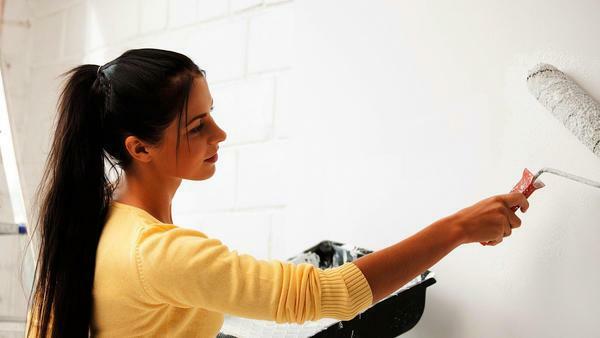
When the surface is completely dry, you can proceed with the decorative finishing of the column. The options are enough to make the right choice. The column can be decorated with decorative plaster or liquid wallpaper, painted with acrylic paint, decorated with tiles or stone. The only thing that needs to be considered: the floor plinth is already attached at the end of the decorative finish.
We do the right thing: the plasterboard columns( video)
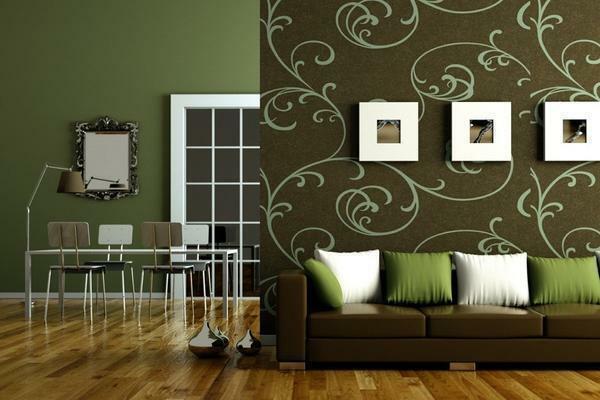
To ensure that the gypsum board has a finished appearance and fits perfectly into the general interior of the room, it is important to observe two design rules: the column can merge with the overall design or be a bright accent in the interior. Therefore, it is important to choose the right cladding.
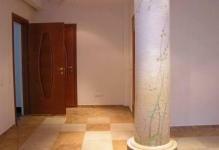
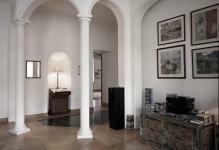
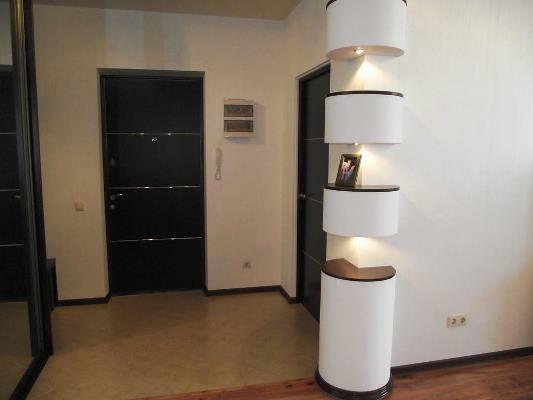
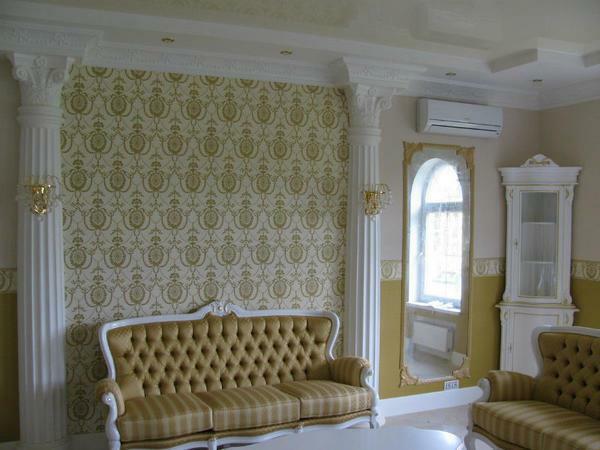
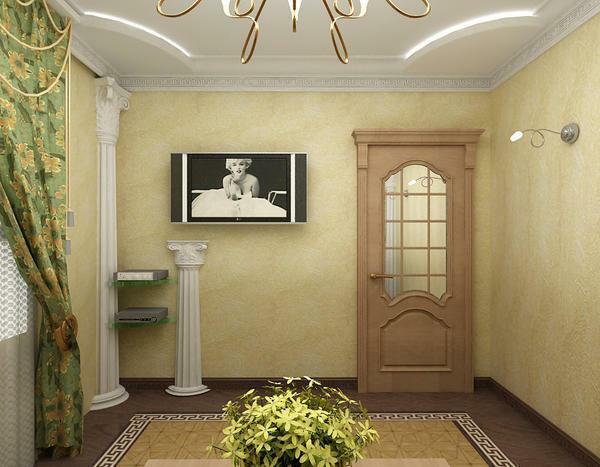
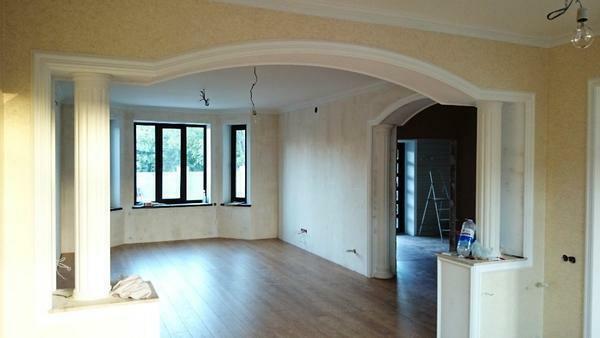
Details: columns made of plasterboard with their hands( photo example)