 Plastic panels are ideal for finishing balconies due to the attractive appearance In order to do skin, experts recommend thoroughly reflect on the material. This will not be easy, because the current stores are ready to present a lot of options. If there is a desire to organize a neat room that is beautiful and does not hit your pocket, the choice will be significantly reduced. As a result, most buyers stop at the balcony paneling with the help of PVC.Why is this decoration the most popular?What are its advantages and peculiarities?To date, these are the most popular questions.
-
- Finishing balcony plastic panels: types of plates
- How is finishing the balcony with his hands: step by step instructions
- positive and negative sides in the casing of the loggia
- How to sheathe the loggia plastic panels: choose coverage
- Sheathingbalcony plastic panels with their own hands( video)
- decoration design loggias PVC panels( photo examples)
finishing balcony plastic panels: types of plates
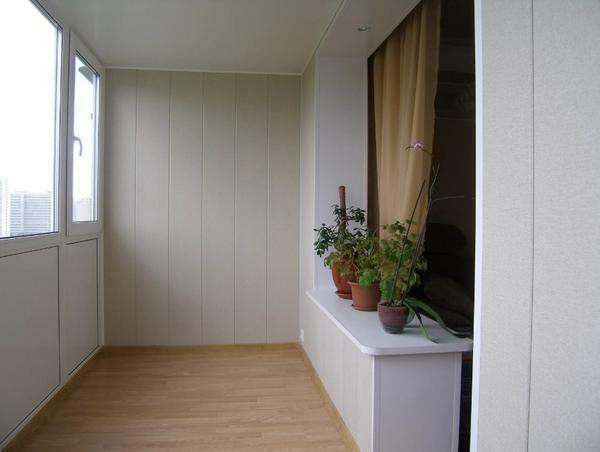
The plastic panel is a volumetric bar made from PVC, inside it is created special ribs to maintain rigidity. There is a plating option with seamless plastic. In the finished form, they represent a single whole canvas, as for the suture, then when they are installed, a gap is formed. The latter help visually stretch the room in height.
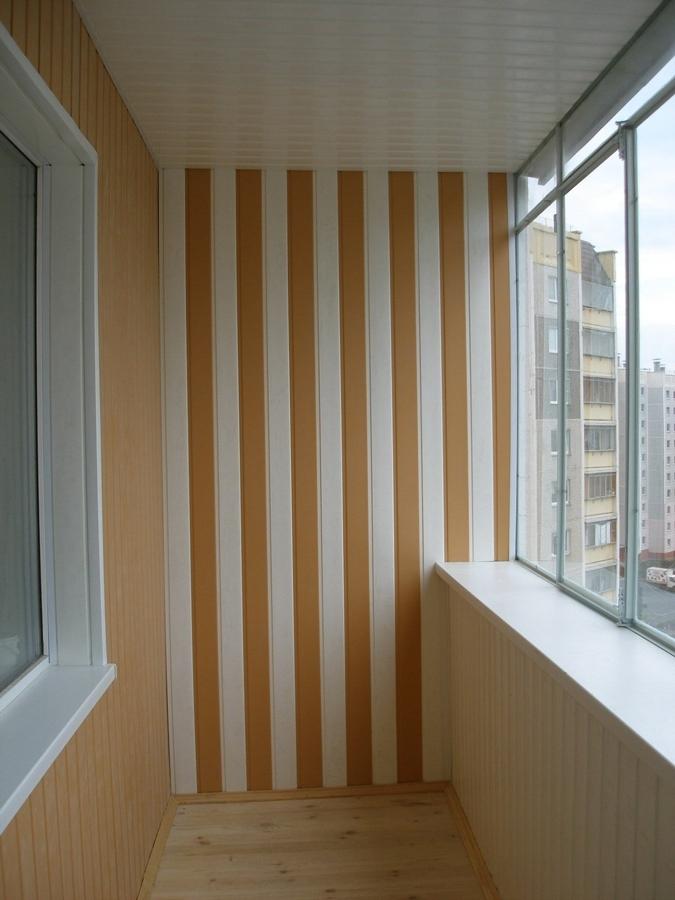
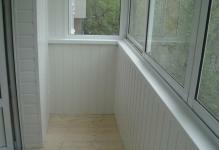
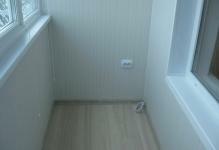
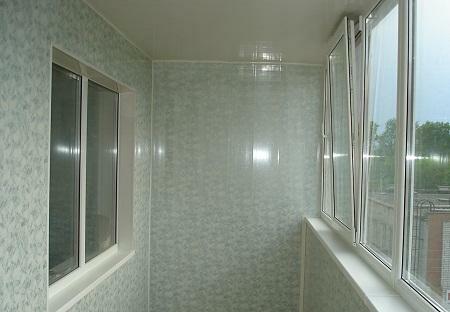
 If a small balcony, the visually enlarge it, you can use light plastic panels
PVC panels are divided into 2 main types:
- Standard plastic. They are created by pressing polyvinyl chloride, which includes 44% of petroleum products. They help stabilize the components and pigments. Also in the composition of standard materials is 57% salt.
- Sandwich panels, an innovation in the manufacture of plastic. These are panels that include several layers of PVC with a heater. The heater can be made of mineral wool or polystyrene, which is located in the middle. If you choose from a wide range, it is better to give your preference to a one-sided type of sandwich, as it has a stronger face and is most often used for working with walls and slopes. Double-sided type is used as partitions.
Given the composition of the latter type, additional insulation, waterproofing and vapor barrier are not needed. It should be taken into account that the large size of the panels causes some inconvenience in the work, as well as in the cutting out of the parts.
How to finish the balcony with your own hands: step by step instruction
To make a balcony of PVC with your own hands is correct, very simple. Such a job is able to deal with even someone who has never taken up a similar job, and does not have special skills. The most important thing in this work is to possess perseverance, scrupulousness, prepare all the tools, and familiarize yourself with the instructions that are presented below.
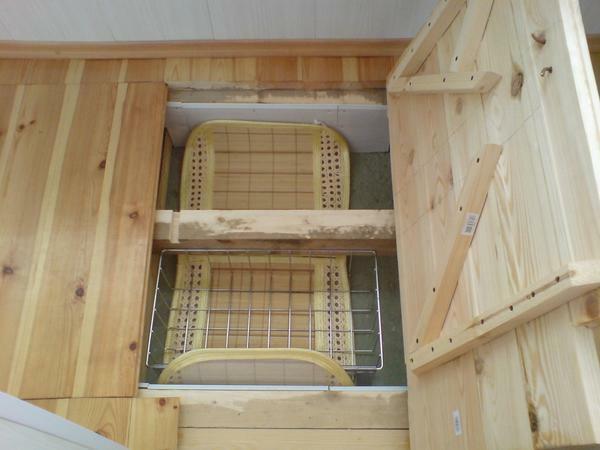
It is very important to prepare all the tools and material so that there is no need to stop the work process and run to the store.
To work may need the following tools:
- screwdriver with a magnetic attachment;
- Drill;
- Construction foam for installation;
- Level;
- A set of plastic corners;
- Window profile;
- Material for insulation;
- Suspension;
- Metal profiles;
- Self-tapping screws.
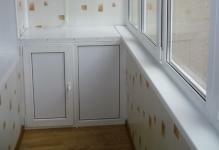
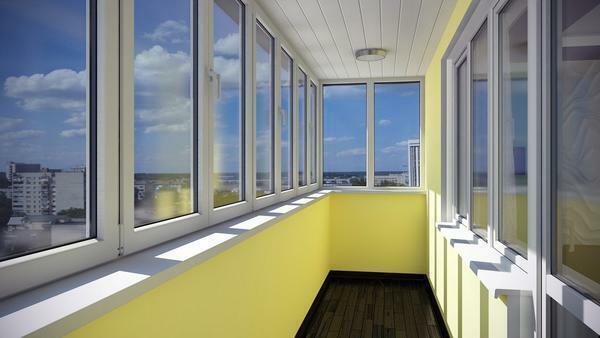
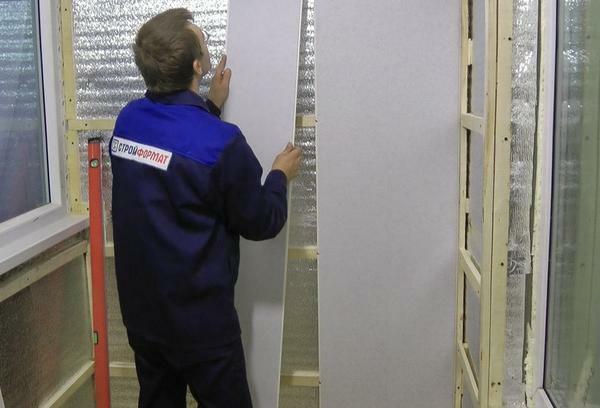
 Before to finish the balcony plastic panels, worth seeing video tutorial, and get acquainted with the advice of professionals
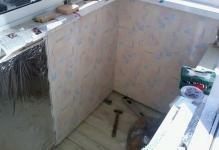
The most important stage is the crate, it is carried out after the waterproofing has been carried out and before the sheathing itself is carried out. Rims, this is the part on which the whole structure will hold, so it should be given as much attention as possible. After that, attach the profile to the wall, their interval should be at least 50 cm. After finishing the work with the crate, you can start decorating the ceiling. Finishing the entire loggia with panels begins with the decoration of the ceiling.
After the metal frame has been installed, the work should be carried out as follows:
- Profiles made of galvanized metal are fixed along the entire perimeter;
- Drill holes in the walls are made and dowels are inserted. The construction is attached to the wall with a screwdriver.
- In the middle of the ceiling, a profile is fixed using iron suspensions. If the loggia is large, you may need several profiles. If the width of the loggia is not more than 1.2 m, then a sufficient one profile.
- The profile, which is central, is fastened to the profile for plastic panels;
- We are engaged in wiring, which will provide lighting in the future, for this we extend it around the perimeter;
- Insert the first panel in the profile and screw it with screws. The same is done with the rest of the panels to the very last.
- Cut the last panel to a suitable size. It should go 6 mm behind the profile.
- The last and the penultimate panel are swapped. This is done so that there are no ugly gaps.
If in the process of work there is a need, you can use moldings to adjust the length of the skin. After the work with the ceiling was over, we finish the walls. Basically, the inner lining of walls begins with a place under the windows. In this paper, most of the actions are similar to the previous ones.
The stepping action is as follows:
- The metal profile is attached to the bottom of the window sill.
- It compares the location of profiles that are on the side, for this you need to use the building level;
- The following is attached the profile, which is located at the level of the floor and in the middle of the wall;
- Metal suspensions are installed, their distance should not be less than 50cm;
- The emptiness between them is filled with a heater, and the formed cracks must be made with construction foam;
- The metal profile is attached to the hangers;
- The installed profiles are installed panels, they need to attach them to self-tapping screws;
- The gaps that remain between the floor, window sills and panels are covered with special skirting boards.
In these paragraphs, the entire workflow is the whole process. You can understand that this is not so difficult. And if you have any questions, just watch the video.
Positive and negative sides in the lining of the loggia
Plastic, this is the material that can be found everywhere. And it will not be a surprise to anyone that it is used for a balcony.
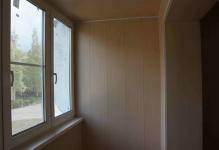
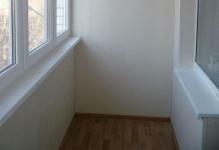
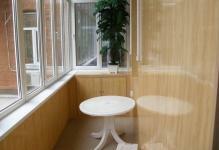
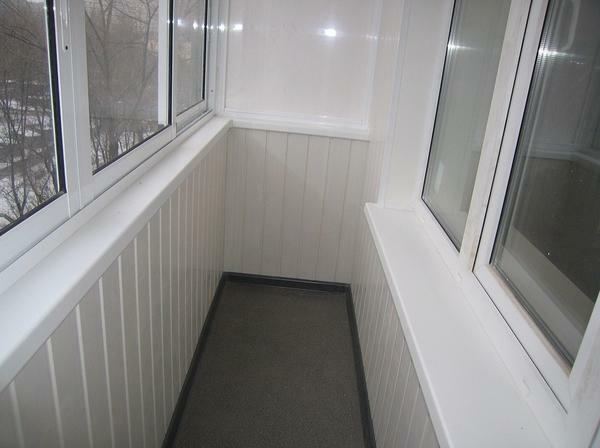
 Among the advantages of plastic panels it is worth noting the long life and practicality of the
What are the advantages of this material:
- This is an ecological material in which there are no toxic substances;
- It is easy to install and suitable for any surface;
- It does not need to be leveled before work;
- Easy to clean;
- Does not have a lot of weight;
- Economical in price;
- Diverse choice among the colors.
But even though all the positive aspects are attractive, plastic is far from ideal. Of course, against the background of advantages, all the cons add up, but everything, on them, is worth paying attention to.
It has the following negative aspects:
- Plastic can spread unpleasant odors if it gets hot;
- Hardly tolerates temperature changes;
- Do not tolerate frost and can change its shape, so the panels can be put only on the insulated balcony;
- It is inclined to mechanical damages.
All these negative aspects are mainly related to low-cost options, therefore, experts recommend that the balcony or loggia should only be paneled with a thickness of at least 8 mm.
How to fix the loggia with plastic panels: choose the
coating The material for the decoration of the balcony may differ in the upper design. In the store you can see panels with thermal printing, offset printing and with laminated film. The first option is distinguished by its contrasts and rich tones.
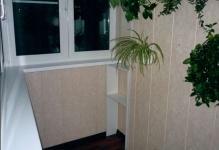
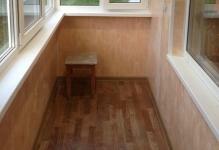
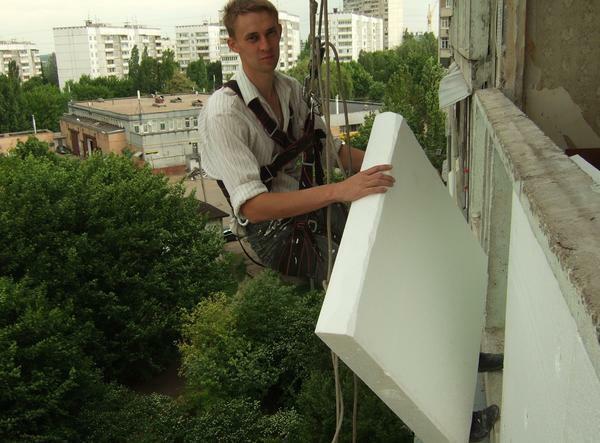
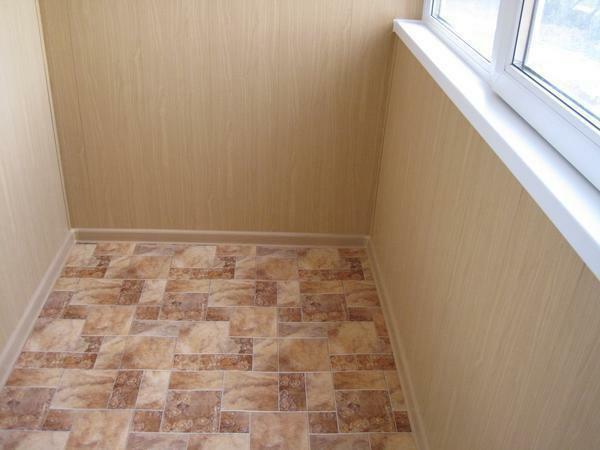
 It is recommended to install under plastic panels
The second can be decorated with a drawing using a printing form and a further coated varnish.
Offset printing can display any drawing, even your favorite photos.
The film, which protects the pattern, gives the panels an eye-catching and shiny appearance.
The third option is radically different from the first two. It consists in gluing a film with an image already on the panel. The image can have a different texture and convey the natural appearance of trees, bamboo or stone. This material does not require special care and is therefore considered the most popular.
Bundling the balcony with plastic panels with your own hands( video)
What can you say about the decoration of the balcony with plastic panels?In the article, the topic of the work was maximally revealed, and as you can see, there is nothing complicated in it. Do you still doubt the choice?Not worth it!Plastic refers to those materials that are able to combine in themselves and an attractive price, and elegant appearance. It is thanks to this material that the loggia can be refined quickly and efficiently.
decoration design loggias PVC panels( photo examples)