 A gypsum boardboard is a good way to hide communications in the bathroom While doing repairs in the bathroom, many are faced with a very important problem: where to hide the intricacies of pipes, faucets, gates that inevitably are present in the toilet?With the help of modern materials, it is easy to solve this issue literally the other day without even being a specialist in the field of repair.
-
- How to close the pipes in the toilet with gypsum board: solutions
- How to make a plaster board in the toilet: materials and tools
- How to close the pipes in the toilet with plasterboard: step by step instruction
- We decorate the door for the box inWC
- How to decorate the tubing in the toilet
- Installation of the plasterboard in the toilet( video)
How to close the pipes in the toilet with gypsum board: solutions
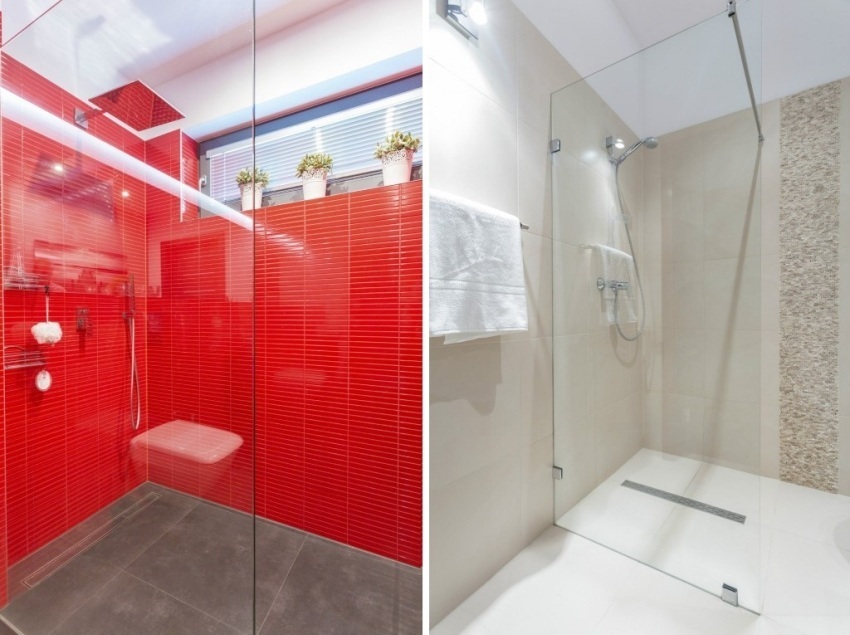
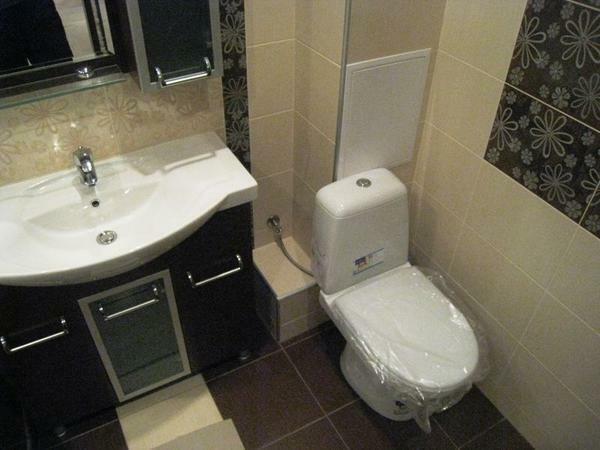
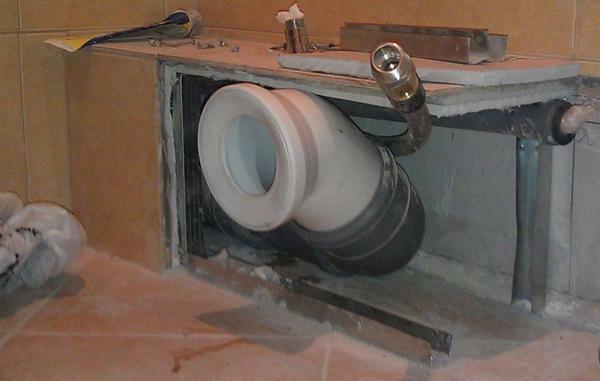
Repair in the toiletThe summer does not look finished, if the communications and water supply are not open. Giving a neat look to the wall around which the pipes are located can be done in several ways, any of which can be easily realized in the premises of any area, which means they will fit even the most compact toilets or combined bathrooms.
 We can make a gypsum board from our own, the main thing is to plan the design in advance and prepare all the necessary materials
We offer the following variants for your choice:
- The first way to design the zone where the pipes are locatedjalousie. With their help you can hide the impassive look of the pipes, they do not need to be fastened for a long time, besides, the blinds are easy to clean. The disadvantage of this design is that the blinds are not very reliable, they can break and then you will need to replace them completely.
- The second option for decorating pipes is the communication cabinet. It can be made on the principle of a conventional cabinet built into the wall, assembled from improvised materials or matched to the size, and mounted in a niche on request. The advantage of the cabinet is access to all pipes and valves. In addition, in such a cabinet, you can additionally supply shelves for household chemicals or textiles. Unfortunately, cabinets of this kind do not fit into all the interiors, but in a small bathroom, along with the shelves, they will also take up a lot of space.
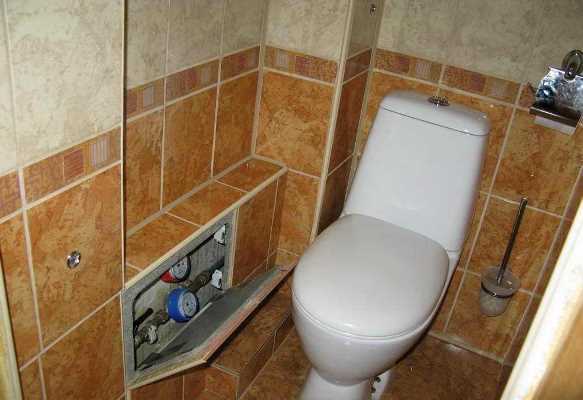
- The optimum option for any design solution is a gypsum board, in which the pipes and the ventilation shaft will be closed. It is easy to manufacture, can be finished in many ways, and the shape of the box can be given, based on the characteristics of the room.
You can close the pipes in the toilet with plasterboard with a minimum of tools and materials, while spending quite a bit of time. We will describe this process further.
How to make a gypsum board in the toilet: materials and tools
The first step in designing a bathroom box: choose the size of the future design. If the bathroom is narrow, and the pipes are located along its short wall, you can sew it completely to the full width and along the entire height.
For a small number of pipes in the lower part of the wall, you can make a parapet box, which in passing will serve as a shelf.
And in a spacious toilet the box can be effectively disguised as a ledge or column. For the manufacture of the box, one of the most popular materials in modern construction is used - sheets of plasterboard. They are attached to a special profile, which can be bought at any construction store.
 In order for the box to turn out to be reliable and practical, only high-quality gypsum boards
should be selected. For the box you will need:
- Drywall sheet of moisture-resistant( GKL);
- Profile rails( PN);
- Profile wall( also called rack, PS);
- Dowel-nails 6x60;
- Self-tapping screws for fixing drywall;
- Frog hinges for hatch.
To save space, you can replace the wall profiles that have the dimensions 50x50, the ceiling PP 60x27, and the guides 50x40 - on the ceiling guides PPN 27x28.
Toolbox for making a drywall box with your own hands, comes in handy as follows:
- Screwdriver;
- Hammer drill / drill;
- Paint knife for cutting gypsum board;
- Level;
- Scissors for metal / grinding for profiles;
- Roulette;
- Plumb.
If the issue of saving money is acute, you can replace the metal profiles with a wooden beam, and drywall with cheaper plastic panels. When all the tools are assembled, and the material is purchased, and the size of the box is determined, you can start the work on sewing plumbing pipes.
How to close the pipes in the toilet with plasterboard: Step-by-step instruction
We start with the marks on the walls and ceiling, where the profile frame of the future construction will be fixed. We expose them with a marking pencil or marker.
 Following the repair instructions, you will quickly install a drywall box in the bathroom
 The following steps are carried out:
- We cut the wall profile with scissors or a bulgarian and fasten it to the wall with dowel nails in places, Where the connection with the plasterboard will take place. Separately, length sections of the same length are attached to the floor - they will perform the function of the frame for the future box. Align the position of the profile with a level so that it is perpendicular to the floor.
- We cut the PPN guides with pieces equal to the width of the box from the wall to the front wall. These pieces are attached from the end to the floor and the ceiling or wall at the height of the box, if it does not close the communications from floor to ceiling. A few more of these segments are mounted between the wall and the wall profile as the stiffeners of our design.
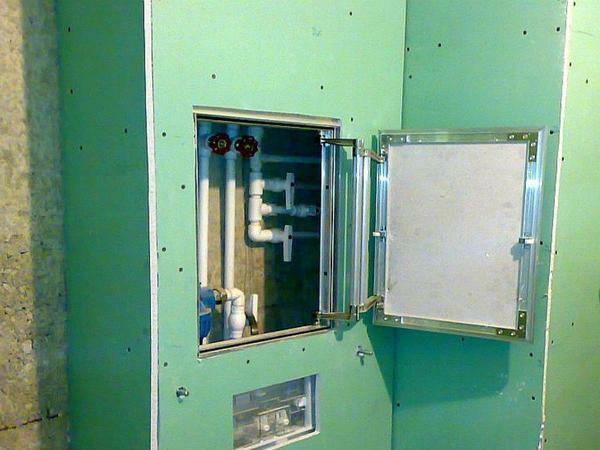
- Cut drywall pieces of the desired size. We fix it on the profile on each side of the box with screws every 5-6 centimeters along the entire perimeter. On the front wall we need a viewing hole for access to the meters, taps and valves. Therefore, before fastening the front wall of the box, mark out and cut out the hole for the door or hatch. Then, similarly to the side walls, attach the GKL sheet to the profile.
The base of our box is ready, now it is necessary to decorate the door and attach it to the front panel of the structure.
We make the door for the box in the toilet
The door for the plumbing box can be made of various materials. Here is just a small list of how you can arrange access to communications in the toilet.
In order to make a beautiful and practical door in a drywall box, you can use the plastic panel
Among them are:
- drywall - the simplest and most natural option, especially since the workpiece under the door you havehas already;
- wood panel or veneer;
- small curtain-roll;
- plastic panel;
The most practical and inconspicuous option is the door made of drywall. The finished piece of GCR can be lightly sanded around the edges with sandpaper and put on frog loops, which can be bought at any construction store.
The most popular are four-hinged furniture frog-loops.
We fasten the hinges with screws to the front wall of the box and check if the resulting door is buried densely.
How to decorate the tubing in the toilet
To make the box hiding the pipes in the toilet look finished, it must be prepared for finishing, and then trim with suitable materials. Preparation is carried out in the same way as for any gypsum board construction.
Soil treatment can not only reduce the consumption of putty, but also protect against the appearance of fungus and mold.
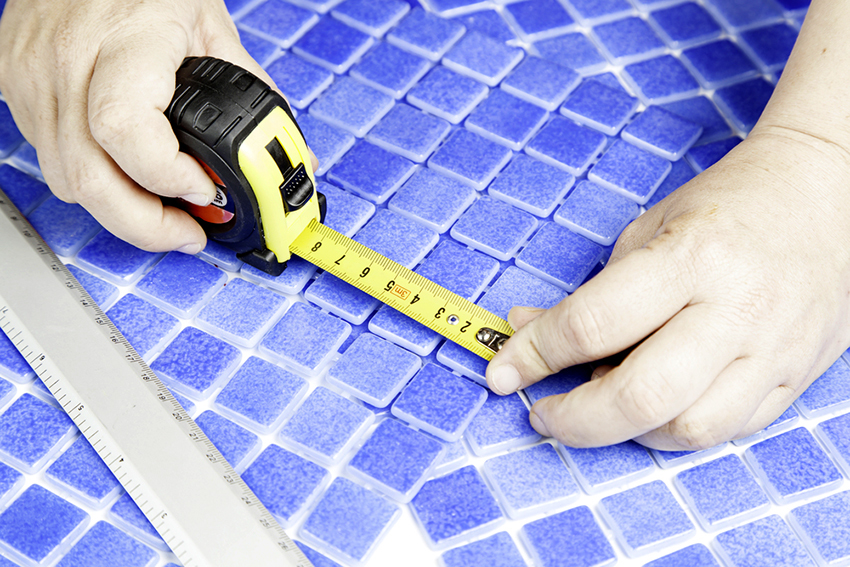
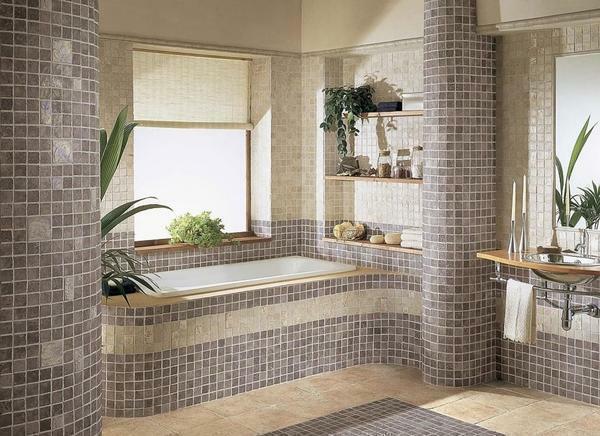 The most popular decorative decoration that can stylishly decorate a gypsum board is the beautiful tile
The box is ground, covered with several layers of putty, then rubbed and sanded the surface. The edges of the box can be decorated with corners for plasterboard made of plastic or metal. They can easily be "planted" on the same shpaklevku.
For finishing the box you can use:
- Tiled tile, which is finished with a bathroom, and the tile can also be trimmed with the door of the box;
- Waterproof wallpaper;
- Water-based paint;
- Wooden or plastic lining.
Try to choose the finish for the box in the same style in which all the rest of the repair is done in the toilet and give preference to easily washable and damp proof materials. Detailed instructions for finishing the walls of the box can be found on the video on the Internet.
Installation of plasterboard in the toilet( video)
A box in a gypsum board toilet is a very simple design that reliably conceals not very attractive sewer pipes and a ventilation shaft. You can make it in the premises of any area, and the variety of options for the boxes and their decoration will create the most convenient structure that will give access to plumbing communications and at the same time look nice.