 Wall covering with gypsum boards must always be carried out according to the technology and according to certain rules. Everyone who is involved in repair and construction understands how important the plasterboard is in this matter. But this is not always enough, especially if you work with him mostly at home. It is necessary not only to know the theory, but also to have experience of practical work, as they say, with their own hands. And experience should be versatile, work in different conditions, in different collectives. This allows you to learn about all the possible nuances of the construction process. However, it is necessary to leave reasonings, and to consider the question in more detail.
-
- Why wall cladding GCR
- How is lined GCR
- original method of cladding with plasterboard
- on facing internal walls plasterboard with their hands Instruction
- own hands: lining the walls plasterboard( video)
Why you need to wall GKL
Always, when you intend to use GKL, this is done for a reason. Not because everyone has it. Like a wallpaper. And for some specific reason. Most often, this causes wall defects. After all, each owner wants to put the tile evenly, beautifully pasting the wallpaper, properly painting the wall. And if you're not lucky, it's gypsum board that will help you.
The GCR in this case masks various holes, holes, breaks and so on. And the decorative works themselves are carried out on top of the GKL plates.
To my great regret, not all walls correspond to SNiP.That's why, drywall is often used to simply level the walls. This is necessary in order to place some decor elements. These properties allow you to simultaneously fix defects and align the walls. Useful, is not it?
 With gypsum cardboard in the wall cladding, you can completely hide all communications
Here is a short list why this is even necessary:
- Masking wall defects;
- For leveling the wall;
- Sound and heat insulation of walls;
- Communication wiring.
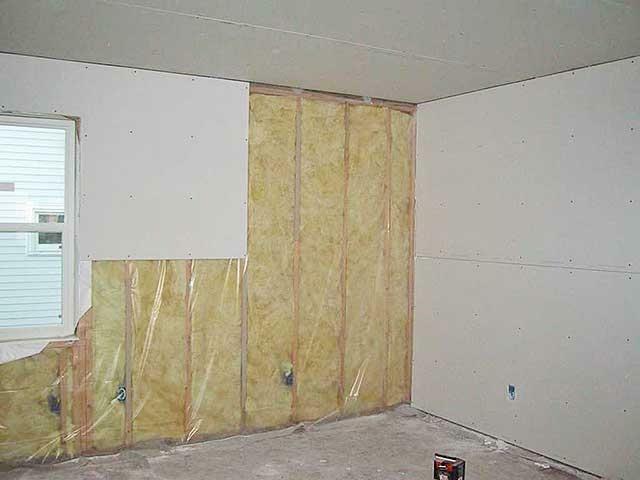
But, besides fixing wall defects, GKL has other functions. Sound and heat insulation. Due to its density, this tile perfectly isolates any impact of the surrounding world on the room, upholstered by the GKL.
In addition, drywall perfectly hides household communications. Pipes, cables, etc., are laid along the wall and sewn into it. The wall can later be decorated to your taste.
How the GKL is cladded
When discussing this topic, the technical data are mandatory.
Two ways of mounting the GCR:
- Stick the plates on the walls;
- Mount the frame and sew sheets on it.
The first way is much more economical and simpler. All because in this case it is not required to use a metal element. This method is suitable for cases where you do not need to hide pipes and wires, but you just need to make a good, smooth wall, in order to then beautifully trim it.
 Before facing the walls, it is necessary to properly install the frame to which the
sheets will be fastened. In this case, you do not have to make a skeleton and lining, which can save a good amount. You just need to choose the right glue and paste the drywall on the wall, so that everything is on the same plane.
First you need to completely clean the surface of the wall. Remove all old paint, stains, putty, etc. Then evaluate the evenness of the wall, better level. If the irregularities are not too terrible, the plaster putty will do. It is put on a plate, after which a sheet of drywall is fixed on the wall, in a pre-marked place. It is necessary to measure not only where the GKL plate will be attached, but also where the primer will be applied. In addition, it is recommended to primed the wall, especially if it is external.
If the wall is too flat, it is better to use glue. It needs to be distributed along the central line and the perimeter of the plate, it can easily be made a trowel. And in the wall you need to drive in the dowels and screw the screws in them, so that the hats are at the same level. Then the plate should be pressed to the screws.
The original way of facing the drywall
If the irregularities are too large, you can try another way. Strips of plasterboard with a length of the whole wall and a width of 10 cm are glued to each other, after which they are glued already with a full plate of GKL.But this way will take away a little space of the room itself.
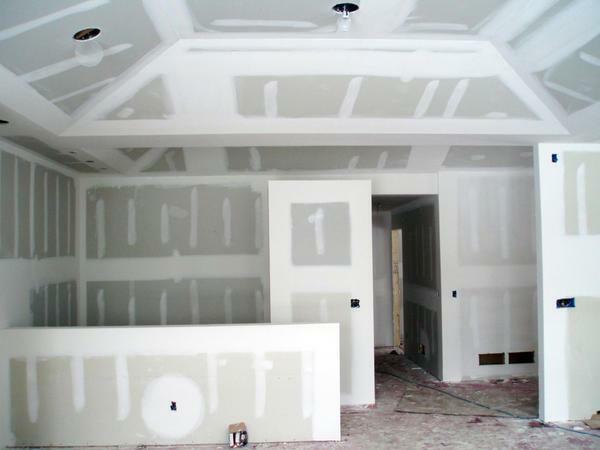
If you are mounting the ceiling panels, leave a small amount of free space. This is to ensure that the glue can dry quickly. After the glue dries, the last stage of mounting the GCR remains.
 When gluing plasterboard slabs on the wall surface it is very important that it is as flat as possible
All the seams that have remained after installation must be covered with a band-serpyanka, putty and cleaned with emery and cover with starting and finishing putty.
The second method is much more complicated, it requires more resources. But the result of such work will last and serve much longer. If frameless mounting is not your option, you should make a frame of wood elements or metal, usually it is used in similar works. This construction is installed along the wall, repeating its plane, but can be remote from it to the required distance. This can be done if it is planned to be insulated, soundproofed or laid in the wall of communications.
Instructions for facing the internal walls with plasterboard with your own hands
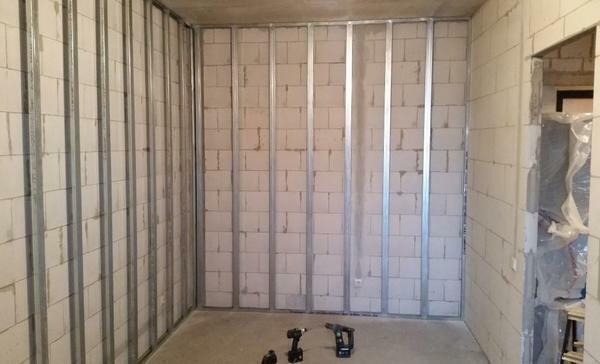
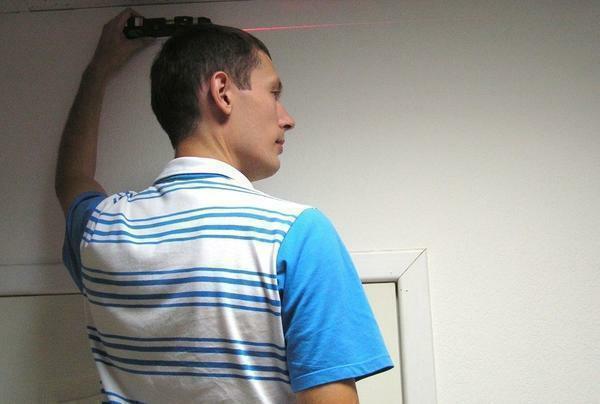
So, you decided to make a frame. Then you need to carefully and carefully monitor the layout. The first markings are done on the floor, and the UD profile is also installed there. To make the markings do not move, use the thread. Then, the screws need to be fixed first the profile of the ceiling, and then the side parts. This creates a frame around the perimeter.
The next step is fixing the load-bearing profiles. To arrange them you need a step of 60 or 30 cm, for fixing the plates GKL size 1200h600.From the rigidity and frequency of the installation of profiles, the high cost of the entire structure depends. On the wall they are attached with straight suspensions.
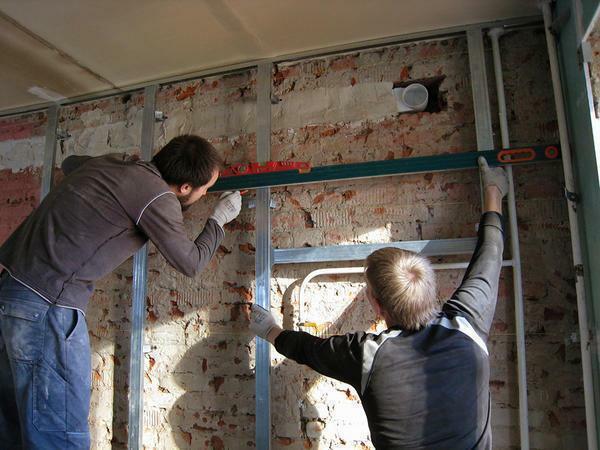 During the entire installation of the wall cladding with gypsum boards, it is necessary to remember the smoothness of the
frame. The suspension itself is mounted in the wall, and then it is reworked so that it resembles the letter "P" and is fastened to the CD profiles.
And only now begin to sew sheets of drywall. They must first be fixed on profiles, this is done by screws. Twist them around the edges and in the center with a step of 20-30 cm. Hats drown in the surface of the sheets by 0.5-1 mm, so that they are flush with the cardboard, but do not damage it. Finishing is the same as the first method.
With your hands: facing the wall with plasterboard( video)
As it turned out, facing the walls is not such a complicated and incomprehensible business. If you understand, read relevant articles, see the relevant manuals, everyone will understand, especially if there is some experience in the relevant environment. Of course, this article is a quicker guide than a complete and comprehensive information on this topic. In addition, you can always try to consult with more experienced professionals and professional builders.

