 Multi-level ceiling - an original and stylish way to give the room a unique design When you design a room in a classic style, you can install a multi-level ceiling. It will be an excellent addition, and will give the room an atmosphere of luxury and coziness. Installation of such a structure is carried out using gypsum boards. If you decide to install multi-level ceilings with your own hands, you need to make a special drawing and mark the surface.
-
- How is the repair of multi-level ceilings
- White layered modern ceiling
- How to make a drawing of a multi-level ceiling
- unusual idea of multi-level low ceiling
- carry out the installation of 2-level ceilings
- Installing a two-level ceilings( Video)
- Multilevel ceilings( photo)
How to repair multi-level ceilings
Multi-level ceilingski - quite fragile structure. It often happens that small joints appear on the joints of the plates. In such cases it is necessary to repair immediately, otherwise the crack may increase in size, and lead to deformation of the web.
Before repairing the level ceiling, you need to slightly extend the crack with a nail or a hacksaw. As a result, you should have a crack with a triangular cross section. Expansion of the defect allows to improve the adhesion of the material.
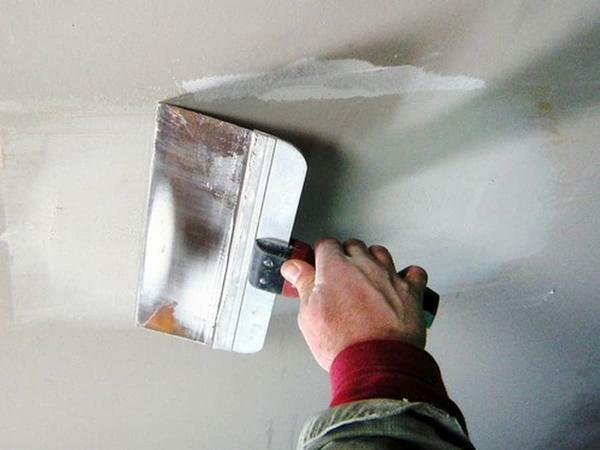 Do not worry if a crack appears in your multi-level ceiling, you can easily repair it yourself
Repair is carried out in the following order:
- Treat the groove with a primer solution. Apply the mixture with a thin brush.
- After the primer has dried, apply the filler. It is desirable to apply the mixture in 2-3 layers.
- The grinding is then carried out. For this operation, sandpaper with a fine-grained sand should be used.
- Then proceed to the finish finish. In place of the crack, you can apply paint or other finishing material.
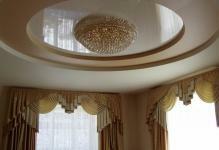
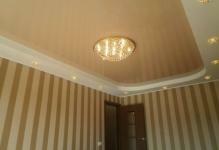
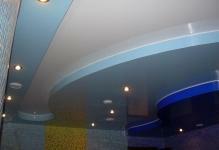
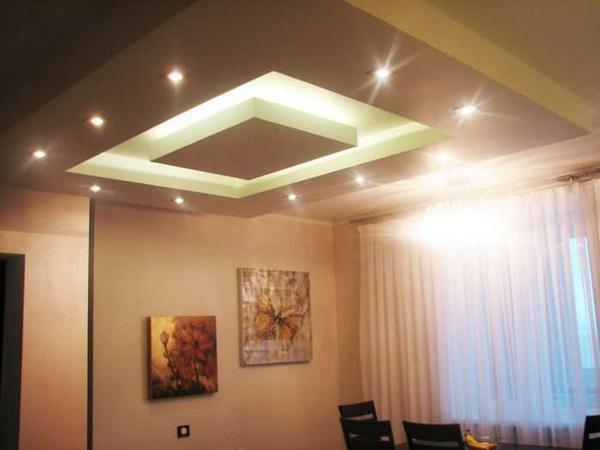
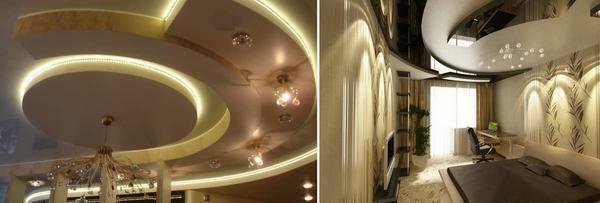
White multi-level modern ceiling
As you know, multi-level ceilings allow you to achieve a visual expansion of space. If you decide to install such a design, it is best to paint it in white. One-level or three-level ceilings, aged in white, harmoniously look almost in any interior.
In rooms where multi-level white ceilings are installed, correct lighting should be installed. It is best to use spotlights. They are compact, and do not require the installation of dimensional mortgages.
 White multi-level stretch ceiling - classic and stylish option for creating stunning room design
Advantages of white multi-level ceilings:
- Sophistication. Multi-level design, painted in white, will look luxurious, but not catchy.
- Versatility. White color perfectly matches almost any style, whether it's Empire style or fusion.
- Practicality. White multi-level ceilings look good even if you paint the walls in a bright color or set up extraordinary pieces of furniture.
How to draw a multi-level ceiling drawing
Before you begin the installation of a multi-level design, you must have developed a special plan. It will help calculate the number of necessary building materials and determine the sequence of actions during installation.
The diagram should be composed taking into account all differences in height. If you notice that the differences on the base surface are very large, it is best to install a multi-level ceiling.
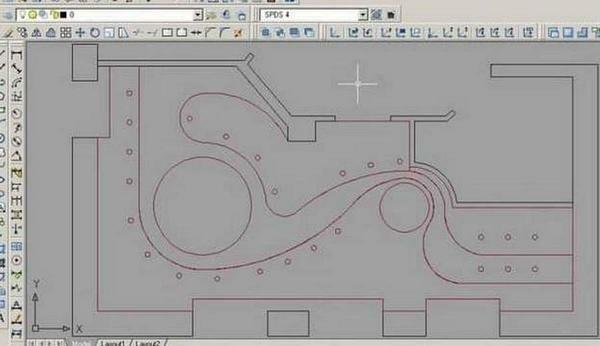 Before installing the multi-level ceiling, a complete design drawing is always made
When drawing the drawing, you also need to take into account:
- Step of fixing the CD-profile. Usually it is 60-80 millimeters.
- The difference between the first and second level of the tension structure. The optimal distance between levels is 20 centimeters.
- Dimensions of lighting fixtures.
- Clearance between drywall sheets. It is 5-7 millimeters.
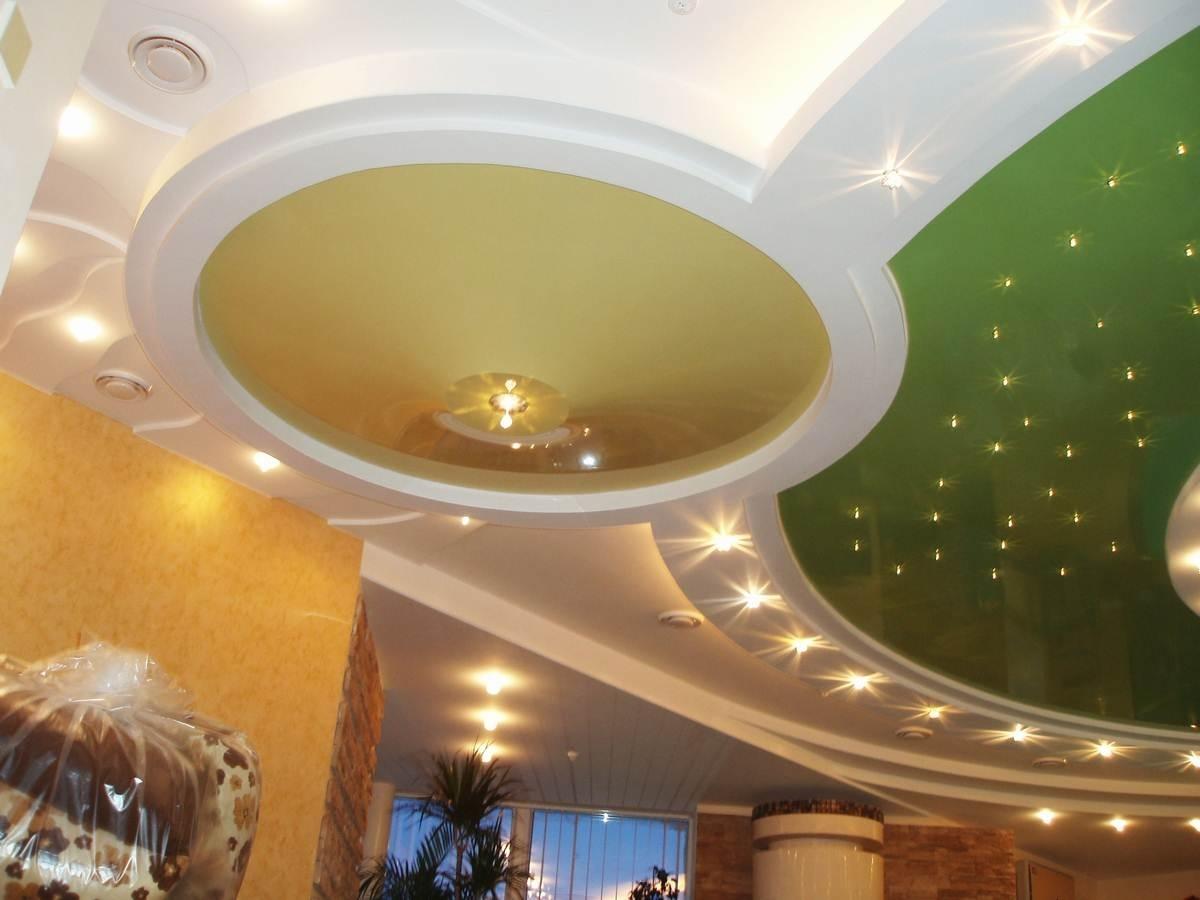
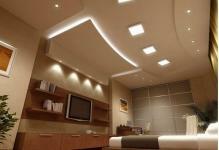
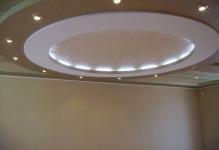
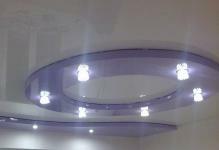
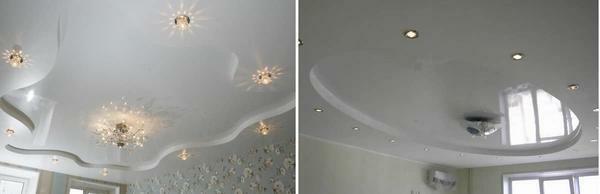
The unusual idea of a multi-level low ceiling
Combined tensioning sheets are a great idea. With this type of finishing, you can split the room into several functional areas. Combined canvases look exquisite in case they use contrasting colors.
A clear transition between levels can visually change the shape of the room. In order to achieve a beautiful combination you need to find the right lighting equipment. It is recommended to choose the LED strip or built-in luminaires.
 Combining a multi-level ceiling is a modern and luxurious method of finishing a living room.
There are 3 types of combination:
- Rectangle. When should this method be used rationally?The rectangle method can be used if you are installing a multi-level design in the bedroom."Rectangle" provides for the installation of a massive gypsum board box around which small side panels painted in a different color should be installed.
- Oval. If you want a beautiful and extraordinary multilevel ceiling, it is recommended to give preference to such design. This method involves the installation of a massive plasterboard box of an oval configuration in the center of the room. Around the box are installed side panels made from thinner sheets of plasterboard. Use contrasting colors to color the side panels.
- Tablet. This design provides for the installation of a plasterboard box of a circular configuration in the center of the room. Pointed fixtures are attached to the box. Around the box you need to install side panels of thin sheets of plasterboard. If desired, you can install a hidden backlight on the side panels.
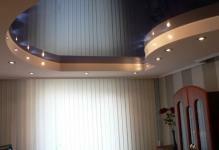
We install 2-level ceilings
Installation of a 2-level construction is a painstaking but simple process. Installation begins with the manufacture of the crate. It can be made of wooden bars or metal profiles. It is recommended to give preference to steel or aluminum profiles, as they are more reliable and do not rot.
Before installing the frame, you should make a special mark in one corner, which will indicate the bottom edge of the crate. Next, this label should be applied to all corners in the room. After drawing a label, pull the line or thread.
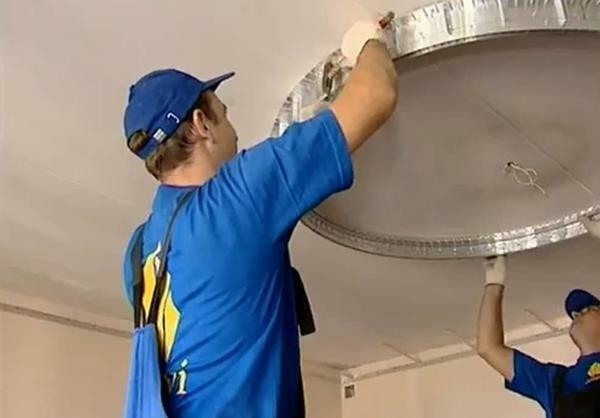 To save money, you can independently install a two-level ceiling
2-level ceiling installation technology:
- Install the UD profile. It must be attached to the walls. To fix the product, use a dummy plug and a screw.
- Fasten the U-shaped hangers in 60 cm increments using dowels.
- Install the CD-profile. Do not forget to fix the connection points of the CD and UD profiles with metal screws.
- Sew the framework of the first level with plasterboard sheets.
- Then proceed to install the second level crate. It must be collected in a similar way. To make the frame use UD and UW profiles.
- Insert CD profiles into the crate.
- Sew a second-level frame with plasterboard.
- Seal joints between gypsum boards with putty or sealant.
- Install the decorative molding and lighting fixtures.
Installation of a two-level stretch ceiling( video)
If you like an extraordinary design, multi-level ceilings made of drywall are just what you need. You can build such a structure yourself. The main thing is to make a competent drawing and properly assemble the crate. Also an important factor is the selection of lighting devices. It is recommended to choose a LED spotlight or a hidden backlight. If the room is designed in an unusual style, different kinds of combination will help you create a unique ceiling.
Multilevel ceilings( photo)