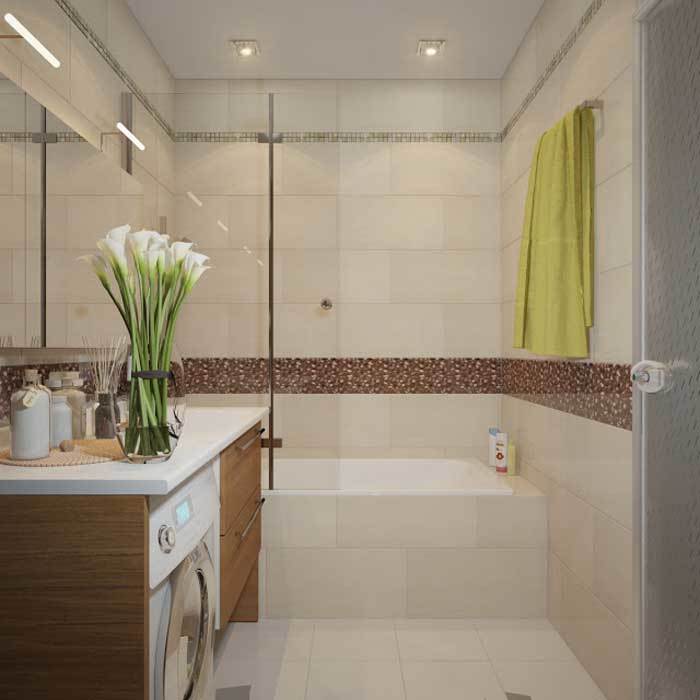
As well as installing any sanitary equipment, the installation of a washbasin with its own hands requires certain knowledge and a special approach in terms of connecting utilities. In view of the fact that today there is a large assortment of different models of sanitary ware, the installation of a washbasin in the bathroom will primarily be determined by the type of its attachment.
Contents
- Mounting the hanging sink in the bathroom
- How to install a sink on the pedestal?
- The process of installing the mixer
- Video installation of the sink with your own hands

Specifically, all the sinks by the method of attachment can be divided into several categories:

- Suspended shells - fastened to the wall by means of brackets or special pins;
- Built-in sinks - with their entire surface mounted on a curb or countertop;
- Semi-built shells - installed on a similar support, but slightly protruding from its edge;
- Overhead shells are similar to the previous types, but, unlike them, do not cut into the countertop, but are installed on top of it;
- Shells on the foot, or "tulip" shells - in most cases they are attached to the wall with a partial support on the foot, in rare cases the leg acts as an independent support.

For each product category, there is a definite step-by-step instruction for installing the sink. And if there are no special difficulties with the installation of built-in, semi-integrated and overlaid type models - they are simply mounted in the finished base, the installation of hanging shells and models of the "tulip" type assumes its own nuances.
Mounting the hanging sink in the bathroom

Before proceeding directly to the installation work, the height of the sink in the bathroom should be determined. The generally accepted optimum height is considered to be a distance of 85 cm from the floor, but deviations in the greater or lesser side are permissible, proceeding from the convenience of the tenants.

After measuring the required height, we draw a straight line parallel to the floor on the wall. This line will correspond to the upper edge of the shell.

Attach the sink to the wall along the marked line and mark the location of the fastener holes.

For the marks drill holes in the wall, we plug in them dowels and screw fastening studs. In case the shell has a solid weight, it is better to hedge and create a stronger support for it by installing it on the brackets - strong fastening elements that are attached to one side of the wall, the other to the sink itself.

Before you finally fix the sink on the wall, you need to install a mixer - this will be discussed in more detail below.

Finally, the last stage of installation of the sink with its own hands will be its installation on the prepared fasteners with the subsequent fixation of fasteners. The photos with the installation of the shell, given in the article, will help to understand the essence of each stage more specifically.
How to install a sink on a pedestal?

If you plan to install a washbasin on a tulip-type pedestal, the design of which involves attaching to a wall, the installation of a washbasin in the bathroom will be similar.

The only difference is that the height of the shell installation will not have to be measured, since this value already depends in advance on the height of the support leg. Simply put the foot on the intended place and, placing the shell on it, act according to the previous scheme, starting with the marking of the holes of the fasteners.
The process of installing the mixer

After the installation of the washbasin with your own hands, you will need to install a mixer( in case the mixer is built into the sink).The scheme of its installation will consist of the following sequence of actions:

- Fixing studs are screwed into the mixer, then - hoses for cold and hot water;
- The hoses are passed through the hole in the sink and from the back side are fixed by means of a clamping washer with a sealing ring;
- To connect the mixer to cold and hot water, the hoses are simply screwed into the appropriate pipes and the tightness of the connections is checked.

For more information, see the installation of the mixer.

To connect the sink to the sewer, a grate is applied to the drain hole on the upper side, the drain pipe is attached from the top side, and the entire structure is connected by means of a bolt. Then the corrugation or hose from the siphon is connected to the sewerage system with mandatory tightness check. On this process the installation of the shell can be considered complete.


