Many vacationers thought about such an interesting occupation as beekeeping. At first it may seem that this occupation is too difficult for the layman, but it is not so. An apiary can be made independently, having only some public tools. Consider in this article how to build a beehive with your own hands. The material will be accompanied by a photo( you can get acquainted with the dimensions and schemes in detail).
Content
- hive Drawings for
- bees Tools and materials
- cutting and marking
- slats guide holes
- main unit
- Steel legs
- legs Fixing
- Facing
- entrance to the hive
- Front view
- landing board
- End
- Videos manufacture beehive with his hands
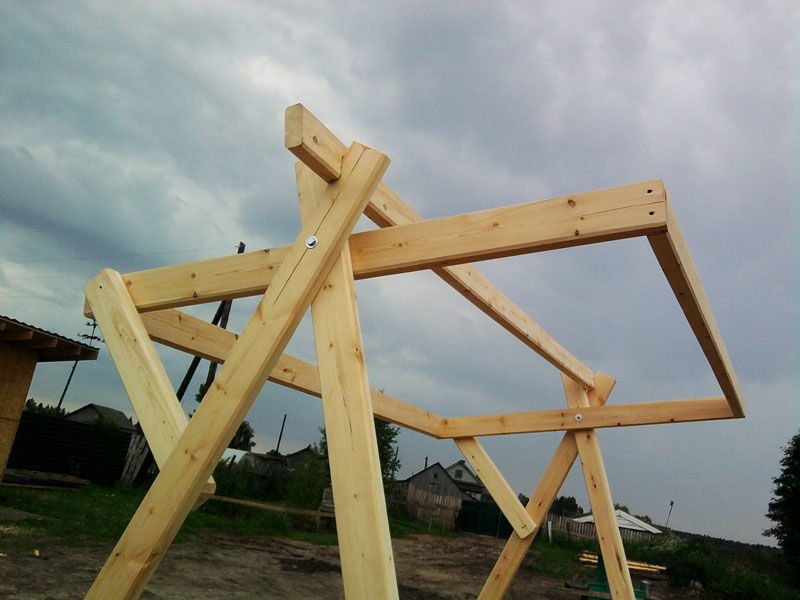
Hive drawings for bees

On the first image you can see the main assembly of the hive, with proportions, sizes and numbering of the components. The hive consists of three parts: the lower part, the body of the hive and the roof. For the roof, a sheet of plywood with the indicated dimensions with slots for feeding is used. In the design there are hinged sections, which, if desired, are easily removed. There is also a special device that protects the hive during severe weather conditions.
Tools and Materials
Consider the main tools that will be used for self-made hives:
- measuring tape;
- pencil;
- marker;
- hand saw;
- drill-screwdriver( battery type);Drill bits
- 3, 7, 12 mm;
- screwdriver set;
- worktop;
- grinding machine( angular);
- welding equipment;
- set of brushes.
You also need to determine the set of basic components. In our case it is necessary to prepare:
- loops - 2 pieces;
- galvanized nails 50х2,65mm - 1 kg;
- screws with countersunk head 4x25mm - 200 pcs;Wooden boards 32x18mm - 20 m;
- cladding 6 mm;
- plywood 460х460х12 mm;
- corners of mild steel 50x50x3mm - 2m;
- aluminum corner 50x50x3mm - 0,7m;
- soft steel 80x80x3mm - 4 pcs.;
- paint for metal;
- glue for wood;
- linen insulation;
Cutting and marking the strips

Next you need to cut and mark the strips according to the list, which will be presented below:
- 486х32х18mm - 4pcs;
- 154х32х18mm - 4 pieces;
- 424х32х18mm - 2 pieces;
- 600х32х18mm - 10 pieces;
- 564х32х18mm - 2 pieces;
- 564х32х18mm - 12 pieces;
- 564х32х18mm - 1 piece;
- 392х32х18mm - 2 pcs.(cut at an angle of 45 °);
- 424х32х18mm - 2 pcs.(cut at an angle of 45 °).
Guide holes

Next, drill the guide holes. Nails are driven in, as shown in the photo. It is necessary to use a cylindrical drill with an ejector to make small holes.

Then drill holes in the bar number 6( see image).
The main unit of the

The following are the three main parts of the hive. Use need nails and glue. It is important to ensure that they do not stick together in the wrong order.
Steel legs

Next, start the equipment of steel legs, which will stand the whole structure. Cut off the iron corner( 500h50h50h3 mm - 4 pcs.) And holes for screws are cut. Make sure that the holes are opposite opposite pairs. In case there is no welding equipment, wooden legs can be used, but it should be noted that such a support will be less reliable, eventually it will rot and rot.
Attaching the legs

Next, attach the legs( see figure).Screws are screwed into the holes on the lower frame. To the corners the footboards are welded 80х80х3 mm.
Facing

When a beehive for bees is made, lining plays an important role. The sheath is cut and fastened with screws, creating a partial overlap between the sections. This will require additional material( wood or chipboard is used).
Entrance to the hive

It is necessary to cut a hole for the entrance of the bees into the hive, which is called a flyer. Special saws, jig saws are used to create the tap. The size is 460x70 mm. Do not throw the trimming, they will be needed further.
Front view

The hinges are fastened to the door so that there are wooden sections under them( to support when opening).The heel is secured under the exit. For this, a screwdriver is used.
Boarding board


The boarding board is installed in such a way that it does not interfere with the tray, which will be installed on the frame. Then apply a thin layer of paint. For cleaning the surface, a grinder and sandpaper are used.
End

The next hive is filled with insulation and insulated. The supports are securely driven into the ground to avoid overturning by wind, people or animals.

We have covered in detail how to make a hive with your own hands. Let's hope that it will serve you faithfully. Pleasant and long use!
Honey bee production video
Hive Rute: