Sooner or later everyone is doing repair in an apartment or house with their own hands .Therefore, the question: "How to start repair correctly?" Is very relevant, and it is necessary to approach it seriously.
Getting Started. We plan and ponder the forthcoming work of
. Photo 1 - Stages of apartment repair by our own hands
Before starting to repair the apartment yourself, you must first make a plan of all the premises, indicating the location of furniture and equipment. This way you can determine where the sockets, ceiling lights, etc. will be located. This must be done in order to properly design the wiring of pipes and wires. From how well it will be performed will depend on the convenience of operating the premises in the future.
In case you do not like the existing layout of the apartment, then the repair should begin with the demolition of walls or with their erection.
- How to make an internal partition
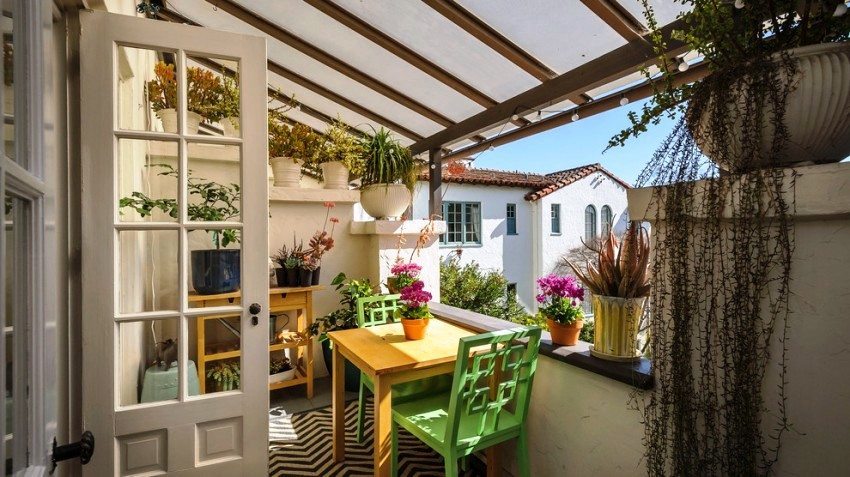
No less important is the style of the future room, which can be unified for all rooms or have cardinal differences. If it is difficult to decide on this issue, then you can resort to the services of a designer who will take into account your preferences and features of the apartment.
- Different interiors of apartments
Well thought out and weighed all the moments, you can start calculating the number of necessary materials and their acquisition. Repair work is better divided into stages, which will give the process a certain planning.
Perform basic repairs to the apartment
Begin repairs from so-called dirty works:
Stage one. Dismantle old coatings

Photo 2 - First stage of repair - remove old wallpaper from the walls of
It is necessary to remove old wallpaper, whitewash, tile and other finishing materials. If the floor has not come to complete disrepair, then it should not be touched. In the event that the replacement is not provided, it should be carefully covered with a plastic wrap, and securely fix its edges with a paint tape. To protect the floor from mechanical damage, it is better to use cardboard, it is much more reliable than paper.
To prevent dust from settling on doors and windows, it is better to leave old doors for later. You just need to remove the cashiers.
The second stage. Electricians and plumbing

Photo 3 - The second stage of repair - the wall shutter for wiring and pipes
This work is the dirty, but at the same time responsible. To remake such works later, it will be very difficult, and sometimes impossible, without carrying out a new overhaul.
It remains to lay the wires of the required cross-section and pipe, better propylene and carefully seal the strobes.
The third stage of repair. Preparatory-installation

photo 4 - The third stage of apartment renovation - dismantling old windows and doors
Differs laborious, because right now it is necessary to dismantle the old windows and install new ones.
 Next, you need to perform a rough finish, that is, prepare the floor and ceiling for the finish finish. Such works include:
- Wall leveling;Grouting joints and cracks;
- Shpatlevanie.
The fourth stage of repair in the apartment. Priming

Photo 5 - The fourth stage of apartment renovation - priming all surfaces
Applying a primer allows you to make the wall or ceiling much stronger .The composition of the primer includes elements that have the ability to penetrate deep into the surface being treated and to connect fine particles. Now you need to wait for the complete drying and you can start painting the ceiling.
Stage five. Floor leveling

Photo 6 - Apartment repair with own hands. Floor leveling step
If the old floor remains, then this step you can skip. Otherwise, it is necessary to fill the base with a modern self-extracting solution, or to carry out screed work. Only after complete drying can you proceed to other works.
Stage six. Wall finishing

Photo 7 - Sixth stage of repair - wall finishing in apartment
Depending on your preferences and financial possibilities, you will get material for wall finishing. You can paste wallpaper, the choice of which is extensive not only in color, but also in terms of material, texture, size. For example, non-woven wallpaper. Many options include painting, as well as decorative plaster. There are more exotic types of decoration, it all depends on your desire and overall style of the room.
Seventh stage of apartment renovation. Floor covering

It's time to start laying the floor. For this purpose, you can use: linoleum, laminate, carpet, piece parquet or a more modern version - a parquet board and other materials. If the decision is made to lay the floor tile, then the installation is started only after the completion of all work with the ceiling.
The final repair phase

Photo 7 - The last stage of repair - installation of interior doors
Install door frames, thresholds, skirting boards, etc. At the same time, cabinets are assembled, furniture is arranged, and decor elements are added.
Now you need to do a thorough cleaning in all rooms and you can enjoy the result.