Content
- Species of bark beetle
- Estimated material consumption
- Preparatory work
- Tools and materials
- Plastering the wall
- Create Billing
- Plaster painting
Bark beetle is a species decorative plaster, which got its interesting name due to the textured surface pattern, reminiscent of the furrows left in the wood by the wood-beetle beetle. Despite the fact that the bark beetle is often used for the exterior decoration of buildings, it can increasingly be found in the interior of apartments. Depending on the application technology, the walls covered with this textured material can look completely different. We learn how to apply decorative bark beetle plaster and give it a beautiful and unique texture.

Species of bark beetle
An unusual grooved bark beetle relief is obtained due to the presence of a filler in the composition of the mixture in the form of fine marble chips or gravel with a grain size of 1 to 3 mm.
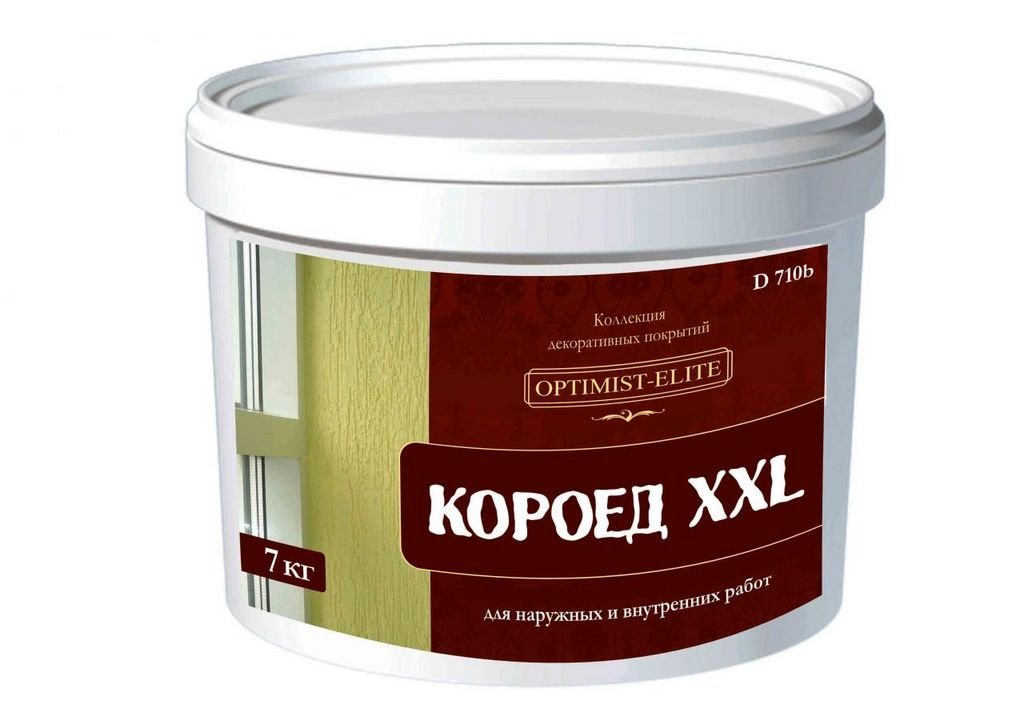
Depending on the binder component, the plaster may be mineral, acrylic, silicate, silicone or hybrid. The mineral mixture is sold in dry form and requires self-preparation, the polymer types of plaster are a ready-made liquid mixture, packaged in buckets.

Polymer plasters are durable and resistant to dirt and mechanical damage, have a lower consumption and can tintHowever, they are several times more expensive than the mineral mixture.

Estimated material consumption
The bark beetle plaster consumption averages from 2.4 to 4 kg per 1 m. sq. and depends on several indicators:
- base material;
- grain size of the filler;
- the thickness of the finish layer;
- application technology.
Consider the difference in the consumption of plaster per 1 m2 on the example of different types of products of the popular brand Ceresit.
Polymer-cement or mineral plasters
- Ceresit ST-35 (grain size - 2 mm) - up to 2.8 kg per 1 m2;
- ST-35 (grain size - 2.5 mm) - up to 3.5 kg per 1 m2;
- ST-35 (grain size - 3.5 mm) - up to 4.9 kg per 1 m2;
- Ceresit CT-36 (grain size - 2 mm) - from 2 to 5 kg per 1 m2 depending on the application method.
USEFUL INFORMATION:Drywall putty technology
Acrylic
- ST-63 (grain 3 mm) - up to 4.5 kg per 1 m. sq .;
- ST-64 (grain 2 mm) - from 2.7 to 3 kg per 1 m. sq.
Silicate
- ST-73 and ST-75 (2 mm) - up to 3 kg per 1 m. sq .;
- ST-73 and ST-75 (3 mm) - up to 4.5 kg per 1 m. sq.
Silicone
- CT-75 (2mm) - up to 3 kg per 1m. sq .;
- CT-75 (3mm) - 4.5 kg per 1m. sq.
Silicate Silicone
- ST-175 (2 mm) - up to 3 kg per 1 m. sq.
The exact amount of the mixture that will be spent on finishing is difficult to determine; when purchasing, you can rely on the data specified by the manufacturer, adding 5-10% to this value. On practice plaster consumption per 1m2 may differ from the figures declared by the manufacturer, since the recommended consumption for a level surface is indicated on the package. Any irregularities on the walls entail an increase in material consumption. In addition, it is quite difficult to make a uniform layer over the entire surface of the walls without having many years of experience.

The material consumption is also curled from preliminary surface preparation. In order to manage with less plaster, before applying it, in addition to a special primer with quartz sand, increasing adhesion, you must additionally use an acrylic primer deep penetration.
Preparatory work
The best base for decorative plaster - walls, lined with ordinary lighthouse plasters. Make sure that there are no sinks and hollows on the surface, and also check the walls as a rule - if You will find more than 2 recesses per 2 meters, you will have to plaster the surface with a mixture to level it. If the walls are even, the following must be done before applying the plaster:
- Remains of old finishes, dirt and dust are removed from the walls.
- If there are cracks, they must be expanded and repaired with cement mortar.
- Nails, screws and dowels are removed, holes are also sealed with cement.
- Surface primed two types of compositions: the first layer is performed by a deep penetration primer, which strengthens the surface and reduces the absorbency of the base material. For the second layer, a primer with quartz sand is required.
USEFUL INFORMATION:Methods of checking ventilation in the apartment and their features
Tip: we recommend using a primer and decorative plaster from one manufacturer. If you have chosen bark beetle plaster from Ceresit, then for two layers of primer CT-17 and CT-16 are suitable for you.

Tools and materials
Do-it-yourself decorative plastering of the bark beetle with the help of a minimal set of tools. You will need:
- stainless steel spatulas with a width of 10 and 30 cm;
- plastic grater or trowel;
- dry mix or finished bark beetle composition;
- construction mixer or drill with a nozzle;
- a container of warm water;
- clean cloth.
Plastering the wall
The technology for applying the stucco mixture is simple: the mass is applied to the wall, starting from the bottom corner of the wall, and distributed over the surface by movements from the bottom up. Application of decorative bark beetle plaster is carried out large spatula or with a trowel, the excess is removed with a small spatula.

The spatula must be placed at an angle of 60 degrees to the surface. The most important thing at this stage is to achieve a layer of the required thickness, which will correspond to the size of the filler granules, too thick a layer will not allow the bark beetle texture to appear. If, after leveling, grooves or scratches begin to appear on the surface, the desired thickness is achieved.

Create Billing
The most responsible and creative stage in the work is the creation of a textured surface, which is manifested due to the movement of marble chips during grinding. You can start grinding after the layer of plaster dries a little. The technology for creating the texture is as follows: a plastic grater or trowel is applied to the wall and slightly pressed. The movements of the grater should be uniform and repeating, their nature depends on what pattern you want to get.
USEFUL INFORMATION:Which light is better: yellow or white? Color temperature lighting

- A classic pattern of a wood eaten by a bug can be obtained by uneven circular and arched movements of the grater in different directions.
- The “Rain” pattern is obtained by grinding the plaster with long continuous movements from top to bottom vertically or diagonally.

- "Travertine" - an imitation of the surface of a stone - is made with short jerky movements in different directions.
- The “Lamb” pattern can be made in circular motions of small amplitude.
- A woven pattern is created by alternating movements from the bottom up and from left to right. Vertical strokes are made long, horizontal movements are performed with quick short strokes.

After the plaster dries, the wall can be additionally treated with sandpaper, paying particular attention to the joints.
Plaster painting
The finished liquid mixture can be tinted before application, however, most experts agree that it is better to paint the walls after finishing the plastering. You can start painting one day after applying the bark beetle.
Tip: to obtain grooves of a darker shade, you can paint the wall in a dark color, and after drying the layer with a semi-dry roller, apply a paint of a lighter shade.

Additional protection can be provided by applying varnish. Glossy varnish will create a glow effect, matte - will retain the impression of a tree eaten by a bark beetle.


