Content
- Selection of a new siphon
- Conventional siphon assembly
- Connection to the sewerage
- Features of installation of other models
- Video instruction
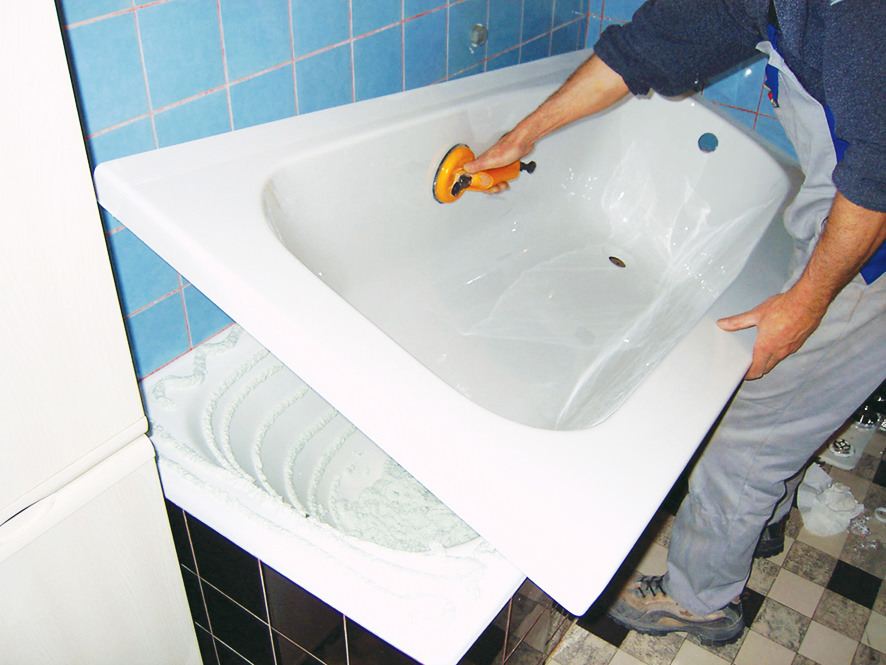
Siphon for a bath is a fairly simple device. But from time to time, there may be a need for its replacement or analysis for cleaning or prevention. Naturally, in these cases, you need to know how to assemble a bathroom siphon. Such a procedure will not cause special difficulties, but for high-quality installation and long service life of the product it will be useful to take into account some nuances.

Selection of a new siphon
When replacing or initial installation, it is important to choose the right device. The easiest way is to grab the old siphon into the store and choose the model that is as similar as possible to the characteristics. Otherwise, you will have to pick up the siphon by making the necessary measurements. Be sure to know:
- The diameter of the drain hole.
- Diameter of the overflow hole.
- The distance between the floor and the installed bath. It should not be less than 15 cm.
Buying the simplest and cheapest siphon models will not be difficult, but they will not always last long and without leaks. More expensive, but high-quality models can be found in specialized stores.

The most commonly used plastic siphons. At a very affordable price, they have good performance characteristics: low weight, corrosion resistance. With the correct assembly and maintenance of such a bath siphon, it will last quite a long time. In addition, installing it on a bath with your own hands will not be difficult, just watch the video, which shows the installation process in detail.
Conventional siphon assembly
USEFUL INFORMATION:Scandinavian style bathroom design (13 photos)
For sale siphons disassembled. Dear models that are delivered in company boxes are necessarily supplied with detailed assembly instructions. Cheaper analogues may not have it, or the quality of the user guide may be extremely low. In this case, the installation of the siphon on the bath is carried out in the following order:
- A chain attached to the cork is attached to the overflow hole pad.
- Make sure that there are no debris or fragments of the old gasket on the seats for the necks.
- A rubber gasket is inserted into the branch pipe, after which this element is brought from below to the drain hole.

Rubber seals are conical in shape. It is important to correctly install them when assembling the structure. It is enough to remember a simple rule: with the wide part they should be facing the nut, and the narrow part should face the neck.
- A protective grill, also equipped with a rubber seal, is inserted into the drain hole from the inside of the bath. After making sure that both gaskets lie flat, you need to fix the connection with a copper screw. In obsolete models, you can find a cap with a thread: it is screwed directly into the branch pipe.

When tightening threaded connections, do not use excessive force. Firstly, you can just break rather fragile plastic parts. Secondly, it may be necessary to fit the siphon “in place”, which will be prevented by premature tightening.
- The overflow drain is assembled in exactly the same way. It is connected to the siphon by means of a flexible corrugated hose, on which conical washers and nuts must first be put on.

When installing the siphon, it is recommended to use special sealants, and it is better to conduct tests for tightness of the joints if there is time after drying these solutions.
- A removable elbow is attached to the main drain hole. With its help, such a function of a siphon connection is provided as the creation of a water seal. It is thanks to him that unpleasant odors from the sewer do not get into the apartment. At the same time, debris accumulates in this knee, as in a settling tank, so you will have to periodically clean it.
- An adapter connecting the device to the sewer is inserted at the other end of the knee. All these parts are connected with plastic nuts, under which conical gaskets are laid.
USEFUL INFORMATION:How to replace a heated towel rail in the bathroom with your own hands: how to change and how much it costs to replace
Connection to the sewerage
The last step is the connection to the sewer. If the sewer pipe is made of PVC, a threaded connection with a gasket is used. In the case of a cast-iron pipe or a mismatch in the diameters, you will have to purchase a rubber coupling-adapter. The siphon pipe should go into it at least 5 cm, do not forget about sealant.

After completion of assembly and tightening of all joints and setting of the sealant, leakage tests are carried out. To do this, fill the bath until water flows through the overflow hole. The absence of liquid droplets at the junction points will indicate that the siphon is installed correctly.
Features of installation of other models
In addition to plastic devices, non-separable metal models are used, as well as automatic and semi-automatic siphons.
The main point that you should pay attention to when installing a non-demountable model made of brass or copper is the angle of entry of the siphon pipe into the sewer. It should be minimal, otherwise leaks are inevitable, and no sealant will save here. In difficult cases, you will have to buy some parts for the sewage system in order to get the right angle. The installation of the siphon is carried out using sealant and gradually tightening the threaded connections.

Installation of semi-automatic products will differ only in the installation of special controls. It is carried out according to the instructions, which must be attached to such siphons.
But the installation of automatic drainage devices, especially if they have an electronic control unit, should carry out the representatives of the seller or manufacturer: with self-installation, the warranty on these products.
USEFUL INFORMATION:The heated towel rail does not work in the bathroom: what to do
Video instruction

EXPERT SITE
Tsugunov Anton Valerevich
Master Station Wagon
- Since 2003, I have been engaged in the repair and decoration of premises.
- Over 100 completed objects.
- I appreciate the quality, more than the quantity!
Personal page >>>
Friends!
I offer you the service "Friend Builder"
As this site develops, subscribers and visitors are turning to me more and more often asking for help with advice on various issues of repair and decoration.
Questions are sometimes asked very complex and interesting. You can’t write an article for each situation, so I decided to advise you individually.
Thanks to you, friends, a new direction of my favorite work has been born - share your experience and benefit everyone who is undergoing repairs!
Get a one-time consultation from me >>>
Order full apartment repair support >>>