Assembly of the frame begins with a markup. You need to identify the lowest angle in the room, and measure from it 6 centimeters. The resulting point will be the starting point. After that, you need to use the level and the line to mark the entire perimeter of the base surface. Remember that the end and start lines must converge.
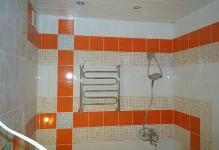
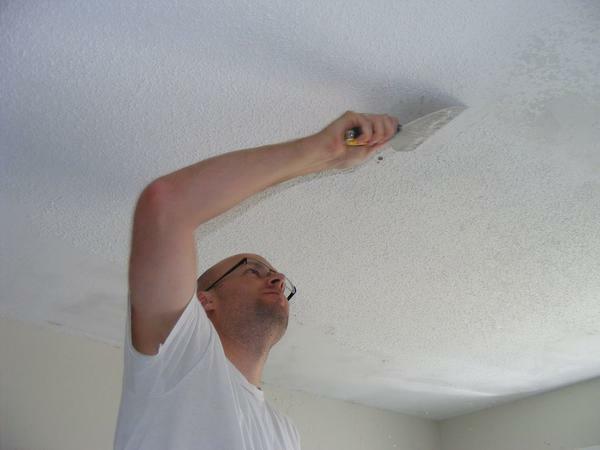
 To qualitatively assemble a skeleton under a plastic ceiling, it is necessary to make an accurate marking of the ceiling cover
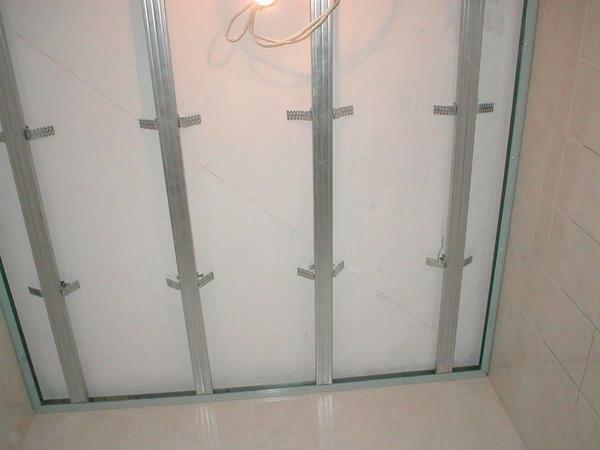
Mount the frame in the following order:
- Drill the holes and insert the dowels in them. To do this, you need to use a punch. Do not forget to attach a metal profile to the wall beforehand.
- Fasten the guide rail to the wall.
- Attach the suspension. You need to arrange them in steps of 60-70 centimeters.
- Fix ceiling profiles on the suspensions. In order to fix them accurately, you need to pull the line between the walls. Do not forget to tie the ends of the line to the dowels.
The standard length of the metal profile is 3 meters. If your bathroom has a long ceiling, then insert the end of one profile into the other. To fix the product use self-tapping screws.
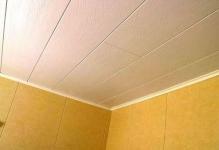
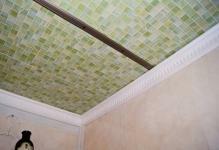
Assembling the plastic ceiling in the bathroom with your own hands
Installing the panels on the lath begins with fixing the starting profile. Alternatively, you can use a special ceiling skirting board. The profile should be pruned and fixed on the surface using self-tapping screws for metal.
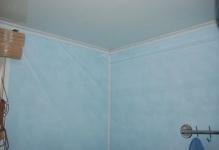
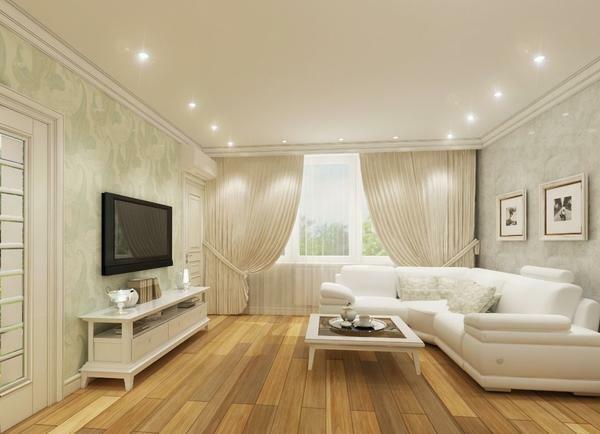
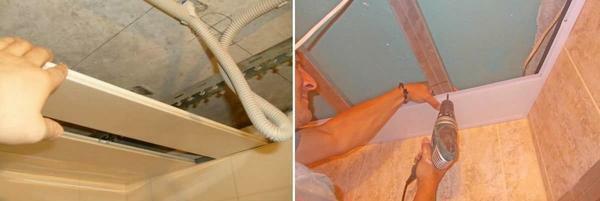 The installation of a plastic ceiling in the bathroom does not take much time, the main thing is that you have all the necessary material and tools in stock
The subsequent paneling is carried out in several stages:
- Cut the plastic panel. To make the right size, use a hacksaw.
- Fasten the first panel. Make sure that the panel is positioned strictly perpendicular to the walls.
- The following panels must be fixed by fixing to the profile. It is desirable that between the panels there were no large gaps.
- Secure the last panel in the same way.
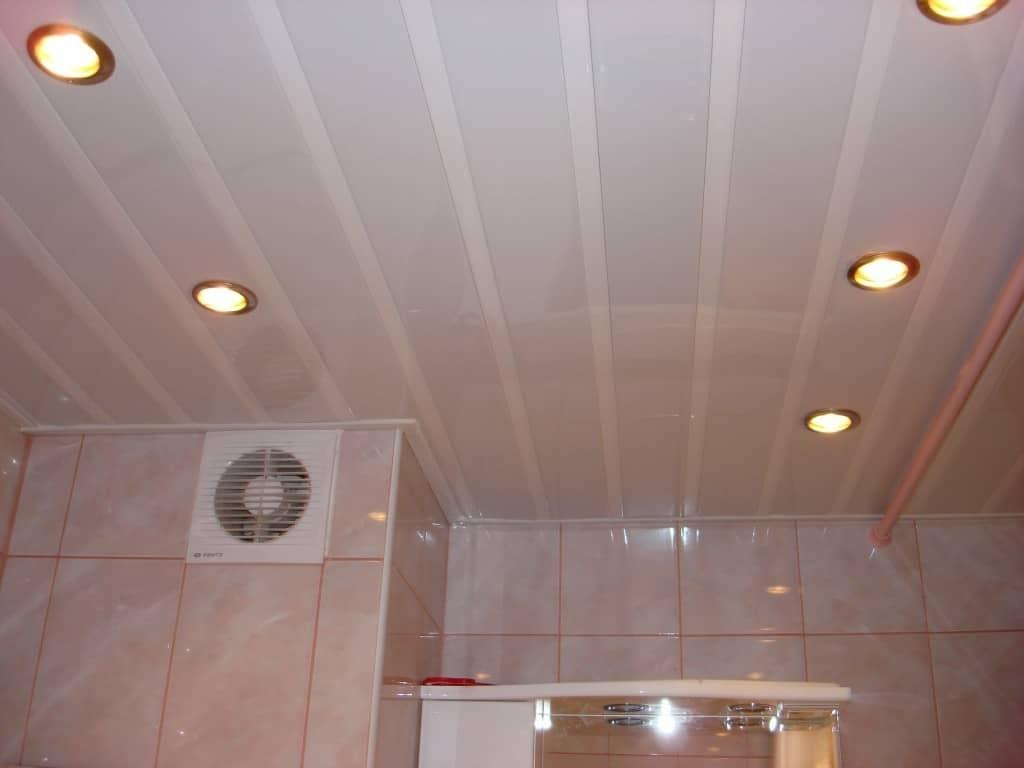
- Install the lighting fixtures on the ceiling.
After the carcass plating, fix the ceiling skirting. In order to fix it, you need to use special glue. If there are gaps between the baseboard and the walls, remove them with an acrylic-based sealant.
Ceiling from plastic panels in the bathroom( video)
It's not difficult to install the plastic ceiling yourself. The main thing is to properly mark the base surface and collect the crate in the right sequence. Before proceeding to the plating of the frame, the plastic must be left for a few days in the room. This is necessary in order for the panels to expand slightly. Do not forget to remove gaps and microroughness after mounting the structure.
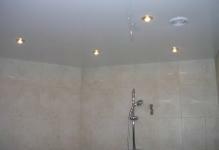
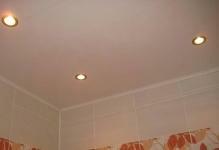
plastic ceiling in the bathroom( photo)